4 cabinet and rack installation, Figure 4-22: the rack/cabinet bracket – IEI Integration AFL-xxA-N270-Series v2.00 User Manual
Page 67
AFL-xxA-N270 Series Panel PC
Page 52
Step 18:
Secure the flat panel PC to the interface pad by inserting four retention screws
through the bottom of the mounting arm interface pad and into the flat panel PC.
Step 0:
4.10.4 Cabinet and Rack Installation
The AFL-xxA-N270 series flat panel PC can be installed into a cabinet or rack. The
installation procedures are similar to the panel mounting installation. To do this, please
follow the steps below:
NOTE:
When purchasing the cabinet/rack installation bracket, make sure it is
compatible with both the AFL-xxA-N270 series flat panel PC and the
rack/cabinet into which the AFL-xxA-N270 series is installed.
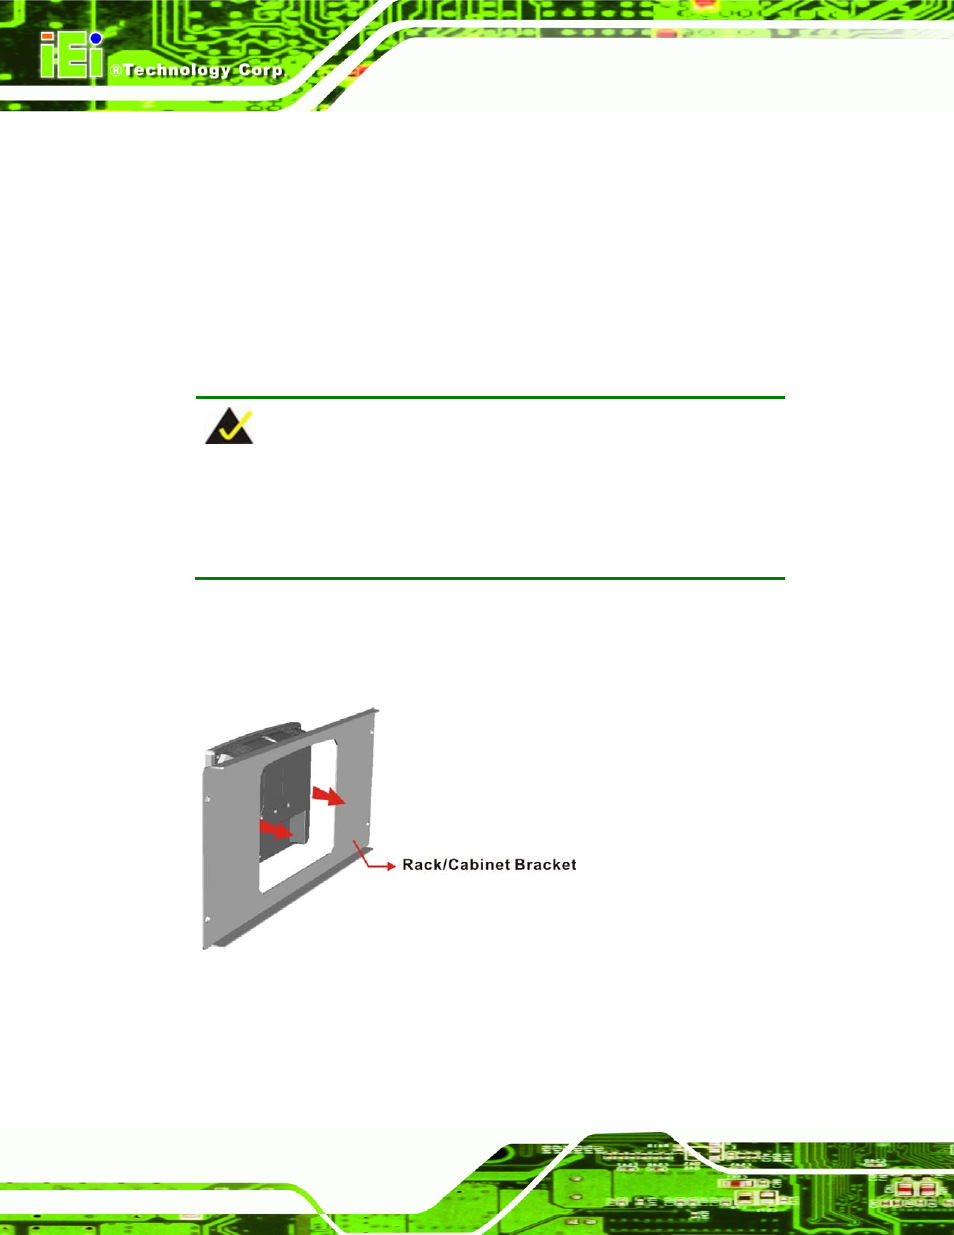
Step 1:
Slide the rear chassis of the AFL-xxA-N270 series flat panel PC through the
rack/cabinet bracket until the aluminum frame is flush against the front of the
bracket (Figure 4-22).
Figure 4-22: The Rack/Cabinet Bracket
Step 2:
Insert the rack mounting clamps into the pre-formed holes along the edges of
the flat panel PC, behind the ABS/PC plastic frame. There are a total of 4 rack