Operation – Harbor Freight Tools 43149 User Manual
Page 6
SKU 43149
For technical questions, please call 1-800-444-3353.
Page 6
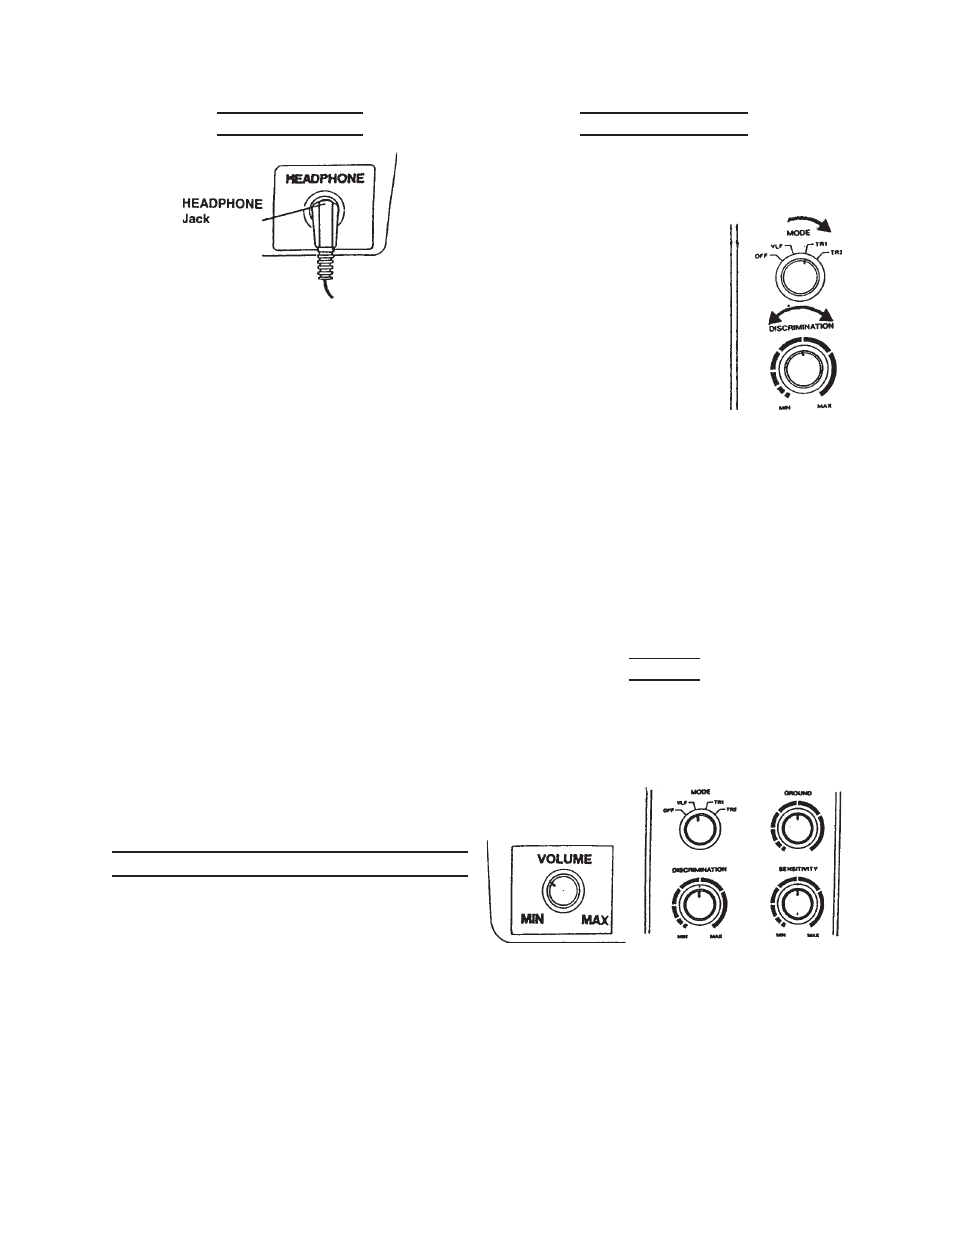
earphone use
Figure 12
Stereo earphones (not included) can
be connected to the Tool. Using ear-
phones saves battery power and makes
it easier to identify changes in the sound
patterns. Earphones are connected to the
ear jack on the side of the Control Housing
(see Figure 12).
When using earphones, protect your
hearing by:
Set the volume to the lowest setting
a.
before you begin listening. Adjust
the volume to a comfortable level.
Never listen at extremely high vol-
b.
ume levels; permanent hearing loss
can result.
Once the volume is set, do not
c.
increase it. Over time, your ears
adapt to the volume level, so a
volume level that does not cause
discomfort might still damage your
hearing.
operation
This tool distinguishes between fer-
rous and non-ferrous metals. Ferrous
metals contain iron. Non-ferrous metals
do not (examples: gold, silver, copper,
platinum, aluminum, lead, and zinc).
When the Tool senses a metallic object,
the meter reading changes and the de-
tector might sound a tone. The reaction
depends on what metal is detected.
Basic operation
Set the
1.
Batt teSt to operate.
2. Hold the detector comfortably, then
as shown in Figure 13,
rotate
MoDe to the
desired position.
Set it to
•
VlF to test
the battery power
and adjust
tune and
grounD (see direc-
tions below and on
page 8).
Set it to
•
tr1 to de-
tect extreme differences in metals,
such as between gold and iron. The
difference shows on the meter (iron
as a ferrous metal, gold as a non-
ferrous metal).
Set it to
•
tr2 to detect finer distinc-
tions between metals. For example,
between aluminum and gold.
tuning
tune fine tunes the balance be-
tween the tool’s receiver and the transmit-
ter circuitry, to provide consistent pointer
and tone indications.
Figure 14
Figure 15
To Tune, do the following and see Figure
14 and 15, above:
Rotate
1.
VoluMe to the 10 o’clock
position.
Set
2.
MoDe to VlF.
Figure 13