Care and maintenance – Hotpoint SHL532X User Manual
Page 6
6
GB
Care and Maintenance
Replacing the oven light
IMPORTANT:
The oven light must have these precise features:
a) it must be able to
resist high
temperatures (up to
300°C)
b) power supply: see V/
Hz indicated on data
plate.
c) power 25W.
d) E 14 connection.
Before proceeding, disconnect the appliance from the
main electricity supply.
• to prevent damage, place a tea cloth in the oven
• nscrew the glass cover of the light
• unscrew the old light bulb and replace it with the
new one
• put back the glass cover and remove the tea cloth
• connect the appliance to the main electricity supply
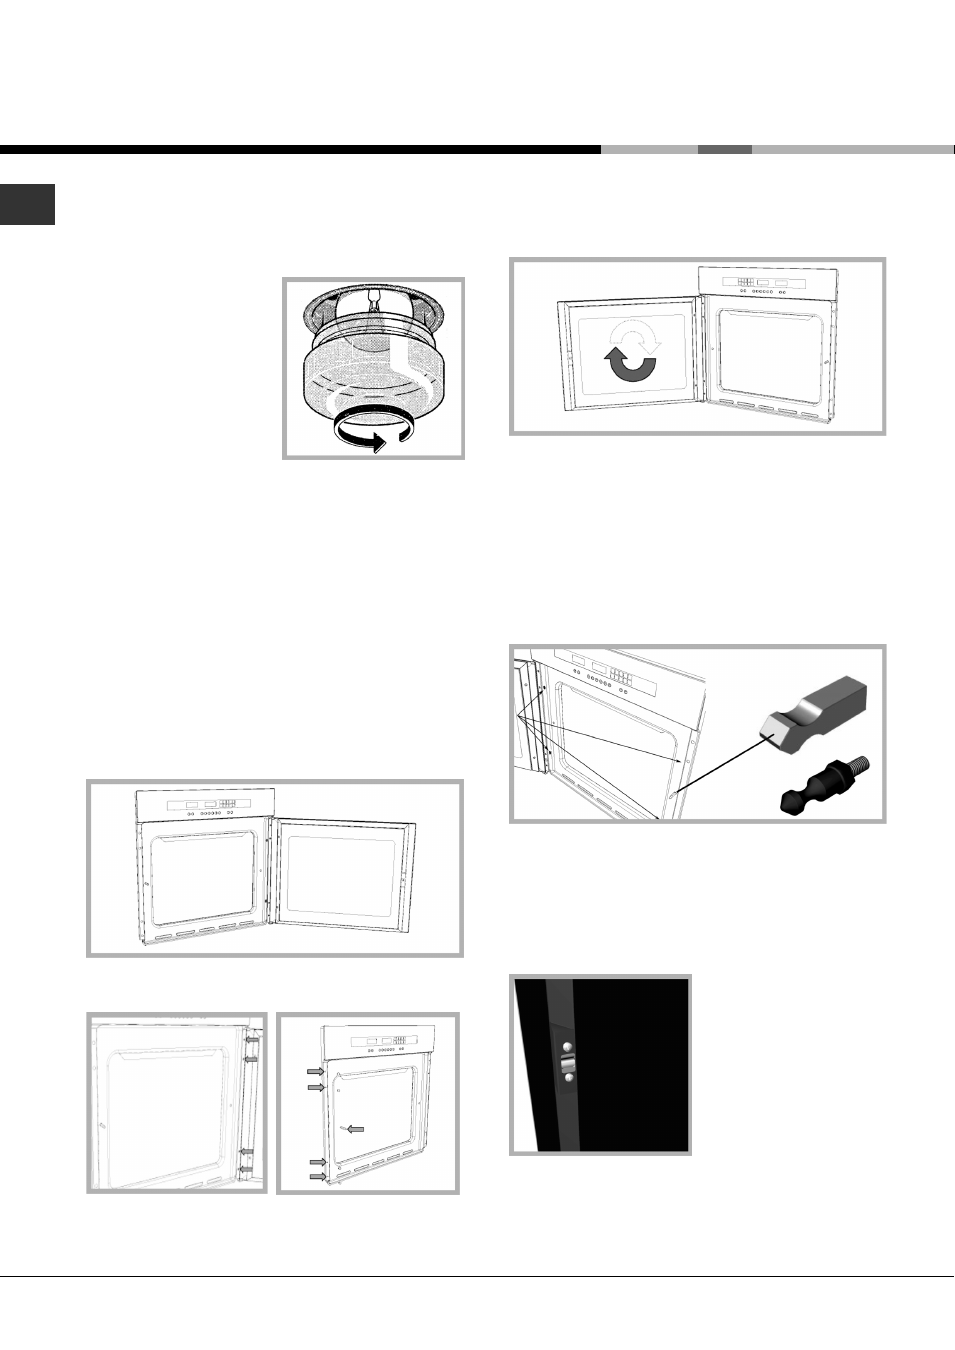
Removing the oven door
• Decide whether you want the door to open to the
left or right before positioning the appliance in the
oven recess.
• Fully open the door.
• Remove the four fixing screws from the door hinge.
• Remove the four plastic caps from the opposite side
and unscrew the locking pin.
• Turn the door 180°.
• Secure the door in its new position using the 4
screws removed previously.
NOTE:
Make sure that the oven door is perfectly
parallel with the front panel. If it is not, adjust it by
means of the screws you have just inserted.
• Fix the oven in the oven recess using the 4 screws
and the plastic spacers provided.
• Screw in the door closing pin and secure it in
horizontal position as shown in the figure, or until it
locks in place in the case of a round pin. Fit the 4
plastic caps.
• Adjust the door closing mechanism by means of the
adjuster screws as shown in the figure.