Installation instructions, Spacer kit installation – KITCHENAID 27 Inch Built-in Microwave Oven Installation Instructions User Manual
Page 4
4
Electrical Connection
To properly install your microwave oven, you must determine
the type of electrical connection you will be using and follow
the instructions provided for it here.
■
Microwave oven must be connected to the proper electrical
voltage and frequency as specified on the model/serial/rating
plate. The model/serial/rating plate is located underneath the
control panel along the oven vent.
■
The microwave oven rated 120-/240-volt, 20-amp, has
4 wires (L1, L2, N, and G) in the flex conduit and should be
connected to a 20-amp maximum-rated circuit, overcurrent
protected on both the L1 and L2 circuits.
■
A time-delay fuse or circuit breaker is recommended.
■
Flexible cable from the microwave oven should be
connected directly to the junction box.
■
Do not cut the conduit. The length of conduit provided
is for serviceability of the microwave oven.
■
A UL Listed or CSA Approved conduit connector
must be provided.
■
If the house has aluminum wiring, follow the
procedure below:
1.
Connect a section of solid copper wire to the
pigtail leads.
2.
Connect the aluminum wiring to the added section
of copper wire using special connectors and/or tools
designed and UL Listed for joining copper to aluminum.
Follow the electrical connector manufacturer’s recommended
procedure. Aluminum/copper connection must conform with
local codes and industry accepted wiring practices.
For power requirements, refer to the following table:
Voltage
Microwave with Convection Oven
120/240 VAC
19.9 A/3250 W
120/208 VAC
19.9 A/3250 W
INSTALLATION INSTRUCTIONS
Spacer Kit Installation
NOTES:
■
The microwave oven spacer kit allows the microwave oven
to be installed in an 17
7
/
16
" to 17
7
/
8
" (44.1 cm to 45.3 cm)
maximum cutout height.
■
If your cabinet cutout height is more than 17
7
/
16
" (44.1 cm),
you must install the spacer kit. Proceed to the “Assemble
Spacer Kit” section.
■
If your cabinet cutout height is less than 17
7
/
16
" (44.1 cm),
you do not have to install the spacer kit. Proceed to the
“Prepare Built-In Microwave Oven” section.
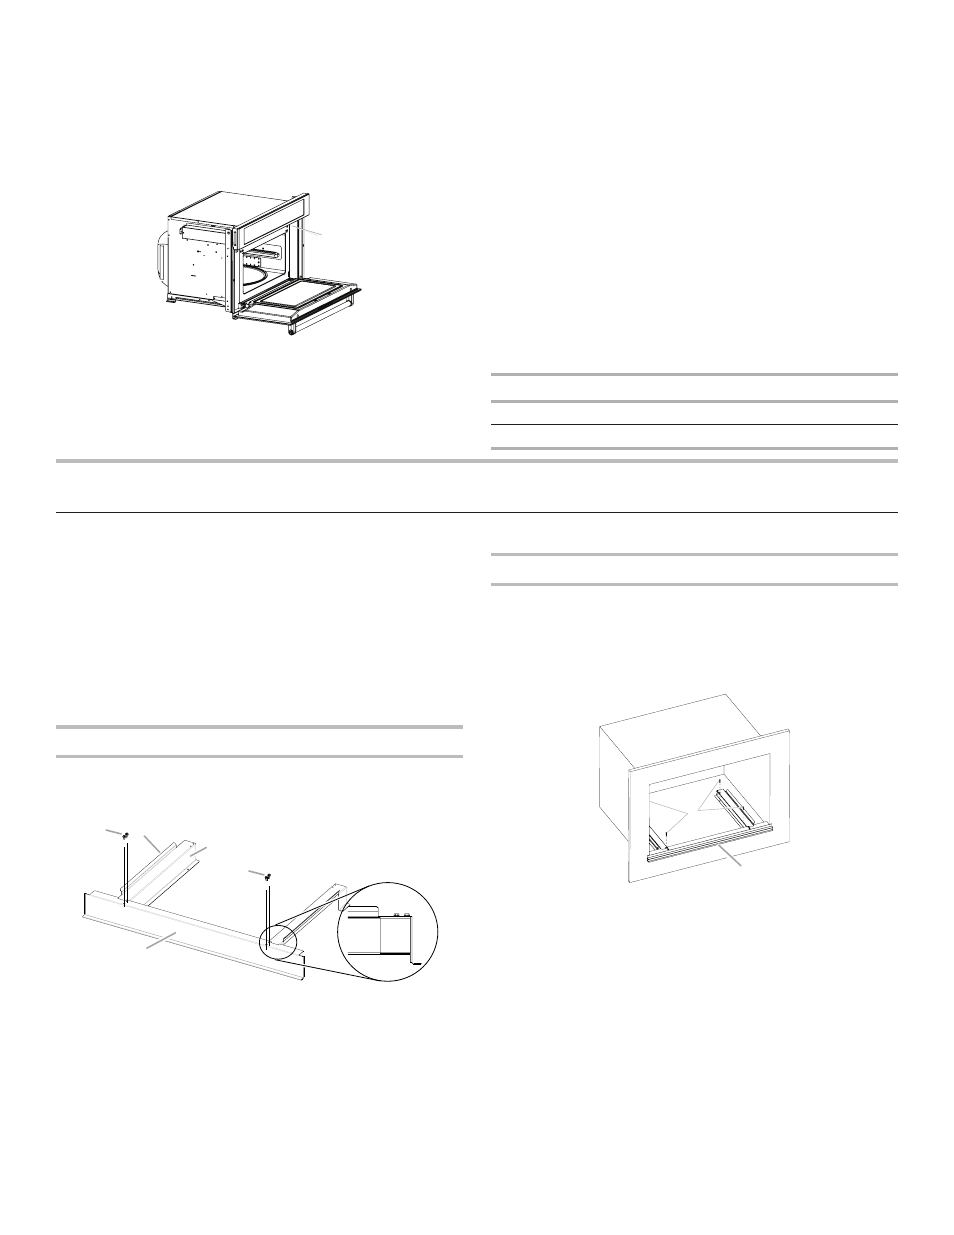
Assemble Spacer Kit
1.
Attach the bottom vent to spacer bars using four
3
/
8
"
hex-head washer screws.
NOTE:
Spacer bar flanges should be facing out.
Install Spacer Kit
1.
Center assembled microwave oven spacer kit against lower
front edge of the cabinet cutout.
2.
Using an
1
/
8
" (3.2 mm) drill bit, drill through the mounting
holes in the spacer bars to create pilot holes.
3.
Attach the assembled spacer kit to the cabinet using four
3
/
4
"
pan-head screws. Do not overtighten screws.
A
A. Model/serial/rating plate
A
B
C
D
D
A. Bottom vent
B. Spacer bar flange
C. Spacer bars
D.
3
/
8
" hex-head washer screws
A
B
A.
3
/
4
" pan-head screws
B. Spacer kit assembly