ATN TITEW1000 Thermal Entry Wizard Access Control Station with Table Stand Mount User Manual
Page 26
50
51
c) Select Monday, Tuesday, Wednesday, Thursday, Friday, Saturday, or
Sunday .
d) Tap the select date and set the selected attendance status’s start time .
e) Tap Confirm .
f) Repeat step 1 to 5 according to your actual needs .
NOTE
The attendance status will be valid within the configured schedule.
4 . Tap
.
Result
When you authenticate on the initial page, the authentication will be marked
as the configured attendance status according to the configured schedule .
Example
If set the Break Out Schedule as Monday 11:00, and Break In Schedule as
Monday 12:00, the valid user’s authentication from Monday 11:00 to 12:00 will
be marked as break .
6.11.3. Set Manual Attendance via Device
Set the attendance mode as manual, and you can select a status manually
when you take attendance .
Before You Start
Add at least one user and set the user’s authentication mode . For details,
see User Management .
Steps
1 . Tap T&A Status to enter the T&A Status page .
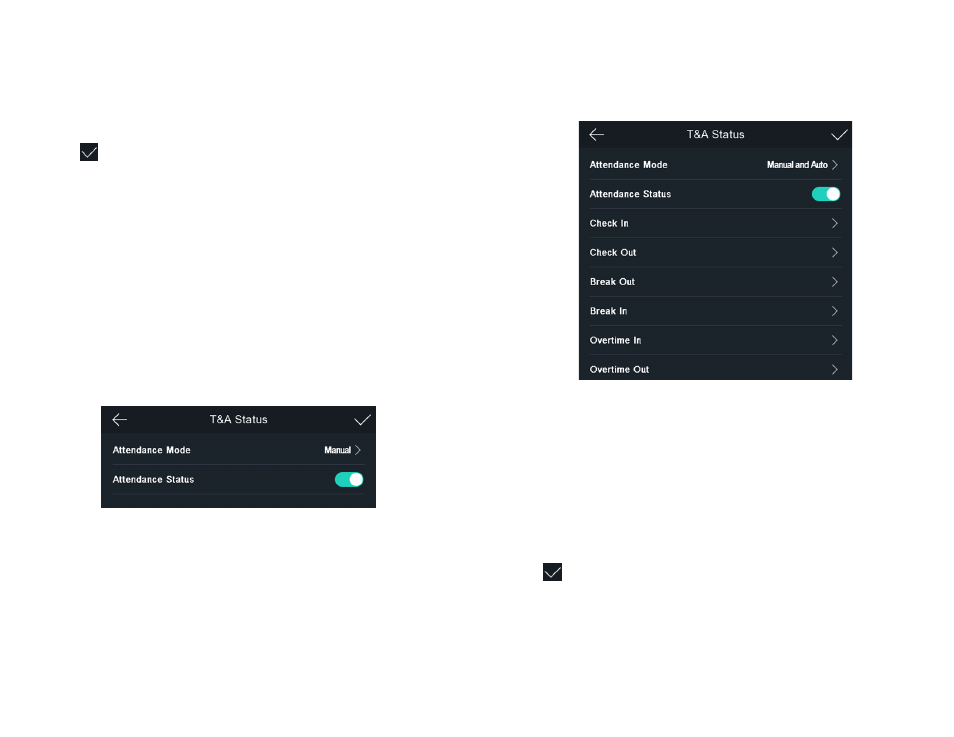
2 . Set the Attendance Mode as Manual .
Figure 6-18. Manual Attendance Mode
3 . Enable the Attendance Status function .
Result
You should select the attendance status manually after authentication .
NOTE
If you do not select a status, the authentication will be failed and it will
not be marked as a valid attendance.
6.11.4. Set Manual and Auto Attendance via Device
Set the attendance mode as Manual and Auto, and the system will automat-
ically change the attendance status according to the configured parameters .
At the same time you can manually change the attendance status after the au-
thentication .
Before You Start
Add at least one user and set the user’s authentication mode . For details,
see User Management .
Steps
1 . Tap T&A Status to enter the T&A Status page .
2 . Set the Attendance Mode as Manual and Auto .
Figure 6-19. Manual and Auto Mode
3 . Select an attendance status and set its schedule .
a) Select Check In, Check Out, Break Out, Break In, Overtime In, or Over-
time Out as the attendance status .
b) Tap Schedule .
c) Select Monday, Tuesday, Wednesday, Thursday, Friday, Saturday, or
Sunday .
d) Tap the select date and set the selected attendance status’s start time .
e) Tap Confirm .
f) Repeat step 1 to 5 according to your actual needs .
NOTE
The attendance status will be valid within the configured schedule.
Tap
.
Result
On the initial page and authenticate . If you do not select a status, the authen-
tication will be marked as the configured attendance status according to the
schedule . If you tap Select Status and select a status to take attendance, the
authentication will be marked as the selected attendance status .
Example
If set the Break Out Schedule as Monday 11:00, and Break In Schedule as
Monday 12:00, the valid user’s authentication from Monday 11:00 to 12:00 will
be marked as break .