MCZ Passe-partout User Manual
Page 7
INSTALLATION AND USE MANUAL
Chapter 3
PASSE-PARTOUT LINEA FORMA PURO
page
7
Chapter 3
Technical service – all rights reserved by mcz spa
Reproduction prohibited
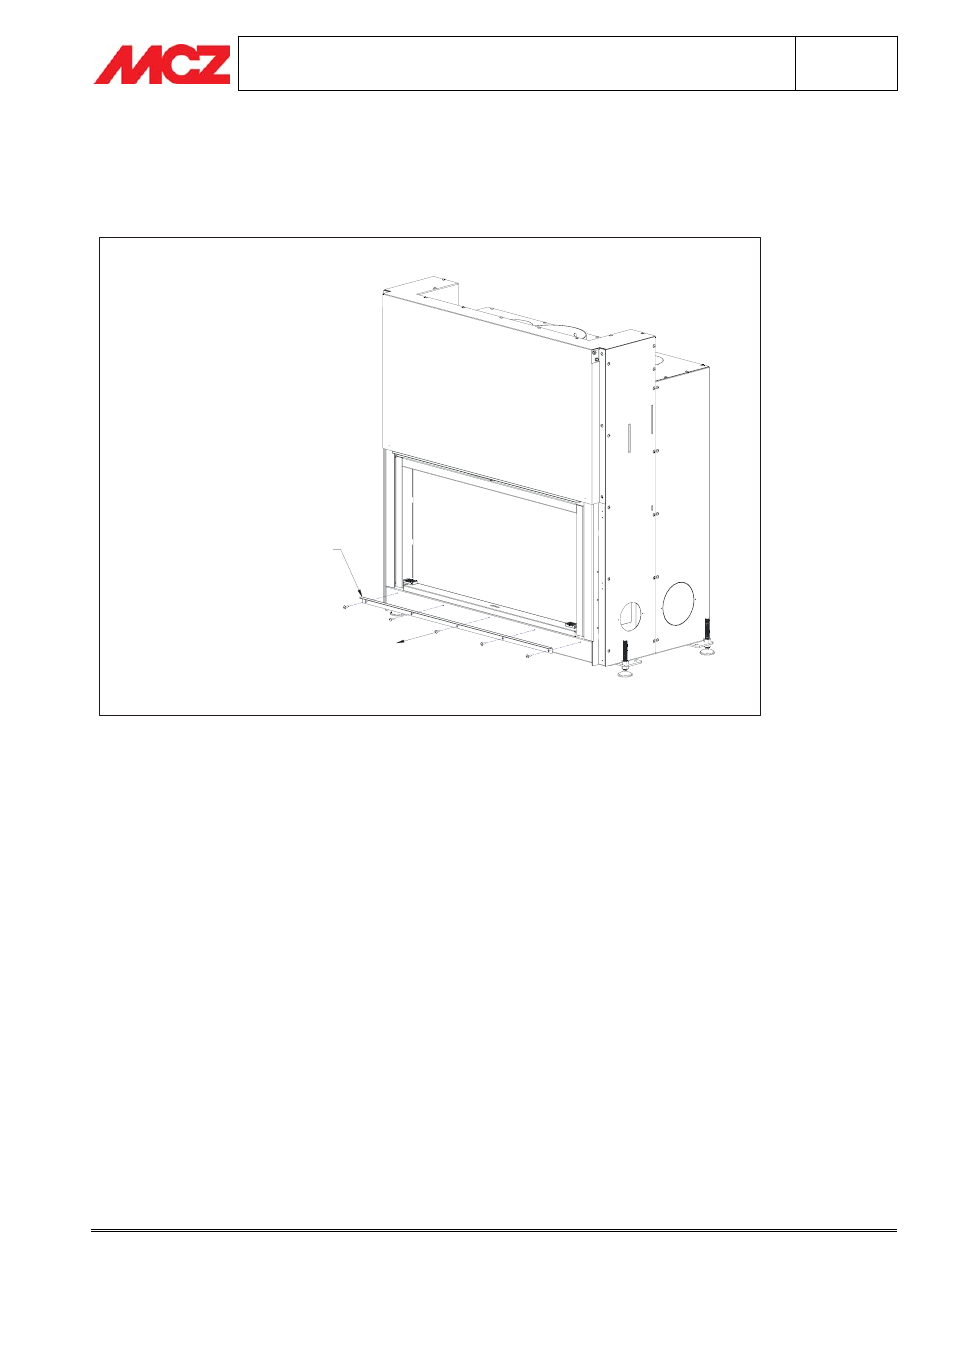
3.2. PHASE 1 – REMOVING EDGE-COVER PROFILE FORMA PURO
Before assembling the Passe-Partout frame, you must remove the edge-cover frame of the unit Forma Puro
(65/75/95/115) as in the figure.
PROFILO COPRIBORDO
FORMA PURO 95
(115,75,65)
3.3. PHASE 2 – INSTALLATION OF PASSE-PARTOUT CLADDING
FPURO65/FPURO75/FPURO95/FPURO115
Assembly of the Passe-partout cladding can be performed either before or after installation of the fireplace
stove(Forma Puro) and the connection to the flue pipe. In fact, the Passe-partout is fastened to the unit and
remains attached to it.
It is however advisable to install the fireplace stove in accordance with the instructions in the respective
Manual
for Installation and Use and run a quick test for proper operation. If the test is successful you can assemble the
cladding. In this way you can avoid scratches, which easily occur when handling and checking the unit.
Instead, it is essential for assembly of the Passe-partotut cladding to take place before installation of the wall
with which the fireplace stove is recessed.
Position the Passe-partout cladding so that it is centred on the axis of the fireplace stove. Adjust the height so
that the lower element of the frame is flush with the base of the door. Use the slots in the sides of the Pass-
partout, which allow further adjustment to centre the holes on the side of the FP115(FP95/FP75/FP65)).
Fasten the cladding to the unit using the screws provided. When assembly is complete, the Passe-partout must
close perfectly with the fire box mouth of the fireplace stove, and it must be a rigid structure fastened to the
unit.