Camera id – EverFocus EQ550 User Manual
Page 18
- 17 -
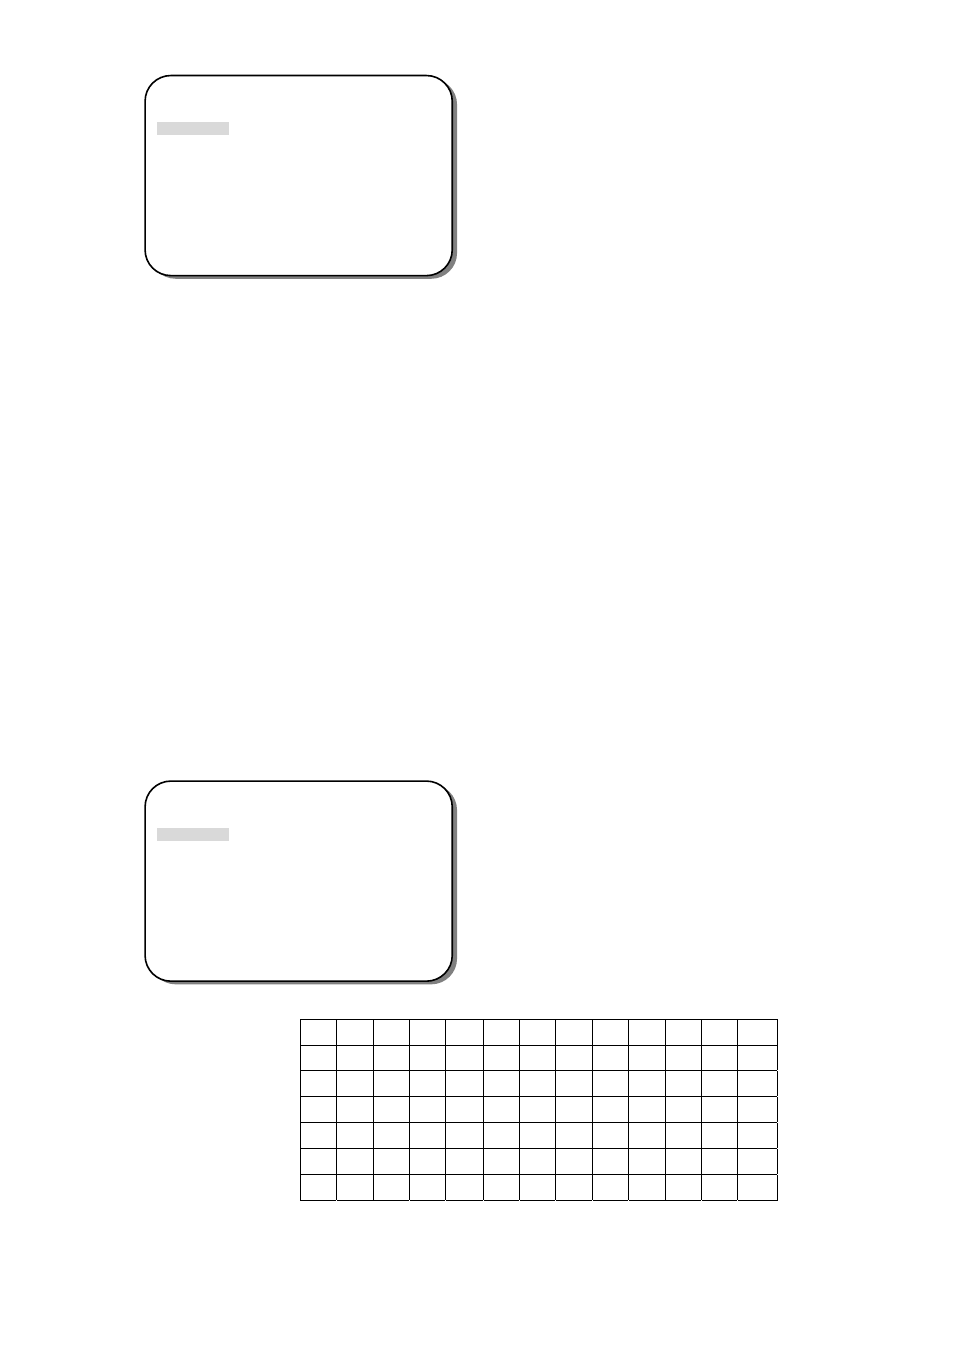
6.8.1 CAMERA ID
Input the camera ID, and it will be appeared on the monitor.
1) Please direct the arrow to point to “CAMERA” by using the UP or DOWN
button.
2) Select “ON” by pressing the LEFT or RIGHT button.
3) Press SETUP button.
4) Maximum 15 letters can be used for the ID.
¾ Use UP and DOWN buttons to move the cursor to the letter to be chosen.
¾ Use UP, DOWN, LEFT and RIGHT buttons to select an ID.
¾ Use SETUP button to lock in the letters.
5) Once a name has been selected, please choose a position where you would like
to display the name.
¾ Move the cursor onto “POS” and press the SETUP button.
¾ The name will appear at the top left hand corner.
¾ Please use the 4 directional buttons to find the desired position to display
the name.
6) If you would like to cancel the ID inputted, please move the cursor to “CLR”,
and all the letters inputted will be deleted.
7) Select “END” and press SETUP button to complete ID input.
_ _ _ _ _ _ _ _ _ _ _ _ _ _ _
A B C D E F G H I J K L M
N O P Q R S T U V W X Y Z
a b c d e f g h i j k l m
n o p q r s t u v w x y z
-
· 0 1 2 3 4 5 6 7 8 9
<-
->
CLR
POS
END
SPECIAL
> CAMERA ID OFF
COLOR ADJ.
<┘
SYNC. INT
MOTIION DET OFF
PRIVACY OFF
MIRROR OFF
SHARPNESS ON <┘
RESET
RETURN <┘
CAMERA ID
SPECIAL
> CAMERA ID ON
COLOR ADJ.
<┘
SYNC. INT
MOTIION DET OFF
PRIVACY OFF
MIRROR OFF
SHARPNESS ON <┘
RESET
RETURN <┘