Use / use of accessories, Changing a disc, Use of accessories – Parkside PWS 1010 User Manual
Page 60: Cutting / roughing discs, Flap discs for metal, Other accessories
59
GB/MT
Use / Use of accessories
©
Changing a disc
½
Always wear protective gloves
when changing cutting or roughing /
grinding discs.
˽
Press the spindle lock button
9
only after the
mounting spindle
7
has reached a standstill,
Fig. A.
˽
Press the spindle lock button
9
to block the
drive.
˽
Release the clamping nut
6
using the spanner
10
, Fig. B.
˽
Place the roughing, grinding or cutting disc on
to the mounting flange
8
with its labelled side
facing towards the device.
˽
Then replace the clamping nut
6
, with its
raised side facing upwards, on to the mounting
spindle
7
.
˽
Press the spindle lock button
9
to block the
drive.
˽
Tighten the clamping nut
6
again with the
spanner
10
.
Note: Replace a new disc immediately if it runs
unevenly or vibrates after being exchanged.
˽
After replacing a disc let the device run under
no load for 30 seconds as a safety check.
Look out for unusual noises or generation of
sparks.
˽
Check that all the fastenings are correctly
attached.
˽
Pay attention to see that the arrow showing the
direction of rotation on the cutting or roughing /
grinding discs (including diamond cutting discs)
corresponds with the direction of rotation of the
device (see arrow on the head of the device).
©
Use of accessories
©
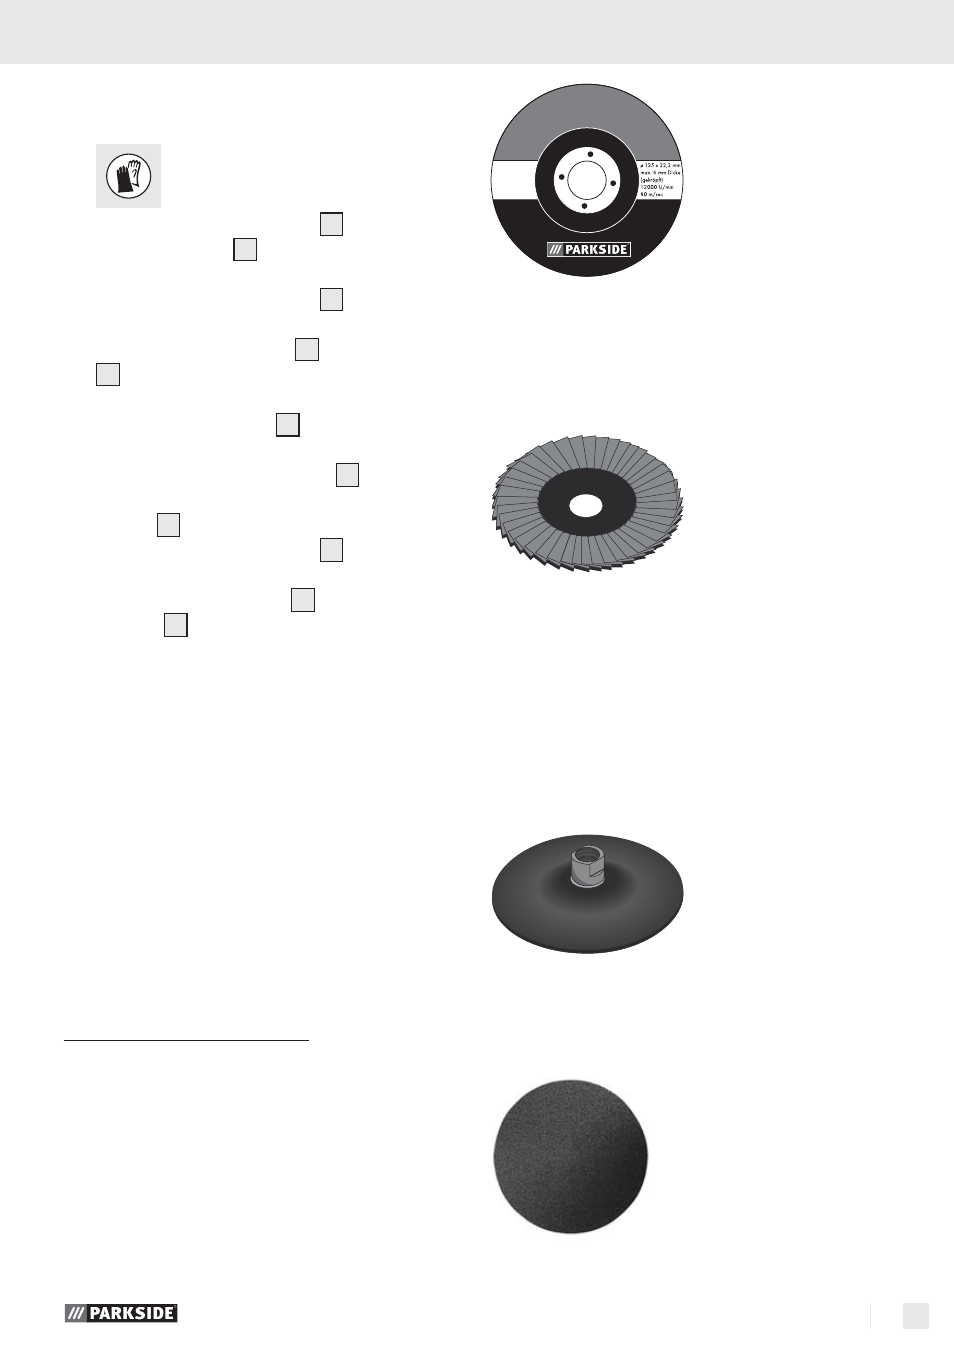
Cutting / roughing discs
You can use the following cutting or roughing/
grinding discs with this device:
Dimensions:
ø 125 x 22,2 mm
to max. 6 mm thick
(depressed centre)
Speed: 12.000
rpm
Circumferential speed: 80 m / sec
©
Flap discs for metal
Dimensions: ø
125
mm
Speed: min.
12.000
rpm
©
Other accessories
You can also use abrasive consumables and tools
complying with the following technical specification:
Spindle thread:
M14
Speed: min.
12.000
rpm
Backing plate for grinding discs
Dimensions:
ø 115 mm / 125 mm
Grinding discs for wood / masonry attached
with hook and eye fixings
Dimensions:
ø 115 mm / 125 mm