Attaching the guide fence, Connecting the vacuum sawdust extraction device, Operation – Parkside PPHSS 730 SE User Manual
Page 12: Setting the cutting angle, Setting the speed, Setting the pendulum action, Switching on / off, Maintenance and cleaning, Maintenance, Cleaning
11
GB
Q
attaching the guide fence
The guide fence
19
can be attached on the left or
right side of the device (see Fig. A).
j
Release the two locking screws of the fence
guide openings
15
.
j
Slide the guide fence
19
into the fence guide
openings
15
.
j
Retighten the two locking screws.
Q
Connecting the vacuum
sawdust extraction device
j
Insert the dust extraction spout
7
into the
vacuum extraction duct
8
until it engages.
j
Connect a vacuum device approved for the
extraction of sawdust and splinters to the dust
extraction spout
7
(see Fig. C).
Q
Operation
Q
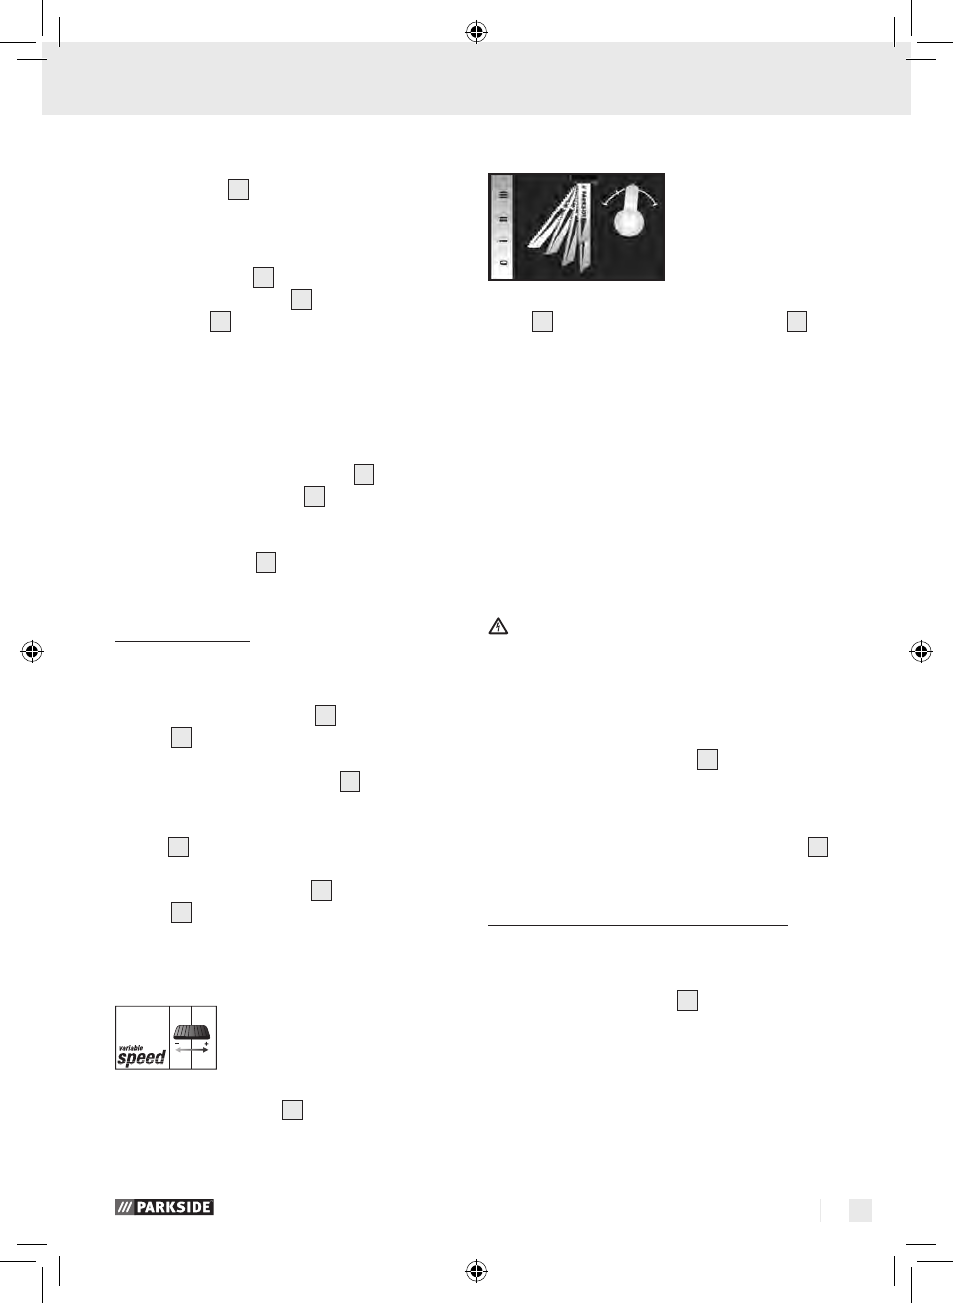
Setting the cutting angle
j
Release the clamp screw
11
using the Allen
key
20
.
j
Set the cutting angle 0° / 15° / 30° / 45°
(left / right) on the base plate
9
. The embossed
marking for each recessed line indicates the
cutting angle setting. The housing has a stop
pin
21
(see Fig. B) which must engage in the
appropriate recessed line.
j
Tighten the clamp screw
11
using the Allen
key
20
.
Q
Setting the speed
j
Set the desired speed using the oscillation
speed setting wheel
4
.
j
If possible always determine the optimum
setting beforehand by carrying out a
practical test.
Q
Setting the pendulum action
You can set the pendulum movement of the saw
blade
14
using the pendulum action switch
12
. By
having no pendulum action (setting “0”) you can
produce fine, clean cut edges. Turn off the
pendulum action for thin workpieces.
With the pendulum action activated (settings 1 – 3)
you can cut through the workpiece at increasingly
quicker rates.
j
If possible always determine the optimum set-
ting beforehand using a practical test.
Q
Switching On / Off
DaNGEr! Before connecting to the mains
plug check that the mains circuit supplies
230 V ~ 50 Hz and is fitted with a 16 A fuse or
cut-out in accordance with the regulations!
Switching on:
j
Push the On / OFF switch
2
into position “I”
and ensure it engages.
Switching off:
j
Press the rear part of the On / OFF switch
2
.
Q
Maintenance and cleaning
Q
Maintenance
j
Replace the saw blade
14
as soon as its teeth
become blunt and it starts to produce defective
saw cuts.
Q
Cleaning
j
Carry out that cleaning of the device when you
have finished sawing.
Preparing for use / Operation / Maintenance and cleaning