Using timedelay, Before using timedelay – Grass Valley Time Delay v.3.1 User Manual
Page 12
12
TimeDelay User Manual
July 2006
Using TimeDelay
This section is divided into the following topics:
“Before using TimeDelay” on page 12
“Starting a new session manually” on page 13
“Starting a new session automatically” on page 13
“Stopping a TimeDelay session” on page 14
“Modifying the time of day timecode source” on page 14
“Adjusting TimeDelay playback” on page 15
“Changing TimeDelay audio levels” on page 15
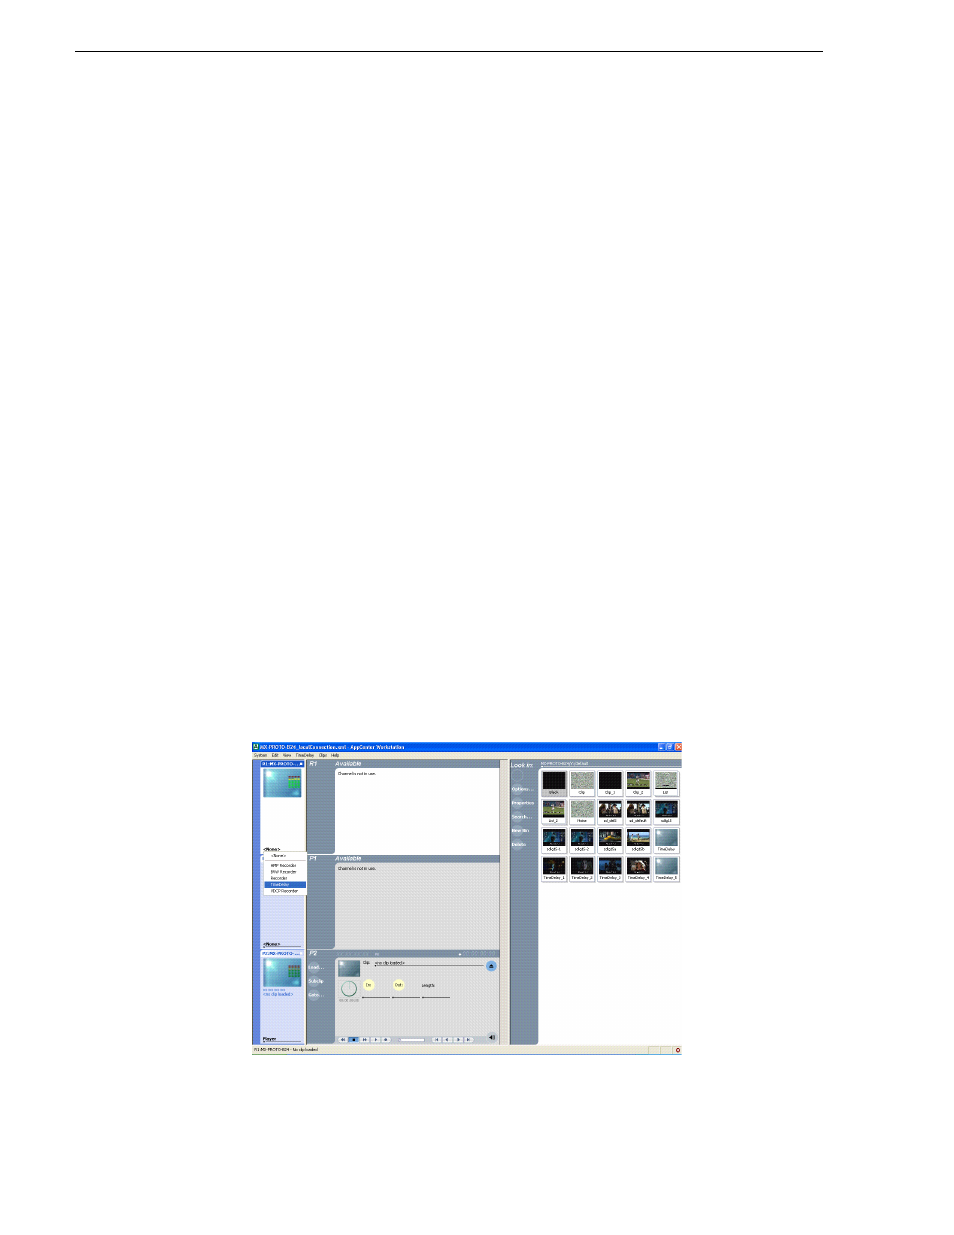
Before using TimeDelay
Before you can access TimeDelay, you need to log on to a K2 Media Client and
launch AppCenter. When AppCenter is started, an application is launched for each
channel. To change the application running on a channel, select a new application
from the channel’s application drop-down list. TimeDelay only appears in a channel’s
drop-down list if that channel is capable of recording.
TimeDelay uses one record channel and one or more play channels. To interact with
the TimeDelay application, you must activate the record channel that it is using. To
activate the channel, you can select the channel from inside the channel status pane or
click on the TimeDelay application in the applications pane.
To start TimeDelay on a channel, follow these steps:
1. Select the channel you want to record on.
2. Select TimeDelay from the channel’s application drop-down list. (If the channel is
not capable of recording, TimeDelay does not display as an option.)
3. The TimeDelay application starts, and a TimeDelay Settings dialog box appears.