2 installation, 1 preparation, 2 installation in the densité frame – Grass Valley ADX-1101 User Manual
Page 6
GUIDE TO INSTALLATION AND OPERATION
2 | ADX-1101
2 Installation
2.1 Preparation
The following items are required for the installation of your ADX-1101 in a Densité-series frame:
• ADX-1101-DRP Rear Panel (for Densité 2 frames) or ADX-1101-DRP-3RU (for Densité 3 frames)
• ADX-1121 AES Embedder (2RU or 3RU, per frame type)
• DAC-1721 AES-to-Dual Analog Audio Converter (2RU or 3RU, per frame type)
Note that the ADX-1101-DRP rear panel may be ordered separately, if the user already has the two associated cards.
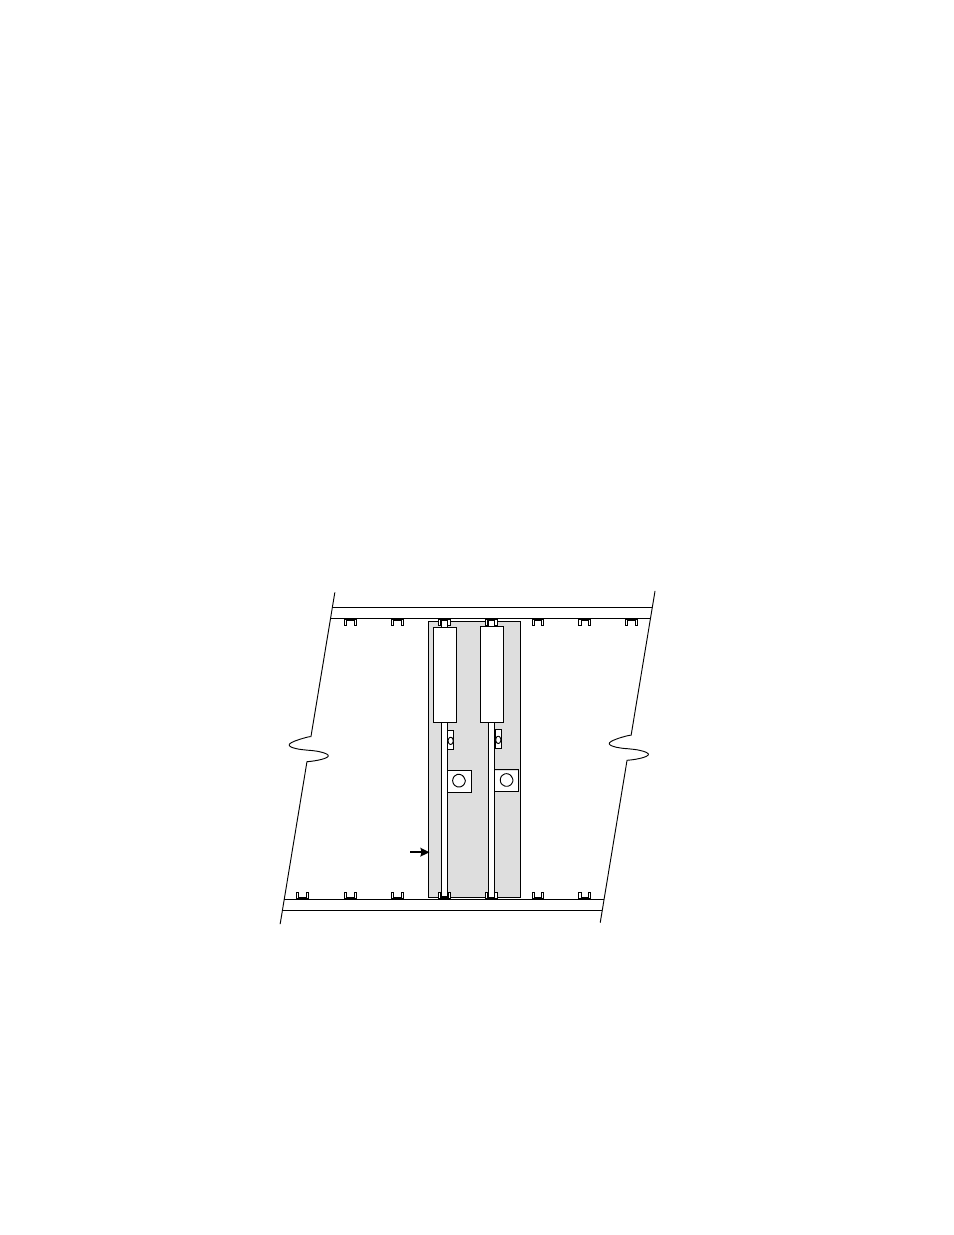
2.2 Installation in the Densité frame
The ADX-1101-DRP rear connector panel must be mounted in a DENSITÉ frame. It is not necessary to switch off the
frame’s power when installing or removing the panel. See the DENSITÉ Frame manual for detailed instructions for
installing cards and their associated rear panels. (These instructions also apply to the ADX-1101-DRP-3RU).
1. Install the ADX-1101-DRP so that it occupies rear panel space covering two adjacent free slots in the Densité
frame. Install the rear panel with the cards out of the frame.
2. Install the ADX-1121 in the leftmost of the two slots occupied by the ADX-1101-DRP (as seen from the front of
the frame)
3. Install the DAC-1721 in the rightmost of the two slots occupied by the ADX-1101-DRP (as seen from the front of
the frame.
If a card is placed in the wrong slot, its front panel LED will flash red. Move the card to other slot for correct operation.
No damage will result to the card should this occur.
A
D
X
-1
1
2
1
D
A
C
-1
7
2
1
ADX-1101-DRP
(view from front of frame)