Install ladibug – Lumens Technology Ladibug Linux User Manual
Page 4
3
3. Install Ladibug
™
re-install it again.
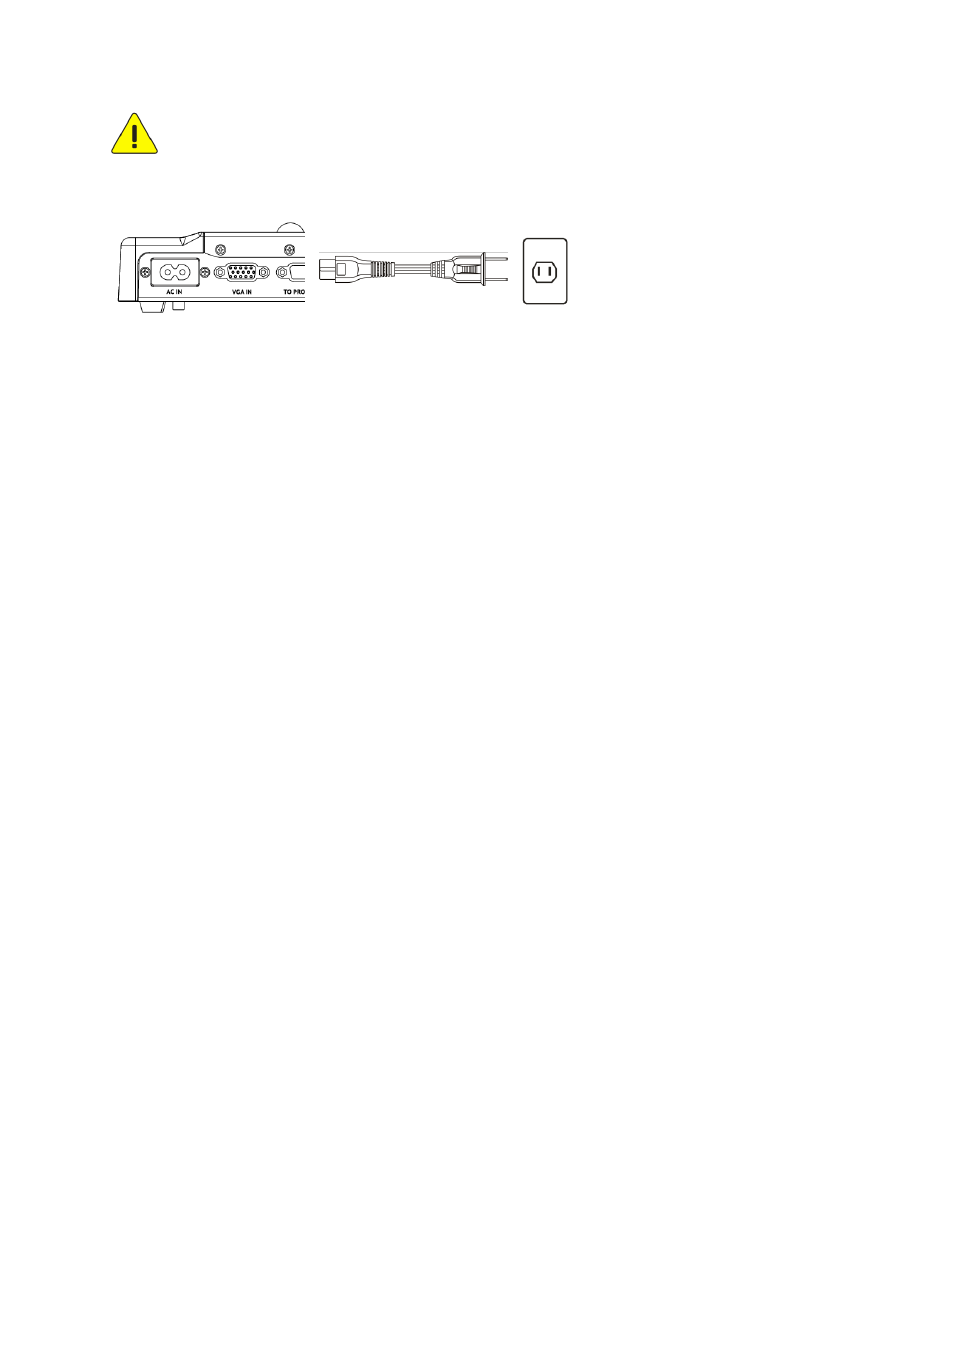
3.1. Connect the power cord of the Document Camera.
3.2. Please download the Ladibug
™ software after connected to the Lumens™
web site.
3.3. To ensure complete installation, please make sure the network is available.
3.4. Open the terminal window and start installing by following the instructions
below.
3.4.1 Ubuntu10.04~11.10 applicable
3.4.1.1.
Unzip
” Ladibug_Ubuntu11.10_X.X.X_Setup.zip” to your PC(do not unzip
it to the USB disk or other device)
3.4.1.2.
Right click
“ladibug-1.1.0-Linux-x86-Install” -> Properties -> Permissions
-> check
“Allow executing file as program”
3.4.1.3.
Double click
“ladibug-1.1.0-Linux-x86-Install” and follow the instructions
3.4.1.4.
If your login id is not
“root”, add the login id to group “disk”, “audio”,
“video” :
3.4.1.4.1 sudo gpasswd -a `whoami` video
3.4.1.4.2 sudo gpasswd -a `whoami` audio
3.4.1.4.3 sudo gpasswd -a `whoami` disk
3.4.2 Fedora15 applicable
3.4.2.1.
If your login id is not
“root”, add the login id to the “/etc/sudoers” file :
3.4.2.1.1
su root
3.4.2.1.2
chmod 777 /etc/sudoers
3.4.2.1.3
open /etc/sudoers by text editor
3.4.2.1.4
Add the statement :
Your login id
ALL=(ALL) ALL
3.4.2.1.5
chmod 0440
/etc/sudoers
3.4.2.2.
unzip
“Ladibug_OpenSUSE11.4_Fedora15_X.X.X_Setup.zip” to your
PC(do not unzip it to the USB disk or other device)
3.4.2.3.
Right click
“ladibug-1.1.0-Linux-x86-Install” -> Properties -> Permissions
-> check
“Allow executing file as program”
3.4.2.4.
Run
“./ladibug-1.1.0-Linux-x86-Install” on terminal and follow the
instructions
3.4.2.5.
If your login id is not
“root”, add the login id to group “disk”, “audio”,
“video” :
3.4.2.5.1 sudo gpasswd -a `whoami` video
AC Outlet