Lencore i.Net Ceiling Plate User Manual
Installation instructions
v1.1
Lencore Acoustics Corp. One Crossways Park Drive West Woodbury, NY 11797 p 516-682-9292 f 516-682-4785 [email protected]
Spectra i.Net®, Spectra Classic®, Tangent™ are trademarks of Lencore Acoustics Corp. All rights reserved. © Copyright 2013
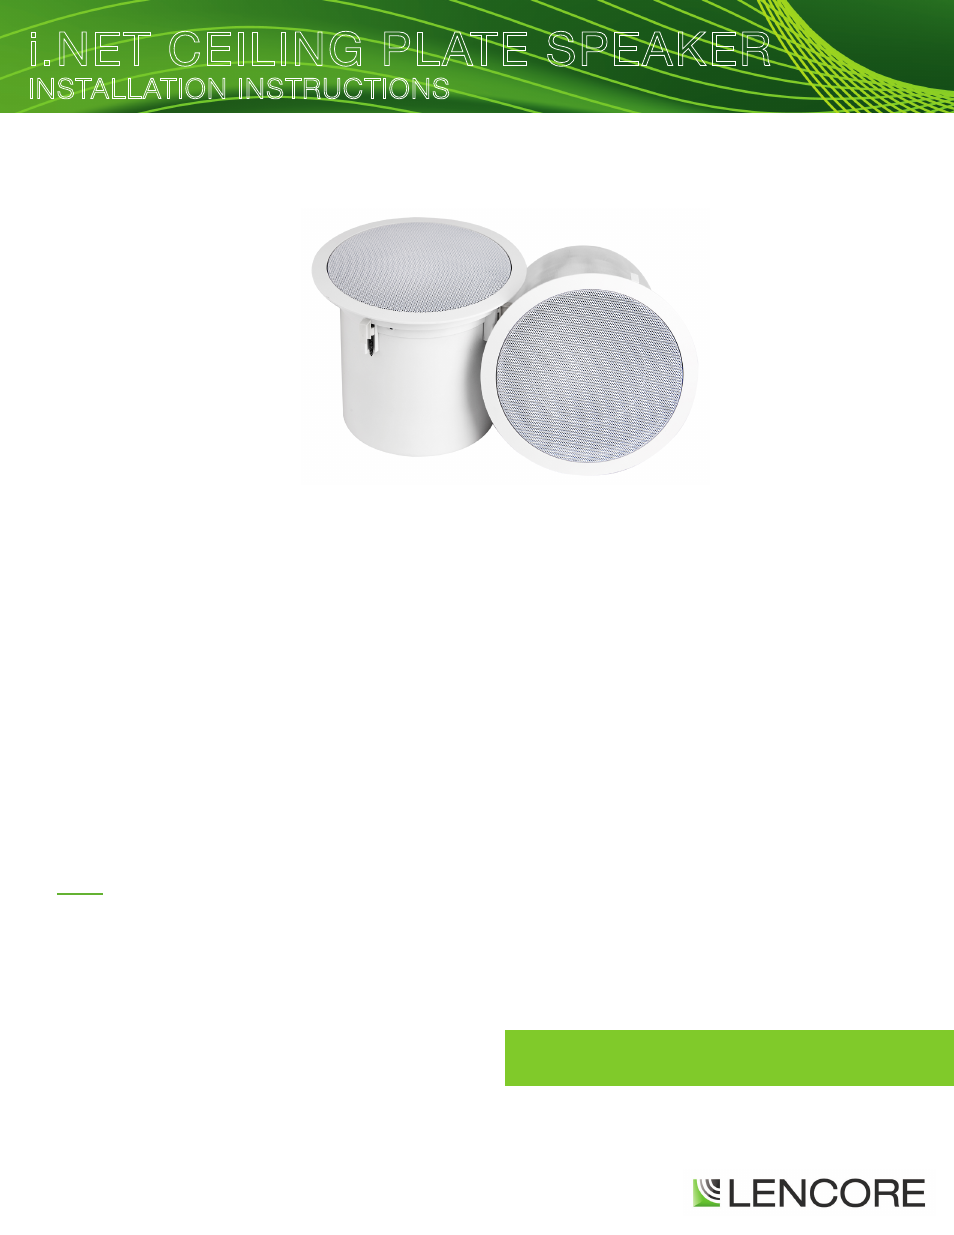
i.NET CEILING PLATE SPEAKER
INSTALLATION INSTRUCTIONS
For additional Technical Support call: 516-682-9292
1. Cut a 7 inch round hole in sheet rock, ceiling tile, or other area(s) you want to install the unit.
2. Remove grill of ceiling plate speaker using the hook tool (included with each Ceiling Plate speaker order) to
access (3) clamp screws. Adjust screws to desired opening in order to put ceiling plate in place.
3. Insert speaker into 7 inch opening.
4. Screw down clamp screws to hold unit in place in sheet rock, ceiling tile or other.
5. Attach the speaker patch cable to “In” on can. Attach a second patch cable to “Out” if there is another
speaker after this one. The “In” and “Out” are marked with a label on the bottom of the can assuming the
ceiling plate is the top of the can.
6. Once the patch cable(s) and speaker are in place, reattach grill by slipping it into place using moderate
pressure.
Notes:
- Securing the speaker to the deck or using a tile bridge is dependant on local codes and is the responsibility of the
installer to determine any additional fastening that needs to take place.
- Chicago Box Ceiling Plate speakers require a tile bridge to support the additional weight of the box on the speaker. See
Tile Bridge data sheet and installation instructions.
®