Setup features – Kemppi LT 250 User Manual
Page 14
EN
Setting parameters
W006859
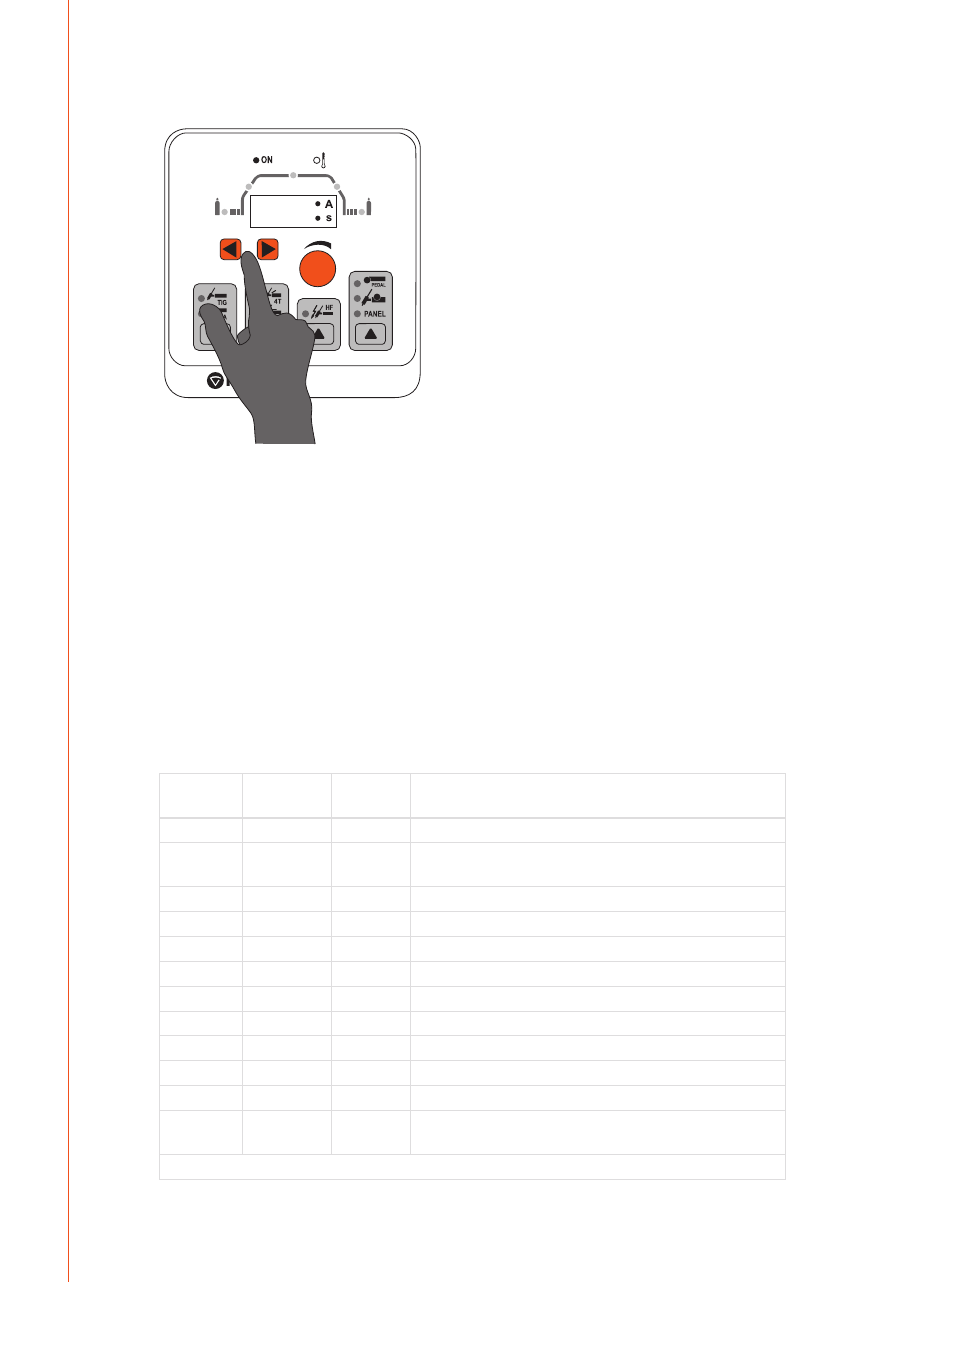
Select the welding parameters with the arrow keys (3) and adjust the parameter values with the
control knob (8). When setting the parameters, the display (9) will show the parameter being
adjusted as well as the numeric value that will be set for it. After three seconds, the display returns
to normal state and shows the welding current value.
4.
SETUP FEATURES
Configuring additional features
The machine has additional features that can be selected and adjusted with the SETUP feature. To
activate and deactivate it, press both arrow buttons (3) simultaneously for at least 5 seconds.
In the SETUP mode, the display will show the name of the parameter to be adjusted and its
numerical value. Select the parameter to be adjusted with the arrow buttons and change the
parameter value with the control knob. The following parameters and values are available:
Name
displayed
Parameter
values
Factory
setting
Description
A
1/0
0
End current level selection, 1 = I min. / 0 = 15 %
C
1/0
0
Forced stop during downslope with a brief pressing of the switch,
1 = On / 0 = Off
d
0/5
0
0 =Standard 4T switching logic / 5 = PROTIG TL switching logic
E
5 % – 40 %
20 %
Upslope start current level selection (% of the welding current)
F
1/0
0
Restore factory settings *), 1 = Restore / 0 = No restore
h
0.0 – 2.0 s
0
Minimum setting for pre-gas time
J
0 – 10 s
1 s
Minumum setting for post-gas time
L
5 – 20 s
10 s
Maximum setting for pre-gas time
o
15 – 99 s
30 s
Maximum setting for post-gas time
S
-3...5
0
Arc dynamics (Arc Force)
t
-9...0
0
Electrode ignition pulse (-9 = No pulse / 0 = Max pulse)
U
1/0
0
Disable automatic remote control recognition. 0 = Enable automatic
recognition, 1 = Disable automatic recognition.
*) Happens when exiting SETUP mode and value is 1.
MasterTig LT 250
12