Formax FD 314 User Manual
Page 8
4
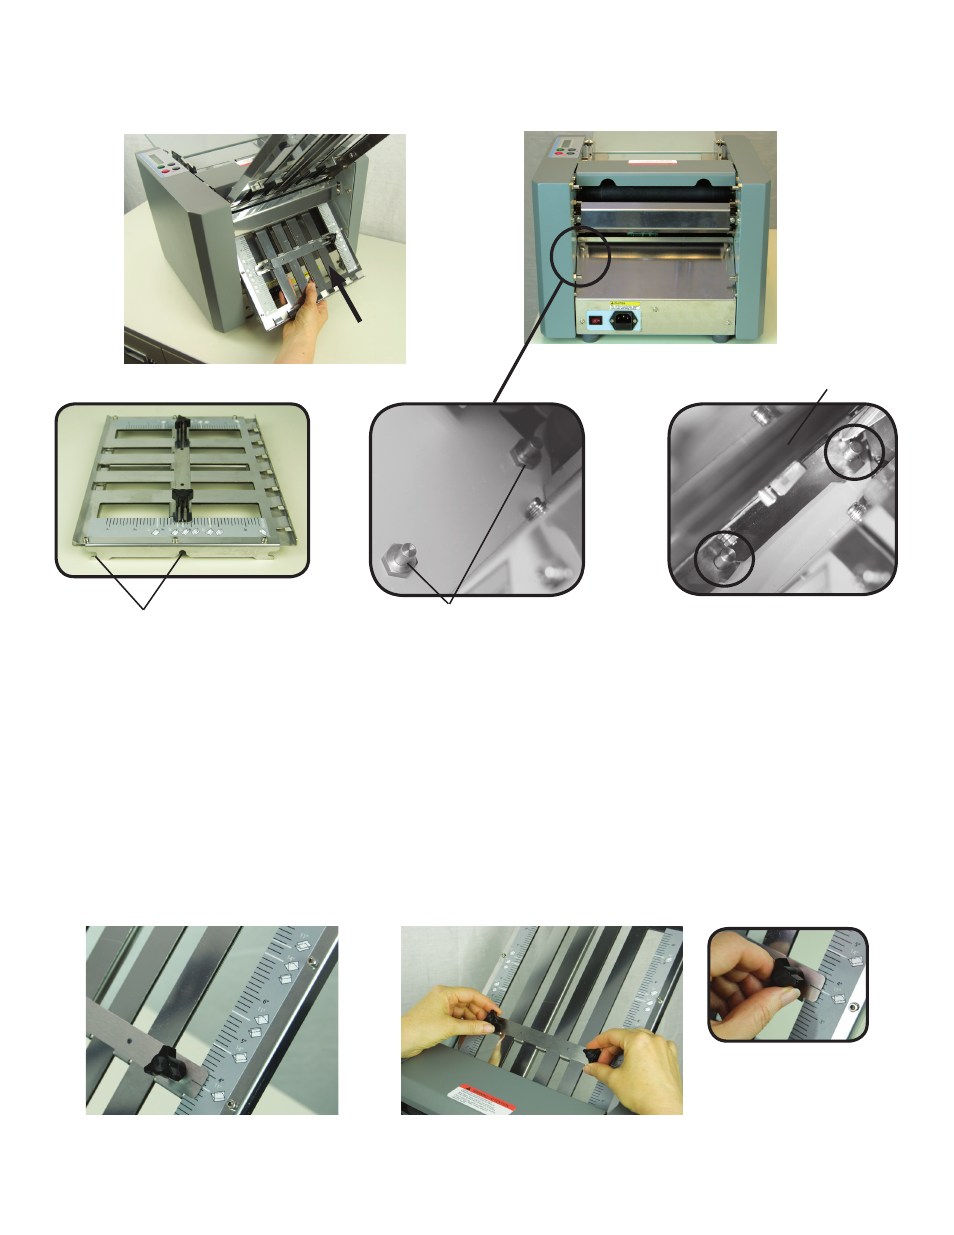
Install the lower fold plate at an angle, as shown. Align the notches on the fold plate with the lower fold plate
pins. Push gently on the fold plate to lock it into position.
1. Determine the fold type and paper size.
2. Refer to the guides on each side of the upper and lower fold plates and set each one to correspond with
the desired fold type and paper size.
3. To adjust the fold stops, loosen the two thumbscrews, slide the fold stop up or down to the correct posi-
tion and tighten the thumbscrews. The fold stop notch should be centered on the white line matching the
selected fold type and paper size.
Note: To process a Half Fold, set the upper fold plate stop to the proper position then remove the lower
fold plate, rotate it 180
o
and re-install it.
To set custom folds, refer to the chart on page 7.
Lower fold plate notches
Lower Fold Plate
Setting Fold Plates
Fold stop position decal on upper
fold plate.
Loosen the thumbscrews to adjust
the fold stop position.
Align the fold stop notch
with the icon that
matches the fold type
and paper size.
Lower fold plate pins
Lower fold plate
Lower fold plate seated on pins