Flowserve VV 10 User Manual
Page 6
6
1. Turn handlever
A
to position
OPEN
.
2. Unscrew hexagon nuts from fixing studs or bolts.
3. Remove valve from mounting flange.
4. Unscrew and check fixing studs or bolts, replace if necessary.
5. Clean seating areas.
Detaching airline valve VV 10
1. Turn handlever
A
to position
OPEN
.
2. Remove PTFE seat rings
O
,
M
and valve ball
N
from valve body.
3. Remove pressure gauge
H
if fitted or gauge plug
I
with seal
J
.
4. Unscrew sealing cap
C
and, if fitted, cap seal
E
.
5. Take out circlip
F
with circlip pliers.
6. Remove filter gauze
G
.
7. Unscrew grub screws
T
and
U
.
8. Detach handlever
A
.
9. Unscrew hexagon nut
S
.
10. Remove disc springs
R
and press stem
L
and PTFE seal
K
out of valve body.
11. Take gland ring
Q
and PTFE rings
K
out of the valve body.
12. Clean valve body and component parts thoroughly. Check parts for damage.
13. Insert new PTFE seals
K
and gland ring
Q
into the valve body. Apply a light smear of silicone
(e. g. DOW Molykote
®
111) to PTFE rings.
14. Fit PTFE ring
K
over stem
L
and insert it from the inside into the valve body. Apply a light smear of silicone
(e. g. DOW Molykote
®
111) to the PTFE ring
K
.
15. Insert new disc springs
R
. Note: Arrange disc springs such that the convex sides are on the outside.
Fit hexagon nut
S
and tighten with 18 Nm.
16. Insert new PTFE seat ring
M
into the valve body. Rotate the stem
L
to the
CLOSED
position, insert valve ball
N
, making sure that the small hole is positioned at the mounting flange end. Insert new PTFE seat ring
O
.
17. Position handlever
A
onto stem
L
and fix in place with grub screws
U
and
T
. Tighten grub screw
U
and
T
with 9 Nm.
18. Turn handlever
A
to position
OPEN
.
19. Insert new filter gauze
G
into valve body and fit circlip
F
.
20. Insert new PTFE seal
E
into sealing cap
C
.
21. Install pressure gauge
H
if fitted or gauge plug
I
with new seal
J
.
22. To prevent the ball
N
and seat ring
O
from falling out of the valve, ensure the handlever is
OPEN
during
transit. If required a plastic cable tie may be used to retain these components.
Internal inspection
Molykote
®
is a registered trademark of DOW Corning GmbH, Wiesbaden.
1. Place airline valve in
OPEN
position onto tank container mounting flange.
2. Fasten valve by means of hexagon nuts or bolts.
3. Turn handlever
A
to position
CLOSED
.
4. Tighten hexagon nuts or bolts at room temperature in diagonally opposite pairs with a torque of 36 Nm.
Mounting airline valve VV 10
1. Check torques and, if necessary, re-tighten fixing nuts and bolts.
External inspection
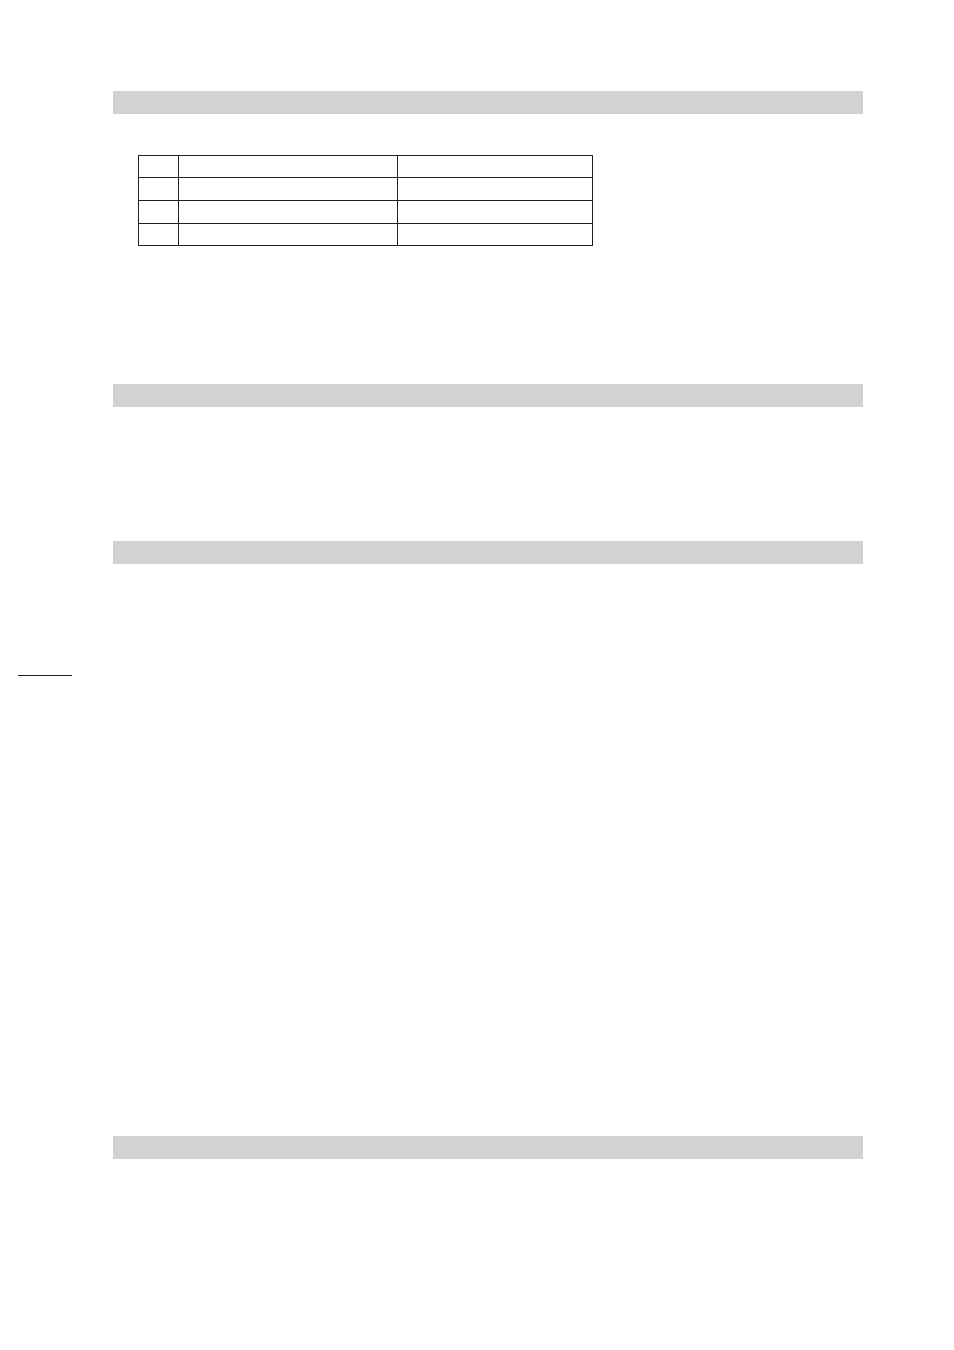
Item
Designation
Torque [Nm]
S
Hexagon nut M 14
18
T
Grub screw M 6 x 10
9
U
Grub screw M 6 x 6
9
1. Check airline valve VV 10 for smooth operation.
2. Check pressure gauge
H
for damage.
3. Check wire cable
B
.
4. Check cap seal
E
for damage.
5. Check filter gauze
G
for damage.