Osd menu, Clock menu, Setup menu – Dynex DX-7HTV-09 User Manual
Page 4: Channel setup menu (tv only), Setting up the tv, Connecting power, Charging the battery, Scanning for channels, Selecting analog or digital channels, Connecting an a/v device
4
OSD menu
OSD menu
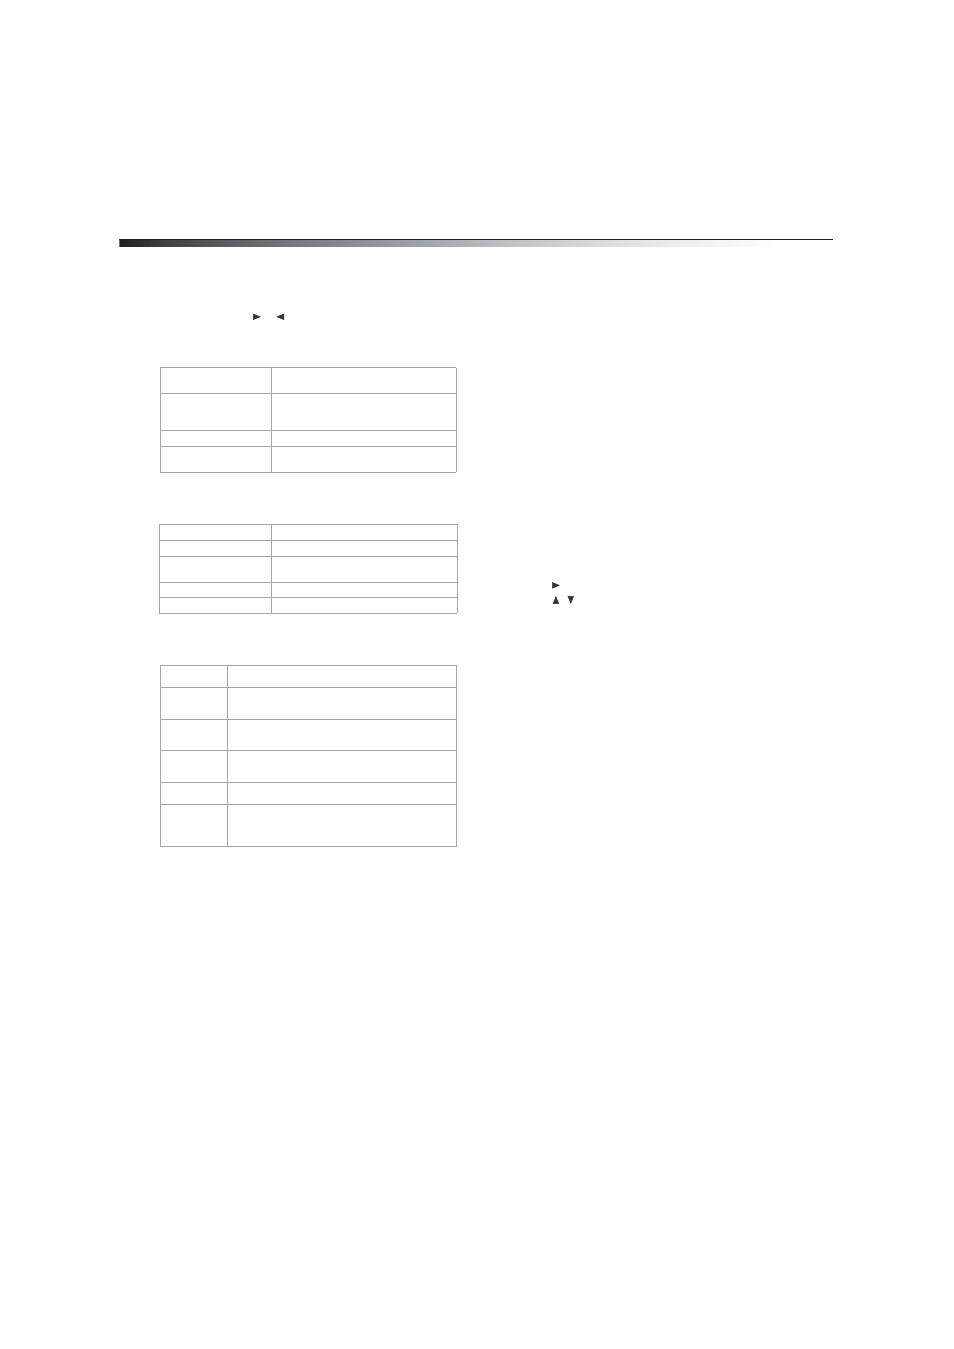
To access the OSD menu:
1 Press MENU on the remote control.
2 Press the
to select a setting, then press ENTER.
3 Press MENU to exit.
Clock menu
Setup menu
Channel setup menu (TV only)
WARNING: The TV will not work when it is moving.
Setting up the TV
Connecting power
To connect power:
1 Plug into one end of the power adapter into the DC Input jack on
the right side of the TV.
2 Connect the other end into a power outlet.
3 Troubleshooting
Charging the battery
The TV has a built-in rechargeable battery (Lithium-Polymer). The TV
can operate up to 100 minutes with the built-in battery. Charge the
battery prior to first use. Recharge the battery when the built-in battery
fails to power the TV and when the sound level lowers or the picture
becomes unstable.
NOTE: The battery will not charge when using the car power adapter.
To charge the battery:
1 Connect one end of the AC to the DC Input jack on the right side of
the TV.
2 Connect the other end to a power outlet.
3 Press POWER on the TV to turn the TV off. The charge indicator
turns red.
4 Disconnect the AC when the charge indicator turns off.
Scanning for channels
Scan for available analog and digital channels to create the channel list
using the CH+ and CH- buttons.
To scan for channels:
1 Press POWER on the TV to turn on your TV.
2 Press INPUT to set the input mode to TV.
3 Press MENU. The MENU screen opens.
4 Press
twice to access the Channel Setup menu.
5 Press
to select AutoScan. The TV beings to scan for
available channels. Pause the scan by pressing and holding
MENU.
6 Press MENU to exit the menu when the scan is complete.
Selecting analog or digital channels
You can select specific analog or digital TV stations using your remote
control.
To select an analog station:
• Enter the channel number followed by -0 (for example 11-0 for
analog channel 11). If available, the analog channel is displayed.
To select a digital station:
• Enter the channel number followed by -1 (for example 11-1 for
digital channel 11). If available, the digital channel is displayed.
NOTE: Some digital stations provide multiple broadcasts on a single
channel. To access these channels directly enter higher numbers after
the channel number (for example 11-2 or 11-3. for digital channel
11). If available, the digital channels appear.
Connecting an A/V device
You can connect your TV to an A/V device such as a VCR or DVD player to
enjoy high quality stereo sound and picture.
To connect an A/V device:
1 Connect the black end of the supplied audio/video cable to the
AV In jack on the right side of the TV.
2 Connect the other end of the cable to the AV OUTPUT jacks on
the A/V device, making sure to match the color coding.
3 Press INPUT and choose AV IN.
OSD Duration
Set the duration of the on-screen display:
5, 10, 15, or 20 seconds
Sleep Timer
Set to turn the TV off automatically: 5, 10,
15, 30, 45, 60, 90, 120, 180, 240 minutes, or
OFF
Time zone (DTV only)
Select your time zone
Daylight savings time
(DTV only)
Turn Daylight Savings On or Off
Language
Select English, Spanish, or French
Transparent
Make the menu transparent
Closed Caption (DTV
only)
Select a closed caption option
Zoom Mode
Select Auto, Wide, Zoom, or Cinema
Restore Setting
Reset settings to factory default
Antenna
Select a reception method: Air or CATV (cable)
Auto Scan
Perform a channel scan to save to memory. Erases
previously saved channel information.
Auto Scan
Add CH
Perform a channel scan to save to memory without
erasing previously saved channel information.
Channel
Skip
Set the TV to skip specific channels found during
auto scan.
Channel NO
Changes the channel, while in Menu mode.
Channel
Label
Lets you edit the program label that appears when
a channel is selected. DTV automatically adds this
information. You can manually edit it for ATV.