DeWalt DW400 User Manual
Page 9
1. To start the tool, slide the ON/OFF
switch (A) toward the front of the tool.
2. To stop the tool, release the ON/OFF
switch.
3. For continuous operation, slide the
switch toward the front of the tool and
press the forward part of the switch
inward.
4. To stop the tool while operating in continuous mode, press the
rear part of the switch and release.
NOTE: To reduce unexpected tool movement, do not switch the
tool on or off while under load conditions.
CAUTION: Hold the side handle and body of the tool firmly to
maintain control of the tool at start up and during use and until the
wheel or accessory stops rotating. Make sure the wheel has come
to a complete stop before laying the tool down.
CAUTION: Allow the tool to reach full speed before touching
tool to the work surface. Lift the tool from the work surface before
turning the tool off.
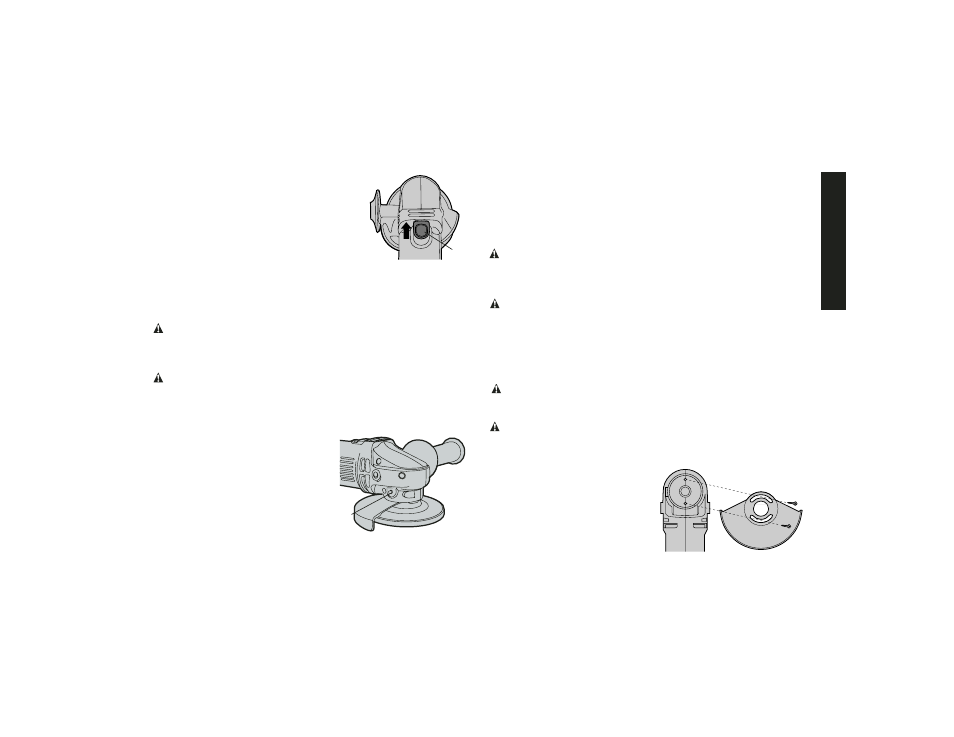
Spindle Lock
The spindle lock pin (E) is provided to
prevent the spindle from rotating when
installing or removing wheels. Operate
the spindle lock pin only when the tool
is turned off and unplugged from the
power supply. Do not engage the
spindle lock while the tool is operating
because damage to the tool will result
and attached accessory may spin off
possibly resulting in injury.
To engage the lock, depress the spindle lock button (E) and
rotate the spindle until you are unable to rotate the spindle further.
Mounting and Using Depressed Center
Grinding Wheels and Sanding Flap Discs
MOUNTING AND REMOVING GUARD
CAUTION: Turn off and unplug the tool before making any
adjustments or removing or installing attachments or acces-
sories. Before reconnecting the tool, actuate and release
switch to ensure that the tool is off.
CAUTION: Guards must be used with all grinding wheels, sand-
ing flap discs, wire brushes, and wire wheels. The tool may be used
without a guard only when sanding with conventional sanding
discs. D
E
WALT model DW400 is provided with a guard intended for
use with depressed center wheels (Type 27) and hubbed grinding
wheels (Type 27). The same guard is designed for use with sanding
flap discs (Type 27 and 29) and wire cup brushes and wire wheels.
CAUTION: Type 1 Abrasive and Diamond Cut-Off Wheels may
not be used on this tool. A Type 1 Cut-Off Wheel Guard is not avail-
able for the DW400.
CAUTION: Proper guard must be re-installed for grinding wheel
applications after sanding applications are complete.
1. Align the openings on the guard with the holes on the grinder,
as shown.
2. With guard skirt facing away
from grinder, rotate the guard
into desired working position.
The guard should be posi-
tioned between the spindle
and the operator to provide
maximum operator protection.
E
A
English
7