Thuraya XT-PRO User Manual
Thuraya xt-pro, Connect your xt-pro, Universally professional
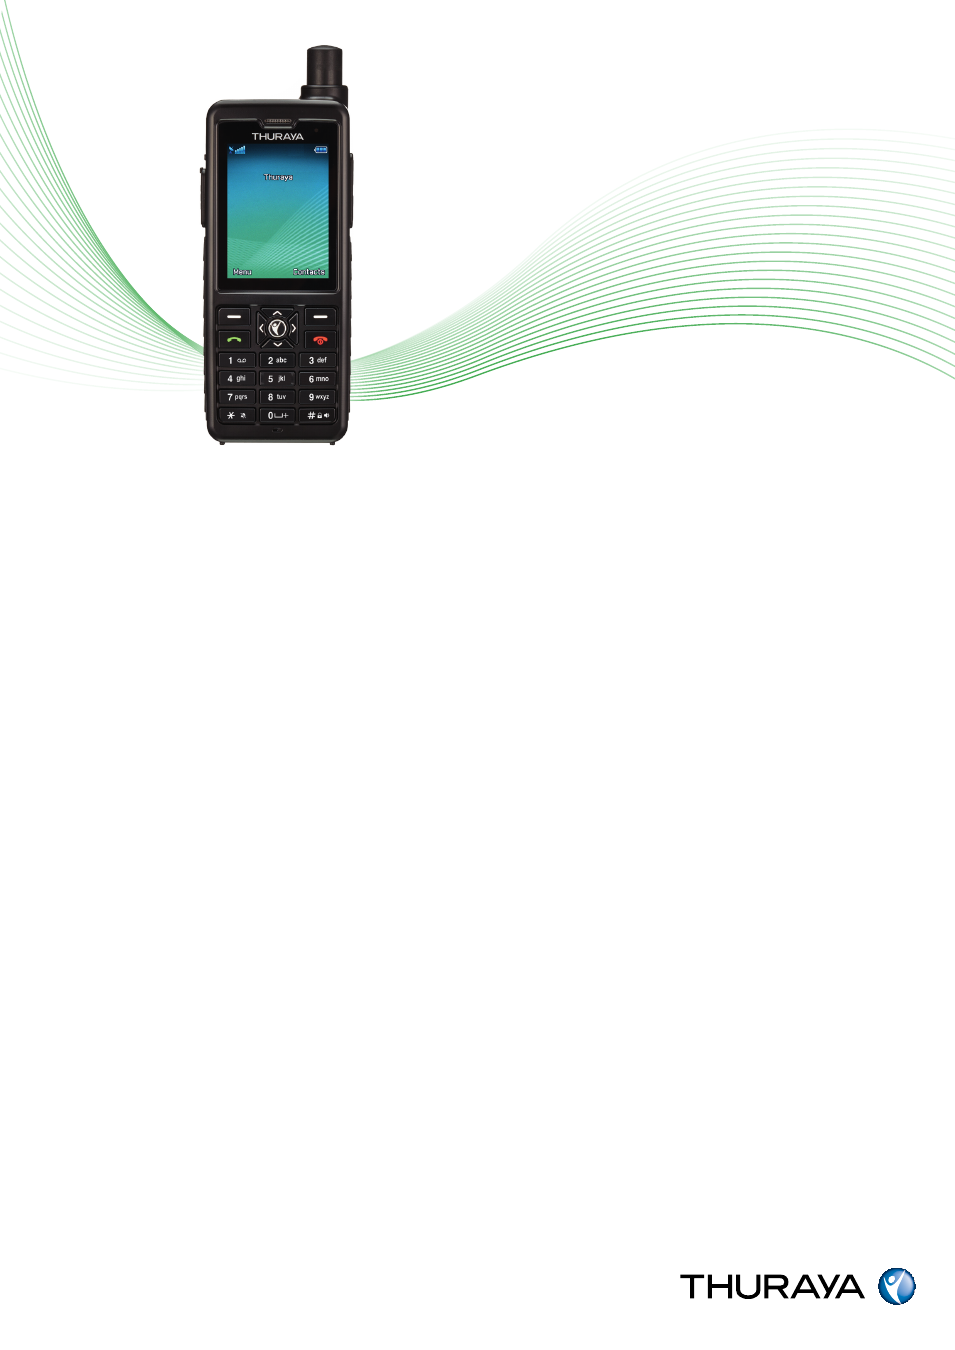
Thuraya XT-PRO
Universally professional.
Connect your XT-PRO
Version 1.0
May 2015
By connecting your Thuraya XT-PRO to a computer you can:
• Perform a software upgrade in case Thuraya releases a new software for your device
• Use data services via the XT-PRO
Software upgrades
Equipment & software requirements:
• Thuraya XT-PRO satellite phone
• Thuraya XT-PRO upgrader program (available from www.thuraya.com)
• USB data cable (included in your Thuraya XT-PRO packaging or available as a separate accessory)
• PC with Windows 8/8.1, Windows 7 or Windows Vista
Step 1
Download the latest Thuraya XT-PRO upgrader program.
Run the setup file - the upgrader program including the drivers will be installed.
Step 2
Download the required Thuraya XT-PRO software release to your hard disk (e.g. to your desktop).
Step 3
Connect your Thuraya XT-PRO to the PC/laptop via the USB data cable.
You can now start the Thuraya XT-PRO upgrader program and locate the software on your hard disk.
The upgrader program will guide you through the upgrade process.
Data Services via the XT-PRO
Use data services by setting up your XT-PRO as a data modem. Choose either GmPRS (up to 60/15
kbps download/upload) or Circuit Switched Data (9.6 kbps):
Download the latest Thuraya XT-PRO Upgrader program (this can be found on the included CD or on
the Thuraya website), which also contains the required driver for connecting your XT-PRO to a PC or
laptop to use data in satellite mode.
Step
1
Run the setup file - the Upgrader program including the USB driver will be installed.
Step 2
Connect your Thuraya XT-PRO with the PC/laptop via the USB data cable and set the phone up as a
data modem:
• Connect your Thuraya XT-PRO with the PC/laptop via USB data cable.
• Select
Start > Settings > Control Panel > System > Device Manager
.
• Check the USB serial port of Thuraya XT-PRO (e.g. COM40).
• Select
Start > Settings > Control Panel > Phone
and
Modem
.
• Select the Modems tab and press
Add
.
• Check the box of “Don’t detect my modem; I will select it from a list.” and press
Next
.
• Select and press Standard 56000 bps Modem and press
Next
.
• Select the USB serial port that you previously checked on step 3 and press
Next
.
• When the modem installation is completed, press
Finish
.
Step 3
Create a dial-up connection and in the dial-up phone number field, enter the access number
*99#
for
GmPRS or
1722
for Circuit Switched Data:
For Windows XP, Windows Vista & Windows 7:
• Select
Start > Settings > Control Panel > Network
and
Sharing Center
.
• Select and press
Set up a new connection or network
.
• Select and press
Set up dial-up connection
and then
Next
.
• Enter
*99#
or
1722
on the Dial-up phone number field. (Optionally you can enter user name and
password).
• Enter connection name and press
Connect
.
• Use the Internet via the newly created dial-up connection.
For Windows 8/8.1:
• Select
Start > Settings > Control Panel > Network
and
Sharing Center
.
• Select and press
Set up a new connection or network
.
• Select and press
Set up dial-up connection
and then
Next
.
• Select and press
Connect to the network
and then
Next
.
• Select and press
No, create a new connection
and then
Next
.
• Select and press
Dial-up connection
and then
Next
.
• Enter
*99#
or
1722
on the Dial-up phone number field. (Optionally you can enter user
name and password).
• Enter connection name and press
Connect
.
• Use the Internet via the newly created dial-up connection.
Access Point Name (APN)
There are 3 Thuraya APNs available, to change the default setting, on the XT-PRO, go to
Menu >
Settings > GmPRS > APN
:
• GET (default, no compression)
• GETLC (low compression, images will be compressed)
• GETHC (high compression, images will not be downloaded)
GETLC and GETHC are designed to compress all http traffic that is routed through them. Any emails
and apps that do not use http will be delivered uncompressed.