Setting up your qsonix system, About the qsonix infrared remote control – Qsonix Q110 User Manual
Page 7
7
Setting Up Your Qsonix System
In order to begin using your Qsonix system, you must first have it properly installed and integrated with your sound
system. Begin by unpacking both packages that came with your system and identifying all of the cables that you will
need for your installation
Confirm your package contents! Report any missing items to your installer/dealer. * = Qty
Qsonix System Box
Touchscreen Controller Box
- Qsonix Server device (*1)
- Power Cable (*1)
- CAT 5 Ethernet Network Cable
- RCA Stereo audio interconnect (*1)
- Coaxial Digital audio cable (*1)
- Rack Mount Ears set (*1)
- Infrared Remote Control with Batteries
- Documentation pack (EULA, user manual,
registration)
- Qsonix TS15 or TS17 touchscreen
controller (*1)
- Power cord (*1)
- 6ft VGA cable (*1)
- 6ft Serial (RS232) Cable(*1)
Note: Before connecting the cables of the touchscreen controller to the Qsonix server box, please be sure that both the
system and the monitor are turned off.
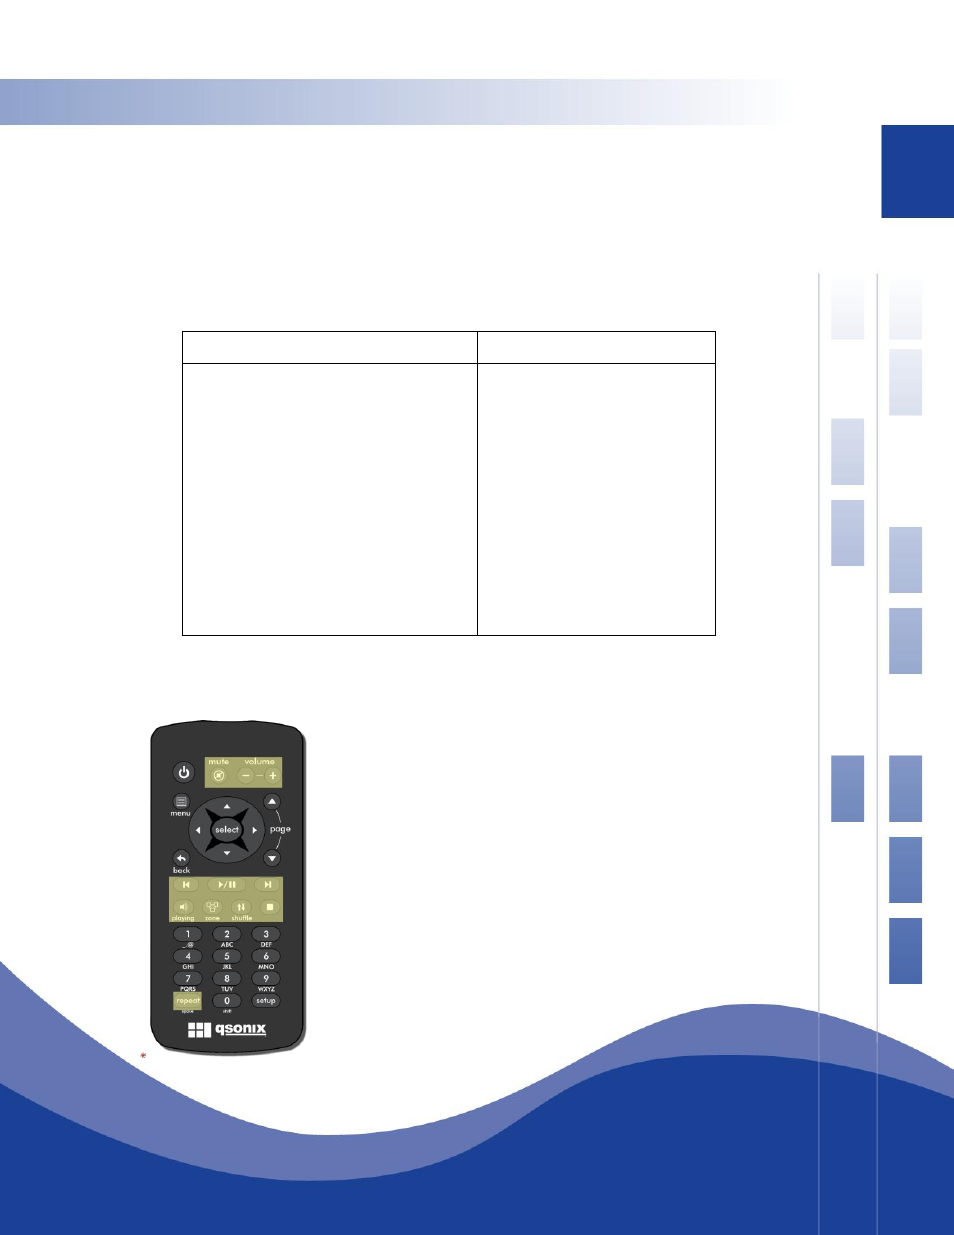
About the Qsonix Infrared Remote Control
Your Qsonix system may have came packaged with an infrared remote control that can
be used to control CERTAIN functions of your system. Currently only the functions
highlighted in the illustration to the left are supported including playback controls,
volume controls and zone selections controls. The Qsonix remote control can be used as
is, or can be used to train a universal type remote control that supports integration with
multiple A/V devices in your home.
Note: The Qsonix remote control capabilities will be further enhanced for onscreen
navigation and other functions via future software updates.