Installing the landing gear, Installing the flight battery in the airplane, Transmitter specific binding instructions – ParkZone PKZU1080 User Manual
Page 5: Additional binding information
8
9
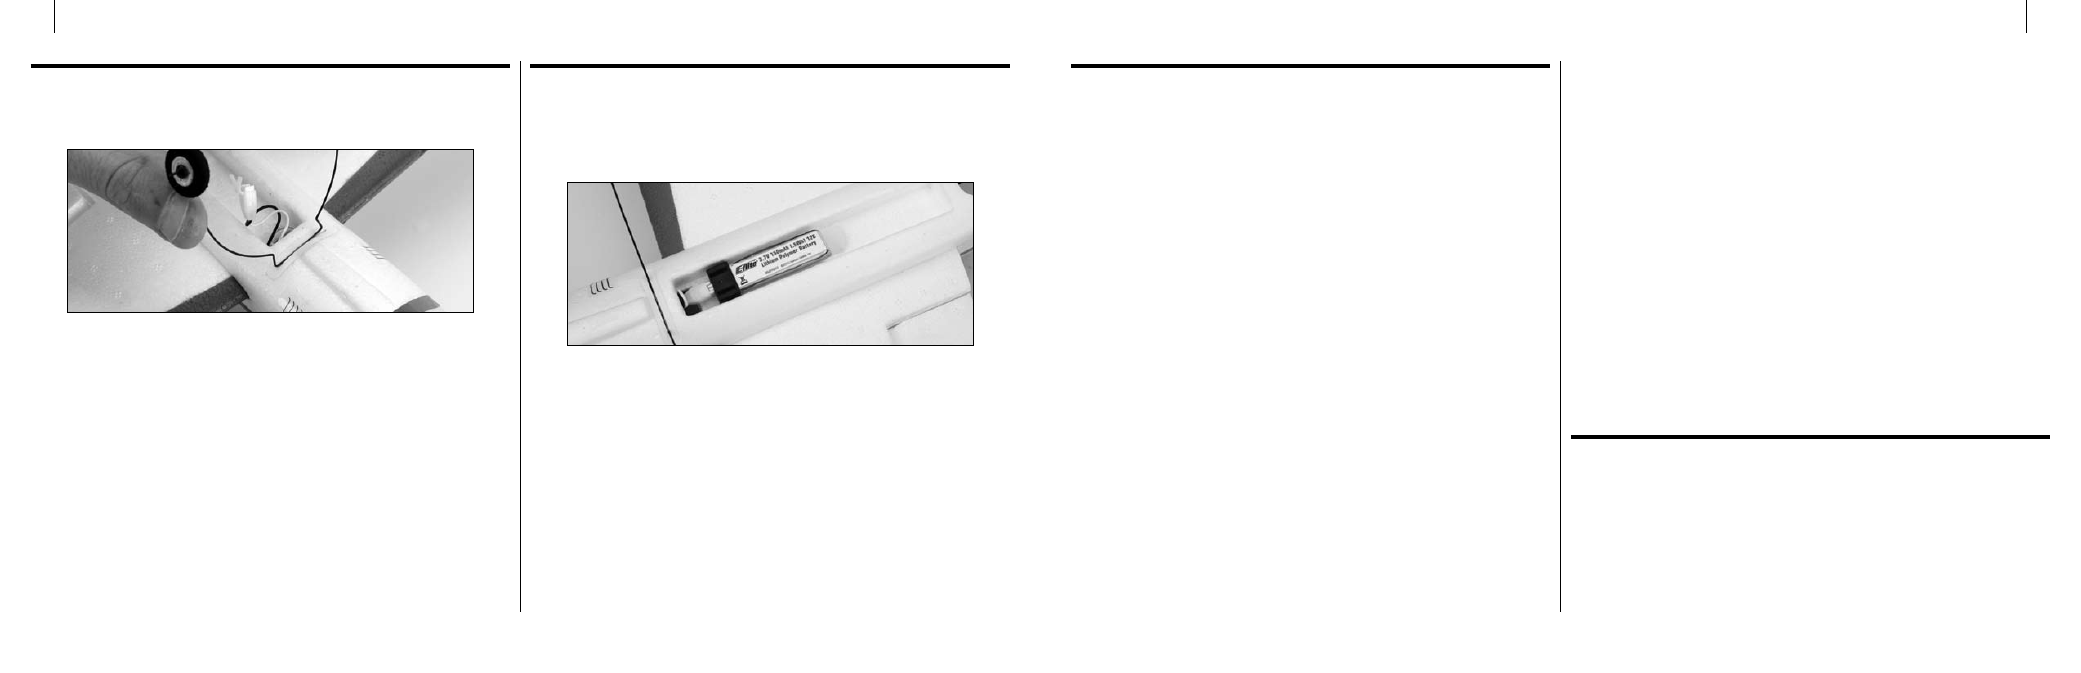
Installing the Landing Gear
Remove the airplane and landing gear from the box. Slide the
landing gear wire into the slot located on the bottom of
the fuselage.
Installing the Flight Battery in the Airplane
Once the Li-Po battery is fully charged, you can install it in the
airplane.
This is done by placing it into the slot on the bottom of the
fuselage. Make sure the plug faces toward the front of the airplane.
Note: The battery cavity is oversized to allow for Center of
Gravity adjustment. Start by placing the battery all the
way forward in the cavity, and adjust as necessary.
Transmitter Specific Binding Instructions
Binding is the process of programming the receiver of the control
unit to recognize the GUID (Globally Unique Identifier) code of a
single specific transmitter. You need to “bind” your chosen
Spektrum DSM2 technology equipped transmitter to the receiver
for proper operation. The following is a list of some of the
Spektrum DSM2-equipped transmitters and modules we
recommend for the Sukhoi SU-26
XP
.
Spektrum DX5e
JR X9303 2.4
Spektrum DX6i
JR 12X 2.4
Spektrum DX7/se
DX5e or DX6i
1. To bind your Sukhoi SU-26
XP
to the DX5e or the DX6i, plug
the battery into the receiver of the airplane. The LED on the
receiver will flash red.
2. Move the sticks and switches on the transmitter to the desired
failsafe positions (low throttle and neutral control positions are
recommended).
3. Pull and hold the Trainer Switch on the transmitter while
turning the transmitter on. Release the trainer switch once the
transmitter beeps.
4. The LED on the receiver will go solid red; the system will
connect after several seconds.
DX7, DX7se, X9303, or 12X
1. To bind your Sukhoi SU-26
XP
to the DX7, DX7se, X9303, or
12X; plug the battery into the receiver of the airplane. The
LED on the receiver will flash red.
2. Move the sticks and switches on the transmitter to the desired
failsafe positions (low throttle and neutral control positions are
recommended).
3. Press the bind button on the back of the transmitter while
turning the transmitter on. The bind button on the back of the
transmitter will flash. Release the button after 2–3 seconds.
4. The LED on the receiver will go solid red; the system will
connect after several seconds.
The transmitter is now bound to the airplane. If you encounter any
problems, repeat the binding process again, see the
troubleshooting guide.
Additional Binding Information
Prior to each flight, power on your transmitter and wait about five
seconds before you plug the flight battery into the receiver.
This allows time for the transmitter to scan and secure two open
frequencies. If you plug the flight battery in too quickly and miss
the link, the receiver may inadvertently enter bind mode. If this
occurs leave the transmitter on, then disconnect and reconnect the
flight battery.