Simply connected, Xgs-1008p installation, Installation requirements – Luxul XGS-1008P User Manual
Page 5: Before connecting to the network, Installing the xgs-1008p in a rack
Simply Connected
© 2015 Luxul. All Rights Reserved.
Other trademarks and registered trademarks are the property of their respective owners
5
Installation Requirements
Install the XGS-1008P in a stable/safe place to avoid any possible damage
Inspect the AC power cord to ensure that it is correctly connected
and undamaged
To avoid electric shock, DO NOT open the XGS-1008P housing (no user service-
able parts inside). Opening the XGS-1008P will void your warranty.
It is recommended that the Grounding connection to the outlet is functioning
properly and the XGS-1008P is positioned away from direct sun light
Ensure there is suffi cient space around the XGS-1008P for proper ventilation and
heat dissipation. It is recommended to have at least 4-6 inches around all sides.
Before Connecting to the Network
Before connecting the XGS-1008P to the network, please check the following:
Determine placement location. Do not place any heavy articles on the
XGS-1008P.
Ensure there is adequate space for proper heat dissipation and ventilation
around the XGS-1008P.
Power socket should be within 4 feet of the XGS-1008P.
Check power cable to confi rm safe and secure connection.
XGS-1008P INSTALLATION
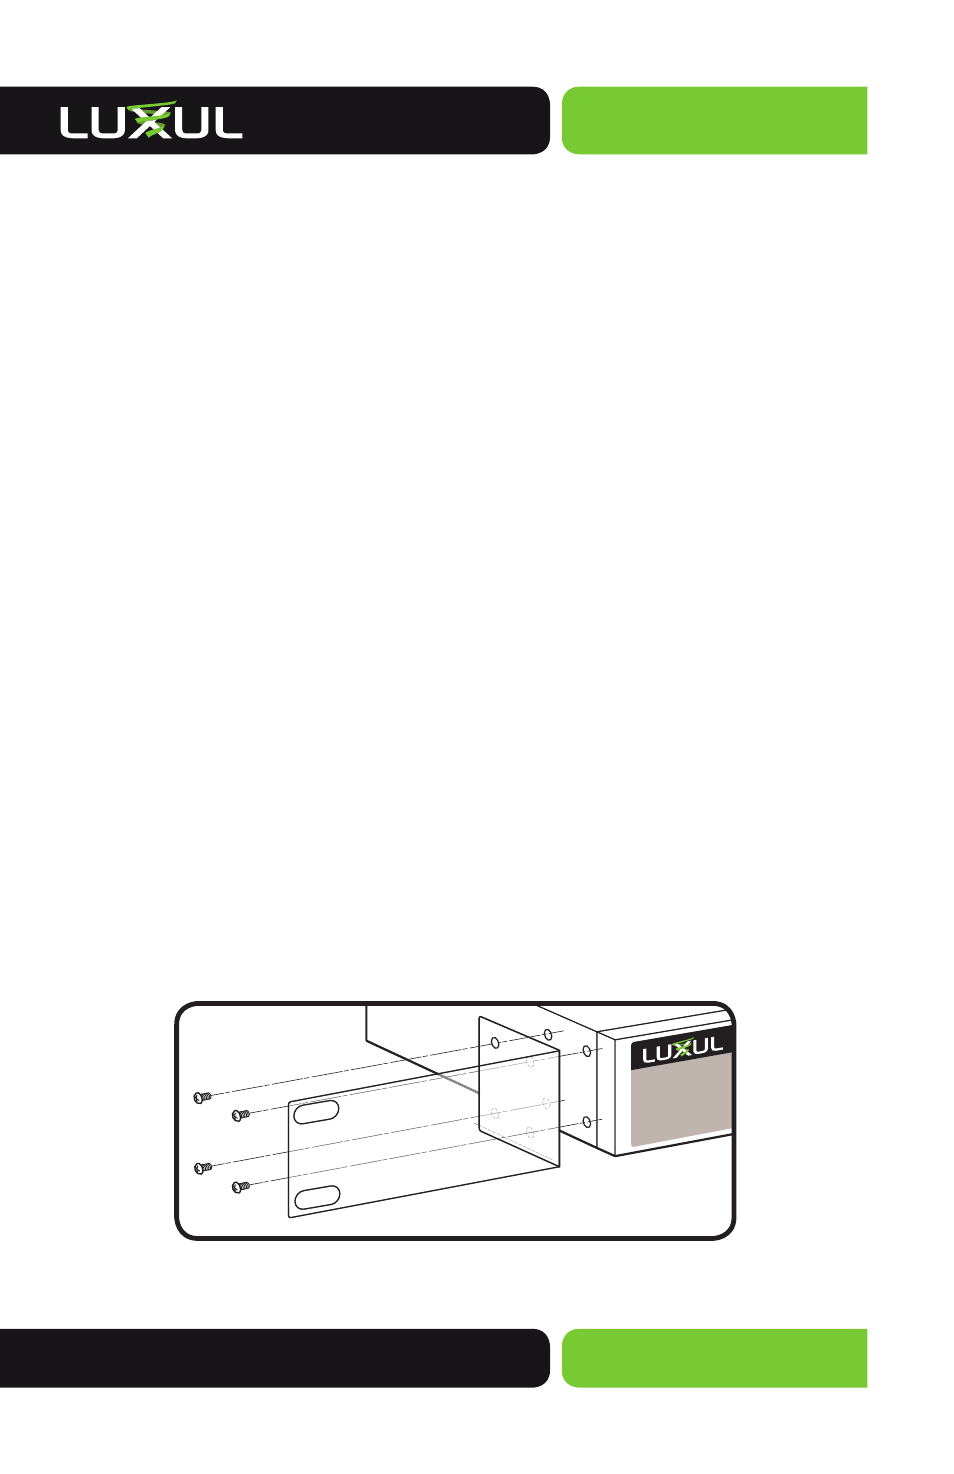
Installing the XGS-1008P in a Rack
The XGS-1008P can easily be installed in a standard 19” rack. The XGS-1008P includes
two mounting ears for installing and stabilizing the switch. For attaching the mounting
ears and installing the switch within a rack, please refer to the following illustration:
Rack-Mounting the XGS-1008P