Quick install guide xfs-1816p, Xfs-1816p installation, 2 before connecting to the network – Luxul XFS-1816P User Manual
Page 6: Installation on desktop/shelf, Installation in a rack, Desktop/shelf installation of xfs-1816p, L-shaped supports for xfs-1816p
Quick Install Guide
XFS-1816P
a: 14203 Minuteman Drive, Suite 201, Draper, UT 84020-1685 | luxul.com | 801-822-5450
LUX-QIG-XFS-1816P-v1 029151040
6
3.2 Before Connecting to the Network
f
The XFS-1816P can be rack-mounted or used as a desktop switch. Before connecting to the
network, please be aware of the following requirements:
f
Install the XFS-1816P in a stable/safe place to avoid any possible damage
f
Make sure there is adequate space around the XFS-1816P for adequate ventilation and proper
heat dissipation. It is recommended to have at least 4-6 inches around all sides.
f
Do not place heavy articles on the XFS-1816P.
f
Power outlets should be within 5 feet of the XFS-1816P.
f
Verify the ground connection of the outlet is functioning properly.
f
Check the power cord to confi rm a secure connection.
f
Avoid placement in direct sunlight.
f
When installing the XFS-1816P on a fl at surface, attach the rubber feet to the bottom of the
device to avoid scratching the surface.
XFS-1816P INSTALLATION
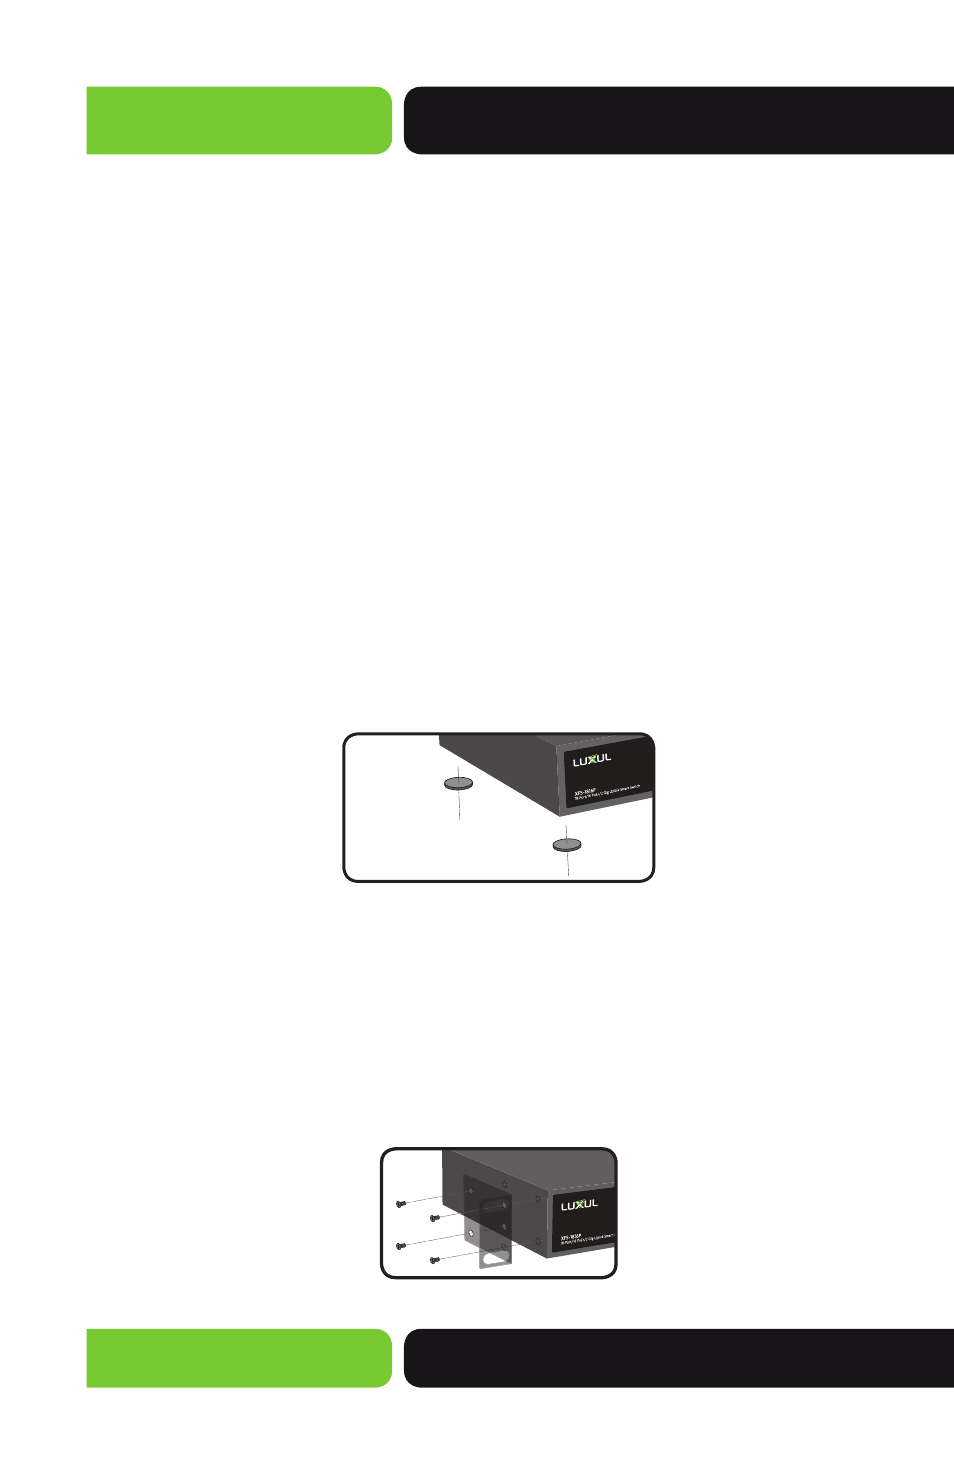
Installation on Desktop/Shelf
As shown below, attach the four rubber footpads to 4 corner indentations on the bottom of
the XFS-1816P. Place the switch horizontally on a solid, level platform.
Desktop/Shelf Installation of XFS-1816P
Installation in a Rack
The XFS-1816P is suitable for 19-inch rack installation. With the included L brackets, it can be
conveniently installed into a server or audio rack. As shown below, use four screws to attach
the L-shaped brackets on either sides of the XFS-1816P, and horizontally insert the switch
into a free space within the rack. Use your desired hardware to affi x the switch supports to
the rack.
L-Shaped Supports for XFS-1816P