Quick install guide xap-310, Preparing for installation, Xap-310 installation – Luxul XAP-310 User Manual
Page 4: Poe injector led indicators, System and power requirements, Access point placement, Ceiling and wall mounting
Quick Install Guide
XAP-310
14203 Minuteman Drive, Suite 201, Draper, UT 84020-1685 | luxul.com | 801-822-5450
LUX-QIG-XAP-310 029150954
4
PoE Injector LED Indicators
Name
Status
Function
PWR
On
Power is connected to the injector
Off
Injector is not receiving power
PREPARING FOR INSTALLATION
System and Power Requirements
Computer with supported Web browser. Minimum supported web browser
versions include: I.E. 9.0, Firefox 7, Safari 5.0, Chrome 14 and up. The Web browser
is used to confi gure the XAP-310.
The POE injector power supply requires AC100V ~ 240V, 50Hz ~ 60Hz.
XAP-310 INSTALLATION
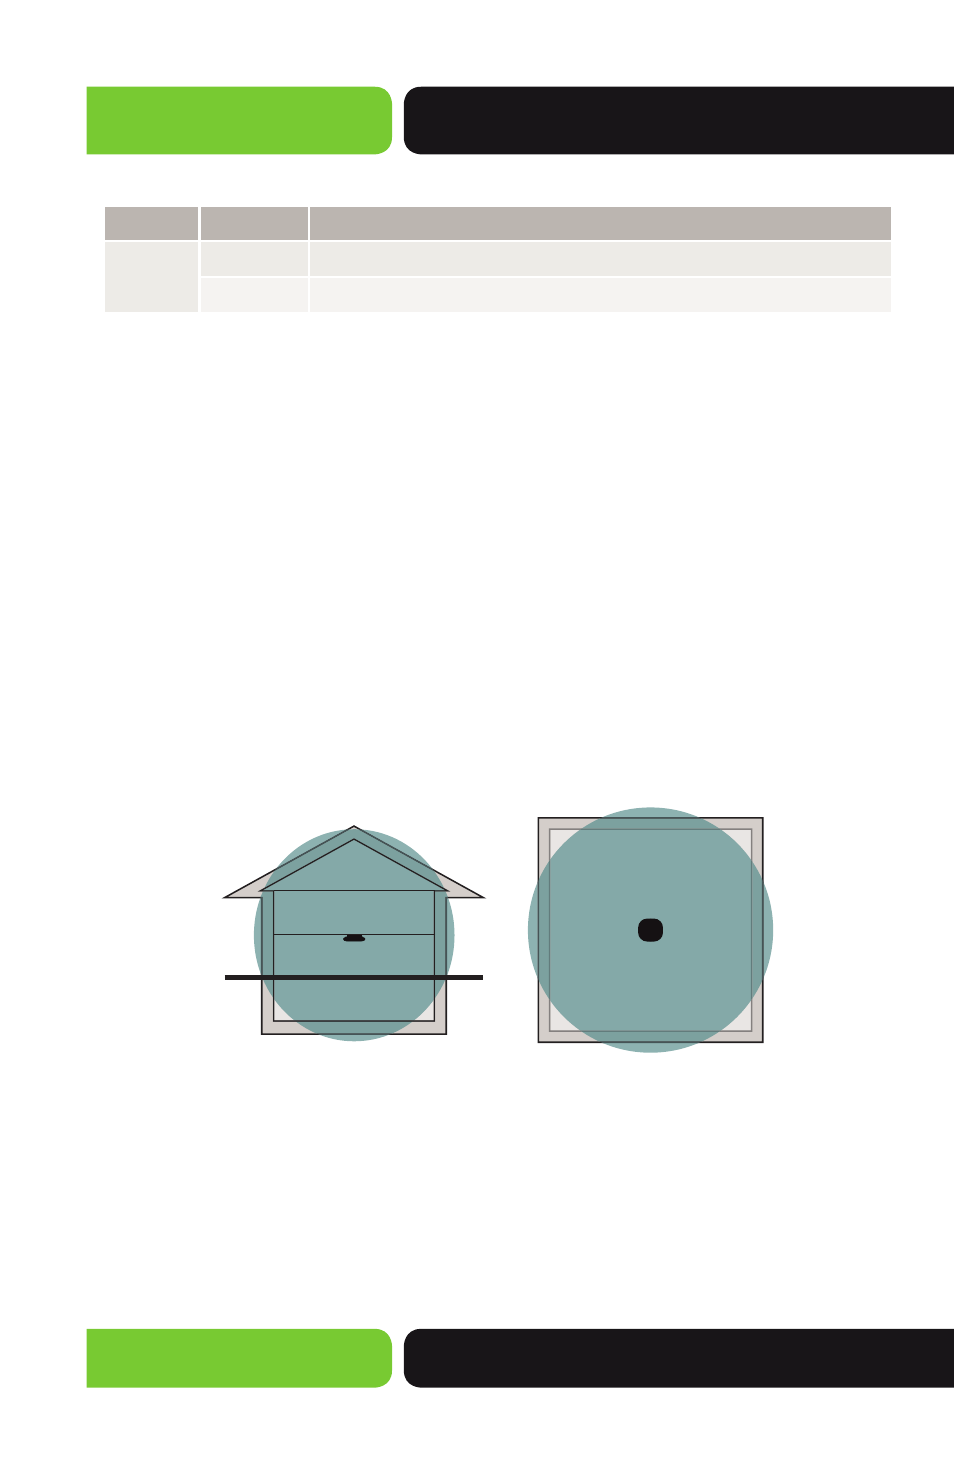
Access Point Placement
The XAP-310 access point is designed for simple and effi cient installation and
setup. It can be mounted on the ceiling, wall or placed on a desktop or other fl at
surface. Because the signal generated by the XAP-310 is omnidirectional, the unit
should be mounted on a ceiling or wall directly in the center of the desired cover-
age area.
XAP-310 Coverage Pattern
Ceiling and Wall Mounting
The XAP-310 comes with a square mounting bracket to mount it to the wall or
ceiling. Use the Mounting Pattern (Page 6-7) for mounting bracket alignment.