Laerdal MegaCode Kelly Advanced (SimPad Capable) User Manual
Page 6
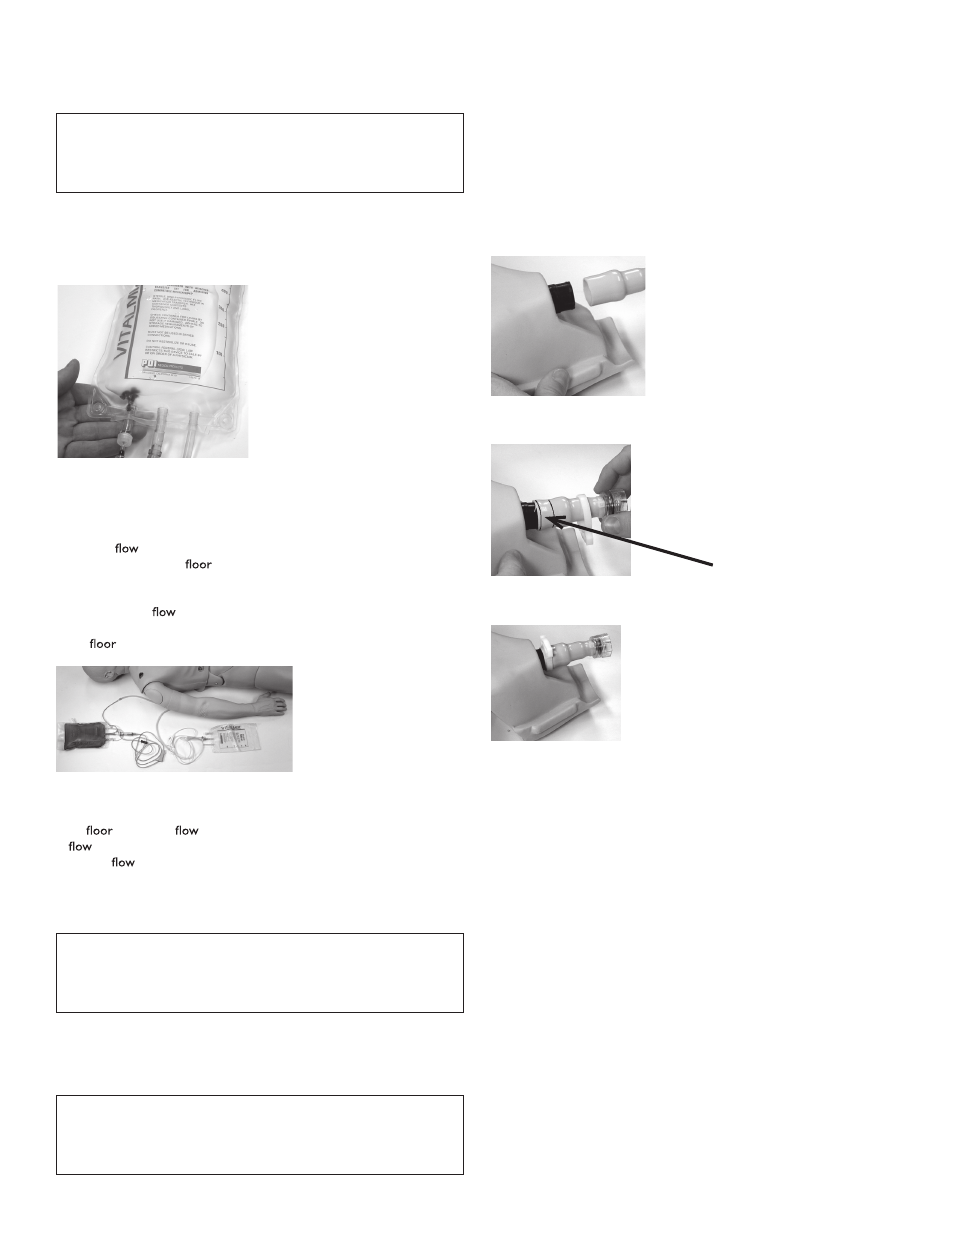
IV Cannulation:
Laerdal Recommends
Use a 21G or smaller catheter for IV cannulation to extend the
life of your manikin’s IV arm.
1. Attach an IV bag with tubing. Note: Make sure the clamp is closed.
2. Use a syringe to inject blood concentrate and 500cc of water into an IV
bag with tubing. Note: Make sure the clamp is closed. This will serve as
the “blood source” bag. (Photo 3)
Photo 3
3. Attach the “blood source” bag with IV tubing to one of the latex tubes
exiting the manikin’s right IV arm.
4. Attach an empty bag with IV tubing to the second latex tube exiting the
manikin’s right IV arm. This bag will serve as the collection reservoir.
5. Control
of blood from arm, via clamp on collection reservoir tubing.
Put collection bag on
to allow the now closed system to gravity
feed.
6. Hang “blood source“ bag from IV pole and open clamp to allow
concentrate to
through arm. Note: A blood pressure cuff can be
used as a pressure infuser. This will allow the blood bag to be placed on
the
or between the mattress and frame.
(Photo 4)
Photo 4
7. When the “blood source” bag is empty, switch the “blood source“ bag
and reservoir. Hang the now full reservoir and place empty reservoir bag
on
to reverse
of concentrate.
NOTE: Be sure to adjust the
regulator. The collection reservoir clamp should always be used to
control
rate.
The arm is now ready for cannulation. Train per local protocol.
NOTE: Do not use iodine as this will permanently stain the manikin
Laerdal Recommends
When using a catheter or other venipuncture device, spray with
lubricant spray for easier insertion.
Intramuscular Injections:
Medications can be administered via intramuscular injections bilaterally in
the deltoids and thighs and in the gluteal and ventro-gluteal locations.
Laerdal Recommends
Medications may be administered via local protocol. All precautions
and safety measures must be followed during training.
Urinary Catheterization: (Genitalia Kit Optional)
1. Remove blank genitalia from the manikin.
2. Lift and rotate the pelvic pin to one side. NOTE: Failure to replace the
pelvic pin will result in pelvic spread.
3. Lift the urinary reservoir.
4. Using the urinary valves provided, attach threaded end of the connector
valve to the corresponding threaded urinary connector on the genitalia
(Photo 5-7).
5. Place the C Clamp over the valve, leaving loose.
6. Slide the smooth end of valve the to meet the ridge on the connector.
Photo 5
(Slide tube to meet ridge on connector.)
7. Move the C Clamp over the connector and the valve.
Photo 6
(Area where clamp is placed.)
8. Squeeze to tighten the C Clamp. This will lock the C Clamp in place.
Photo 7
(Apply clamp and squeeze to tighten.)
9. Replace
the
genitalia
assembly into the manikin torso.
10. Replace Pelvic Pin NOTE: Failure to replace the pelvic pin will result
in pelvic spread.
11. Remove plug in urinary reservoir.
12. Using a 100cc syringe, fill reservoir with colored water.
13. Perform urinary catheterization as per your local training protocol.
Laerdal
4
MegaCode Kelly