DuraVent FasNSeal 8090 Installation User Manual
Page 7
7
LOWER (Appliance) side of install (Fig.6)
1. Flex should stick outside B Vent minimum
3”, maximum 5” (trim if needed).
2. Apply generous amount of silicone to flex
and PolyPro / Flex adapter (or other approved
DuraVent or Security Chimneys product).
Insert flex into adapter and tighten hose
clamp.
3. Install firestop onto adapter, fasten to
B-Vent using supplied hardware.
4. Continue vent run to the appliance per the
appropriate instruction.
MAINTENANCE
Have your venting system checked annually.
This can be done by the same technician
who inspects & services the appliance.
Recommended areas to inspect are as
follows:
- Check areas of the Venting System which
are exposed to the elements for wear or
damage. If damage is found, the components
should be replaced immediately.
- Where possible, look into the Termination
Cap to verify no foreign material is there to
block the vent. Remove any foreign material
found.
- Where practical, inspect joints to verify
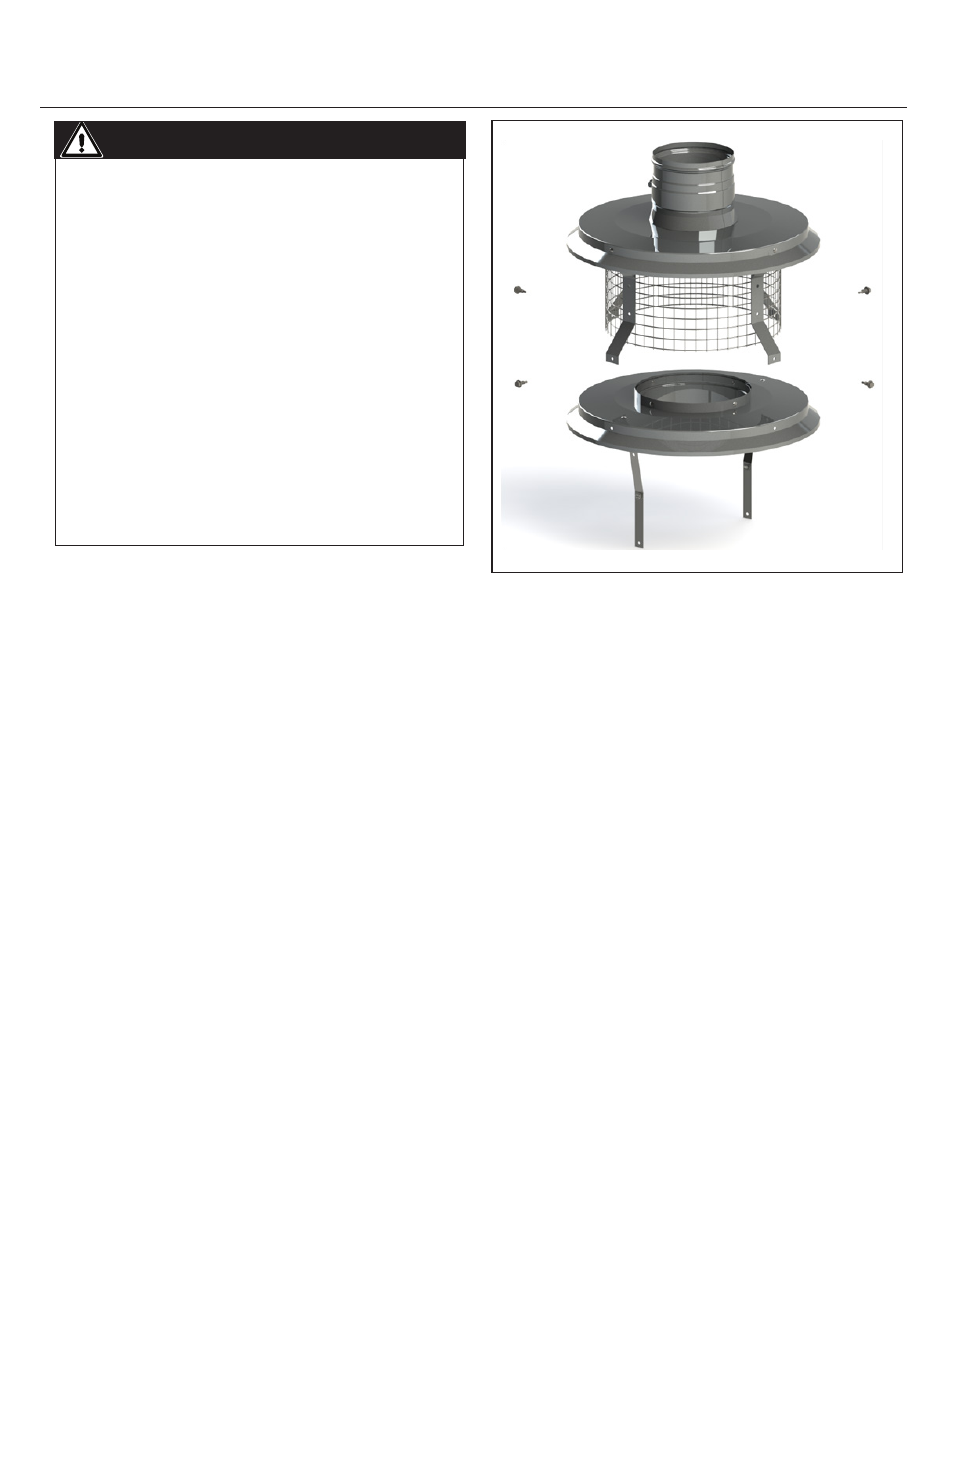
Figure 7- Disassembly of Cap
IMPORTANT
When installing FasNSeal Flex, the
direction of exhaust flow is away
from the appliance. There is an arrow
printed on each section of liner and
components that will point in the
direction of the exhaust gas. You can
confirm the liner is installed correctly
by running your fingernails up the
inside wall of the liner. If the direction
is correct your nails will catch at the
seams of the inner wall. If it is incorrect
your nails will slide
smoothly across
the inner surface.
that no Pipe Sections or Fittings have been
disturbed, and consequently loosened. Also
check mechanical supports such as Wall
Straps, support plates, etc for rigidity.
Should the termination need to be removed,
loosen flex hose clamp and unfasten from
B-Vent. If internal access is needed, the four
screws holding the termination top to the
termination base may be removed and the
termination top will lift off (Fig.7).