Clay Paky GLOW UP STRIP 100 User Manual
Page 11
11
GLOW UP STRIP 100
EDIT SCENE
To create/overwrite/modify a SCENE customised by the user:
1) Press ENTER
A
– SCENE 1 appears on the display.
2) Use the UP
B
and DOWN
C
keys to select from the ten available
SCENES.
3) Press ENTER
A
to open a SCENE.
4) A value can be associated with each GLOW UP channel inside each
SCENE using the UP
B
and DOWN
C
keys.
5) When finished with settings, press SELECT
S
. A confirmation
message appears: SAVE SCENE X ?.
6) Press ENTER
A
to confirm and save the SCENE or SELECT
S
to
return to the previous menu.
EDIT SEQUENCE
Allows you to create a sequence, made up of a series of SCENES saved
by the user.
1) Press ENTER
A
– MEMORY 1 appears on the display.
2) Use the UP
B
and DOWN
C
keys to select one of the ten
MEMORIES available.
3) Press ENTER
A
to access the MEMORY
4) Press ENTER
A
to access the MEMORY and add/delete/modify
STEPS with SCENE/SPEED/FADE as required.
5) Press ENTER
A
to confirm the selection or SELECT
S
to return to
the previous Menu.
DMX RECORDER
To record a scene sequence programmed on the unit.
The projector must be set to Slave --> Receiver in order to accept a
recording. Press ENTER
A
and reset the "Memory" by pressing
ENTER
A
again. GLOW UP is now ready to store control unit DMX
data (DMX waiting ...).
On completing the recording, press ENTER
A
to save, otherwise
press SELECT
S
Esc.
DMX ADDRESS
Allows the user to set the DMX address to be assigned to the projector.
1) Press ENTER
A
– the current DMX address appears on the display.
2) Use the UP
B
and DOWN
C
keys to set the DMX address.
3) Press ENTER
A
to confirm the selection (the display blinks for
several seconds) or SELECT
S
to keep the current settings and
return to the previous Menu.
To enable the "Advanced Menu" set up the "Access code" (1234) using the
UP
B
, DOWN
C
, RIGHT
E
keys.
Press
F
- "Menu advanced" appears on the display
RADIO
Assigns the desired command to the GLOW UP Radio module Radio.
1) Press ENTER
A
– current settings appear on the display.
2) Use the UP
B
and DOWN
C
keys to select one of the following settings:
Unlink Trasmitter – Disconnected from the transmitter
Link Receivers – Connected to all free receivers
Unlink Receiver – Disconnected from all receivers
Select Card – it allows you to select the type of Radio card that is
installed or to be installed between the 2 available LM card and WS card
Config. Card
Tx mode – allows the user to select either the G3 or G4 transmission
channels. Press ENTER
A
and use the UP
B
e DOWN
C
keys
to select one of the two available channels.
RDM discovery – to be used only when the wireless card is replaced;
press ENTER
A
to start the automatic search option.
3) Press ENTER
A
to confirm the selection (the display blinks for
several seconds) or SELECT
S
to keep the current settings and
return to the previous Menu.
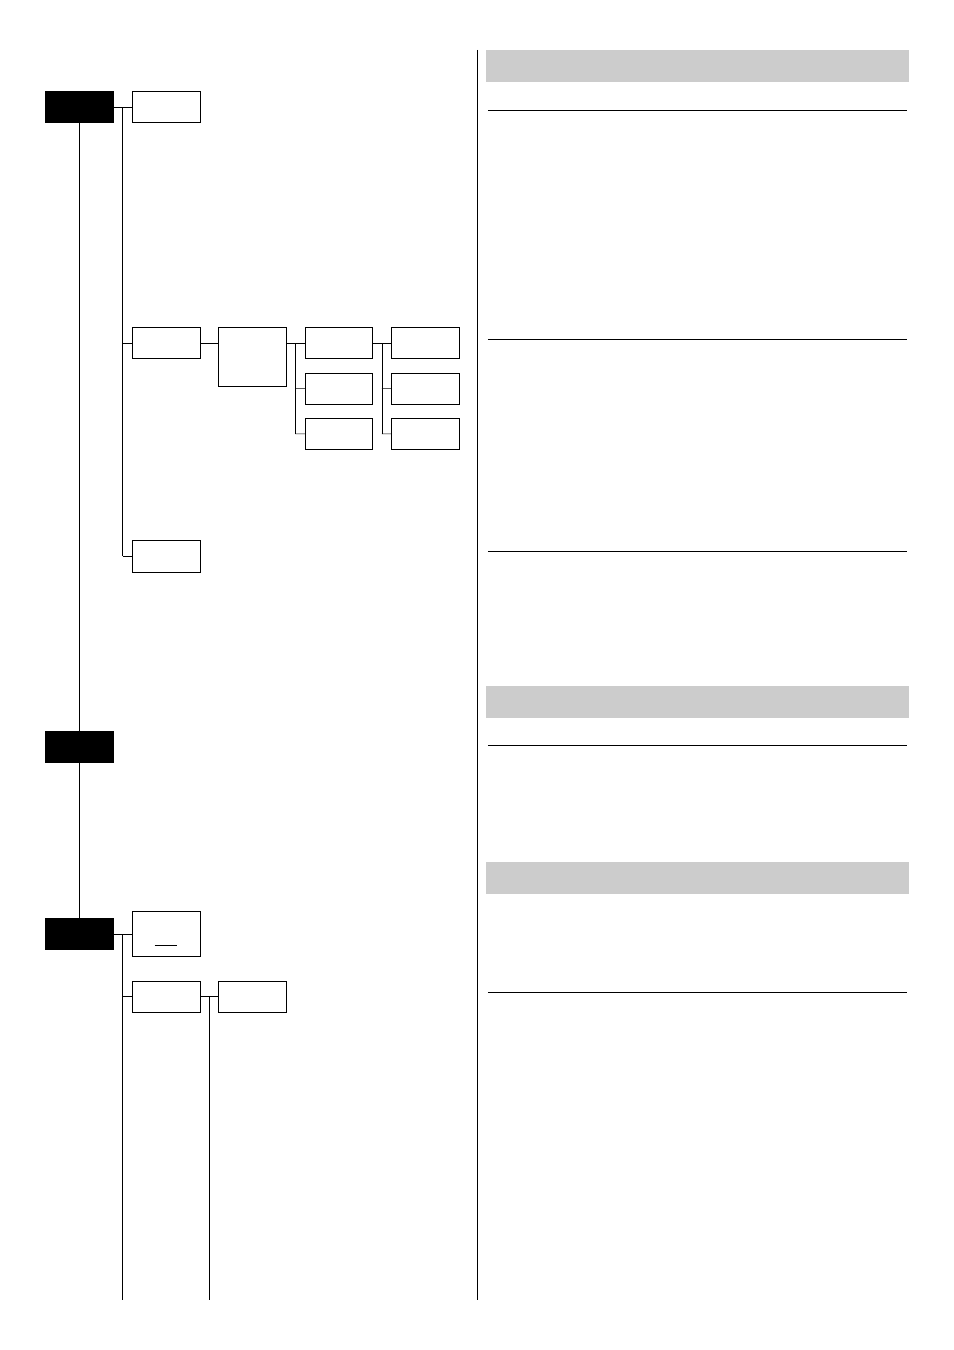
PROGRAM MENU
DMX ADDRESS MENU
ADVANCED MENU
Continued
➔
Program
Edit scene
Edit
Sequence
DMX
recorder
Add step
Delete step
Modify step
Scene
Speed
Fade
DMX
Address
Memory 1
...
...
Memory 10
Setup
Radio
Code
1234
Advanced