Rack posmons, Half rack, Oven light – Maytag PERFORMA PER4510 User Manual
Page 8: Oven vent, Oven racks a, Caution
Attention! The text in this document has been recognized automatically. To view the original document, you can use the "Original mode".
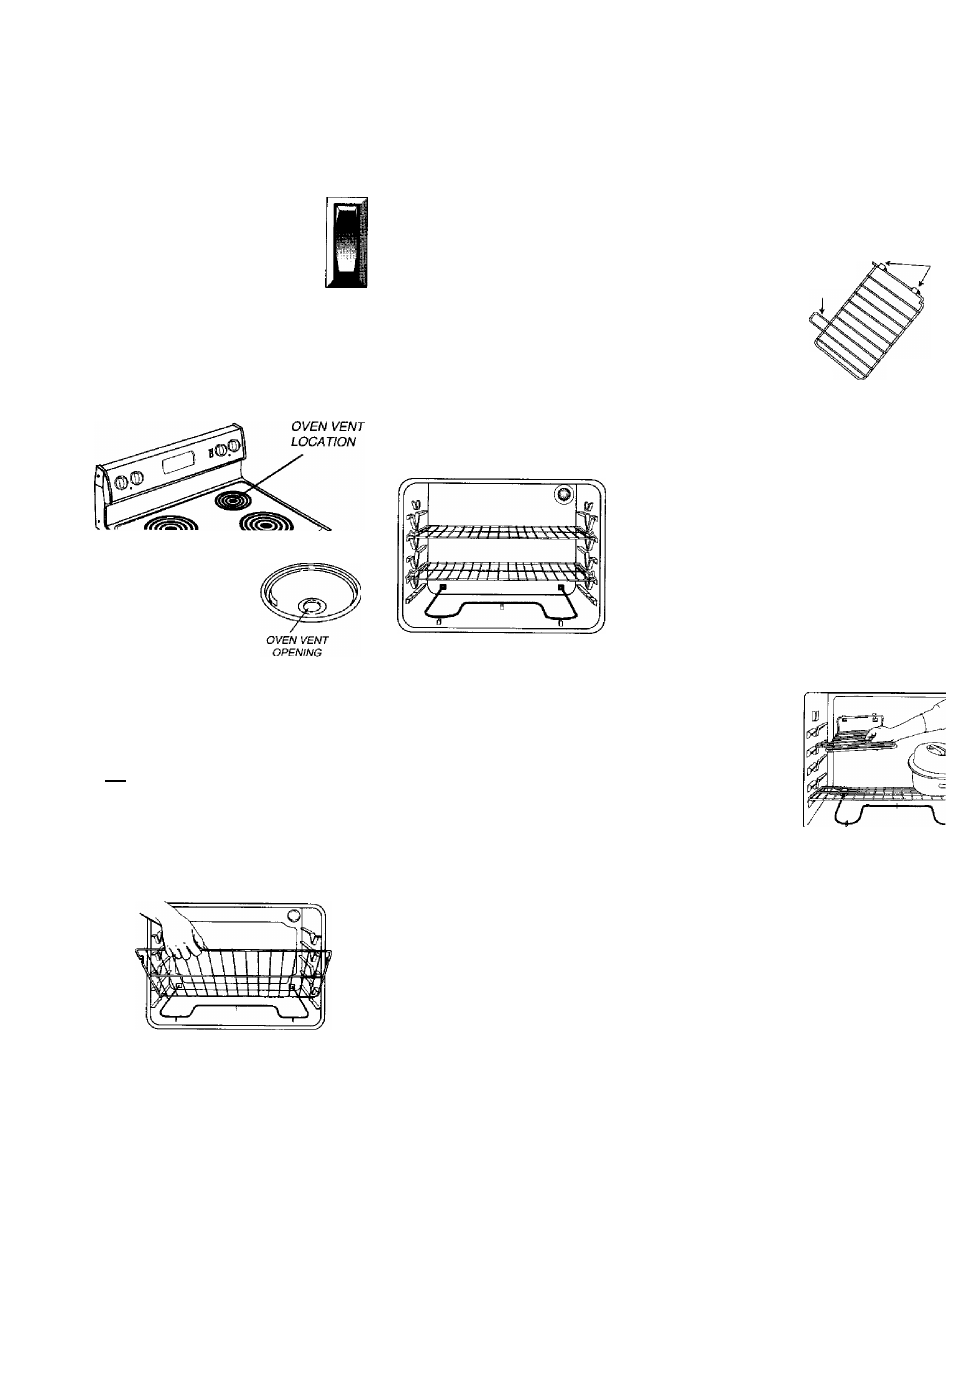
Oven Light
Push the switch on the control
panel to turn it on and off.
Oven Vent
When the oven is in use, the area near the
vent may feel hot or warm to the touch.
Never block the vent opening.
On a coil element
surface, be sure the
drip bowl in the vent
location has a hole in
the center. Do not
cover the drip bowl
with aluminmn foil.
Oven Racks
A
CAUTION:
Do not attempt
|
to change the rack position when the
oven is hot.
Your oven has two racks. They are de
signed with a lock-stop edge.
To remove: Pull rack straight out until it
stops at the lock-stop position; lift up on
the front of the rack and pull out.
To replace: Place rack on the rack support
in the oven; tilt the front end up slightly;
slide rack back until it clears the lock-stop
position; lower front and slide back into
the oven.
Do not cover an entire rack with alumi
num foil or place foil on the oven bottom.
Baking results will be affected and dam
age may occur to the oven bottom.
Rack PosMons
RACK 5 (highest position):
Used for toasting bread or broiling
thin non-fatty foods.
RACK 4:
Used for most broiling.
RACK 3:
Used for mostbaked goods on a cookie
sheet or jelly roll pan, layer cakes, fruit
pies, or frozen convenience foods.
RACK 2:
Used for roasting small cuts of meat,
casseroles, baking loaves of bread,
bundt cakes or custard pies.
RACK 1:
Used for roasting large cuts of meat
and poultry, frozen pies, dessert
souffles or angel food cake.
Multiple Rack Cooking:
Two rack; Use rack positions 2 and 4,
or 1 and 4.
Half Rack
To install in oven:
Tabs
1.
Always in-
Support
stall half rack
when oven is
cool
Front
2. Grasp top center
of the half rack.
Align the side arm support between
the top fourth and fifth oven rack
guides. Insert the two tabs on the back
frame of the half rack into the slots on
the upper left rear of the oven wall.
3. Push firmly on the top surface of the
half rack until the tabs slide into the
slots and the half rack side arm sup
port rests on the fourth oven rack guide.
4. Check for proper installation by plac
ing your hand on the top surface of the
half rack and pressing down firmly.
To remove from the oven:
When the oven
is cool, grasp the
top center of the
half rack and
pull upward un
til the back tabs
on the rack slide
out of the oven
back slots.
NOT&:
Do not use cookware that extends
beyond edge of rack.
For best results, allow two inches
between the pan placed on the
rack and the oven side wall.
When opening the oven door, al
low steam and hot air to escape
before reaching into the oven to
remove food.
Use caution
w/ien
removing items
from the half rack to avoid burns.
Carefully remove items from the
lower rack to avoid disturbingthe
half rack.