Edging, Border design, Slant overedge stitch – SINGER 9113 User Manual
Page 30: Arrow stitch
Attention! The text in this document has been recognized automatically. To view the original document, you can use the "Original mode".
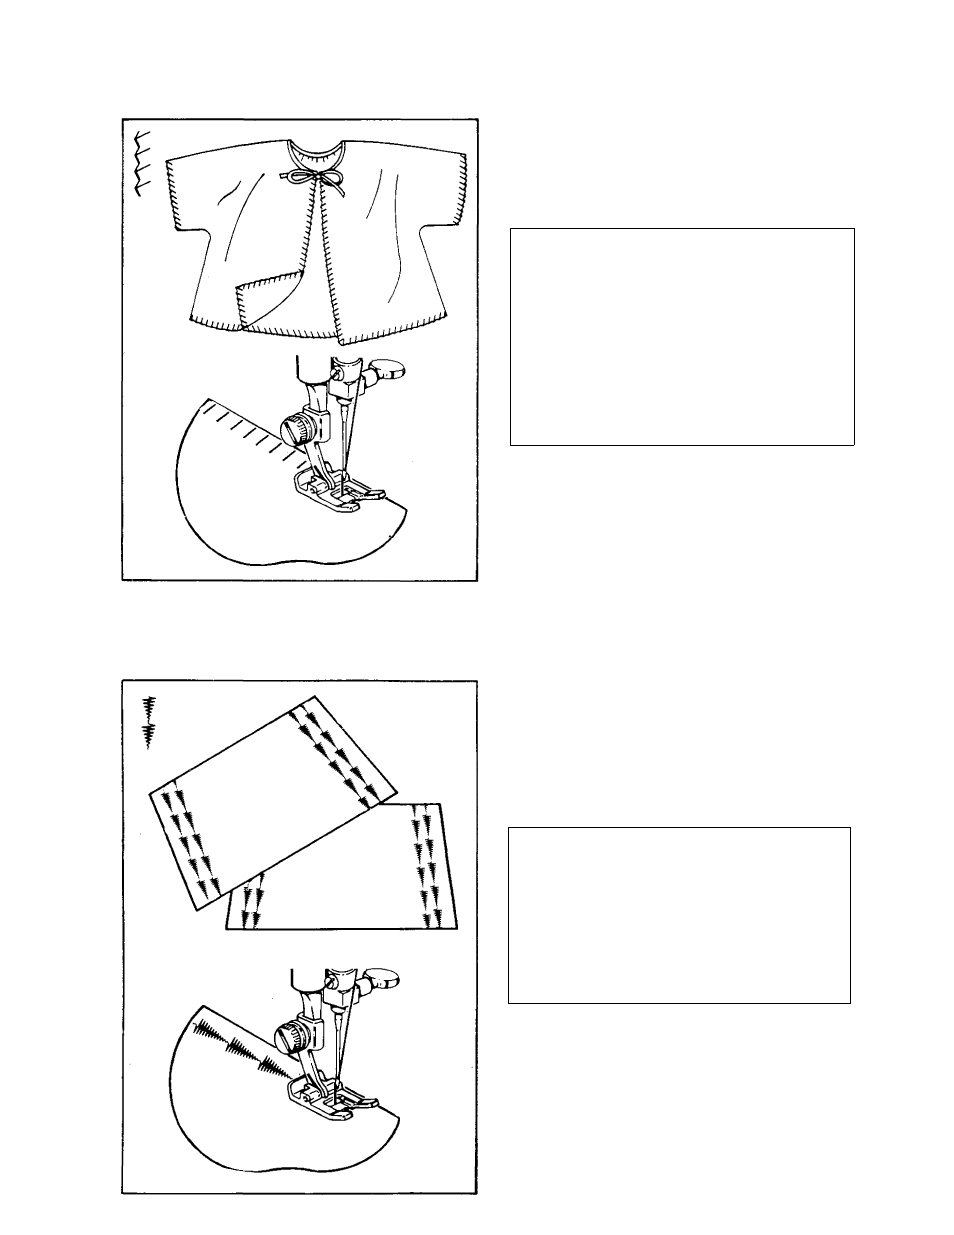
SLANT OVEREDGE STITCH
f (If your machine has this pattern)
With the Slant Overedge Stitch you can stitch and finish a seam in one step. It is also
ideal for edging and appliqueing.
EDGING
Add a delicate touch to your sewing while
finishing and reinforcing your edges.
• Sew seams in usual manner and press.
RECOMMENDED SETTINGS
Stitch Selection:
Slant Overedge
Stitch
Stitch Width:
1
1 ^ ^
Stitch Length:
3-1/2 to 4
Foot:
Special Purpose (J)
Needle Plate:
General Purpose (A)
Adjust balance, if
necessary
• Place edge of garment, right side up,
under presser foot.
• Bulk of garment should be to the left.
• As you stitch, needle should go over
right edge of fabric, as shown.
ARROW STITCH
^ (If your machine has this pattern)
This stitch is a decorative and secure finish to seams, pleats and pockets. It can also be
used as a border design.
BORDER DESIGN
• Sew seams in usual manner and press.
• Mark stitching lines on fabric where
desired.
RECOMMENDED SETTINGS
Stitch Selection;
Arrow Stitch
Stitch Width:
I I ^ ^ —
vw
\
aaaaa
/W1/^
Stitch Length:
1 or lower
Foot:
Special Purpose (J)
Needle Plate:
General Purpose (A)
• Center stitching line under presser foot
and sew.
• Trim thread ends close.to fabric.
28