Maintenance — cleaning the oven, To clean the oven and door interior, To clean the splatter shield inside oven – Amana RADARANGE RW321T User Manual
Page 8: How to change the oven light, To clean the discharge air vents, Always keep the control panel clean, Before you call for service, Maintenance and cleaning, Maintenance, Cleaning the oven
Attention! The text in this document has been recognized automatically. To view the original document, you can use the "Original mode".
MAINTENANCE
—
CLEANING THE OVEN
To Clean the Oven and Door Interior
If inside walls, floor, door and splatter shield at the top of the oven
should become splattered, simply wipe them with a paper towel or
clean with a mild detergent in warm water using a soft sponge or
cloth. If desired, a cup of water can be boiled in the oven to loosen
soil before cleaning. After boiling the water, allow the water vapor to
settle on the oven walls and soften the soil for several minutes before
you open the door.
Do not use an abrasive cleanser to clean the inside. It might damage
the finish. Never pour wafer info the bottom of the oven.
To Clean the Splatter Shield Inside Oven
The splatter shield keeps the top of the oven and antenna from
getting dirty. Normally, a damp cloth will remove any splatter from the
shield. However, if you want to clean it more thoroughly, remove the
splatter shield. Be careful not to bend the antenna when removing
the splatter shield. The shield snaps into a lip in the front of the oven
and three slots in the back wall. Place your thumbs in the two
indentations in the front of the shield. Press lightly towards the back
and carefully lower the shield away from the antenna. Pull the shield
out of the back slots and out of the oven.
Wash the shield in hot soapy water. Do not wash in a dishwasher.
Do not use harsh or abrasive cleansers. When replacing, again be
careful not to bend the antenna. To replace, fit shield tabs into the
HOW TO CHANGE THE OVEN LIGHT
three slots at the top of the back. Lift front until shield snaps into
place.
To check antenna operation, place a glass or cup of water in the unit,
close the door and start the unit. A rotating shadow should be visible
above the splatter shield.
To Clean the Oven Exterior, use a soft sponge or cloth dampened
with mild, sudsy water. Do not use abrasive cleaners.
To Clean the Discharge Air Vents
There will be a slight buildup of cooking vapors along the discharge
louvers in the back of the oven on the right hand side. Ciean the air
vent with a damp cloth.
Always Keep the Control Panel Clean
To clean the control panel, wipe with a damp cioth or sponge, if the
time of day is accidentally erased from the control, press
RESET,
then set the correct time of day. If you wish to use the optional entry
tone, unplug the oven, then follow Step A on page 6 before setting
the clock.
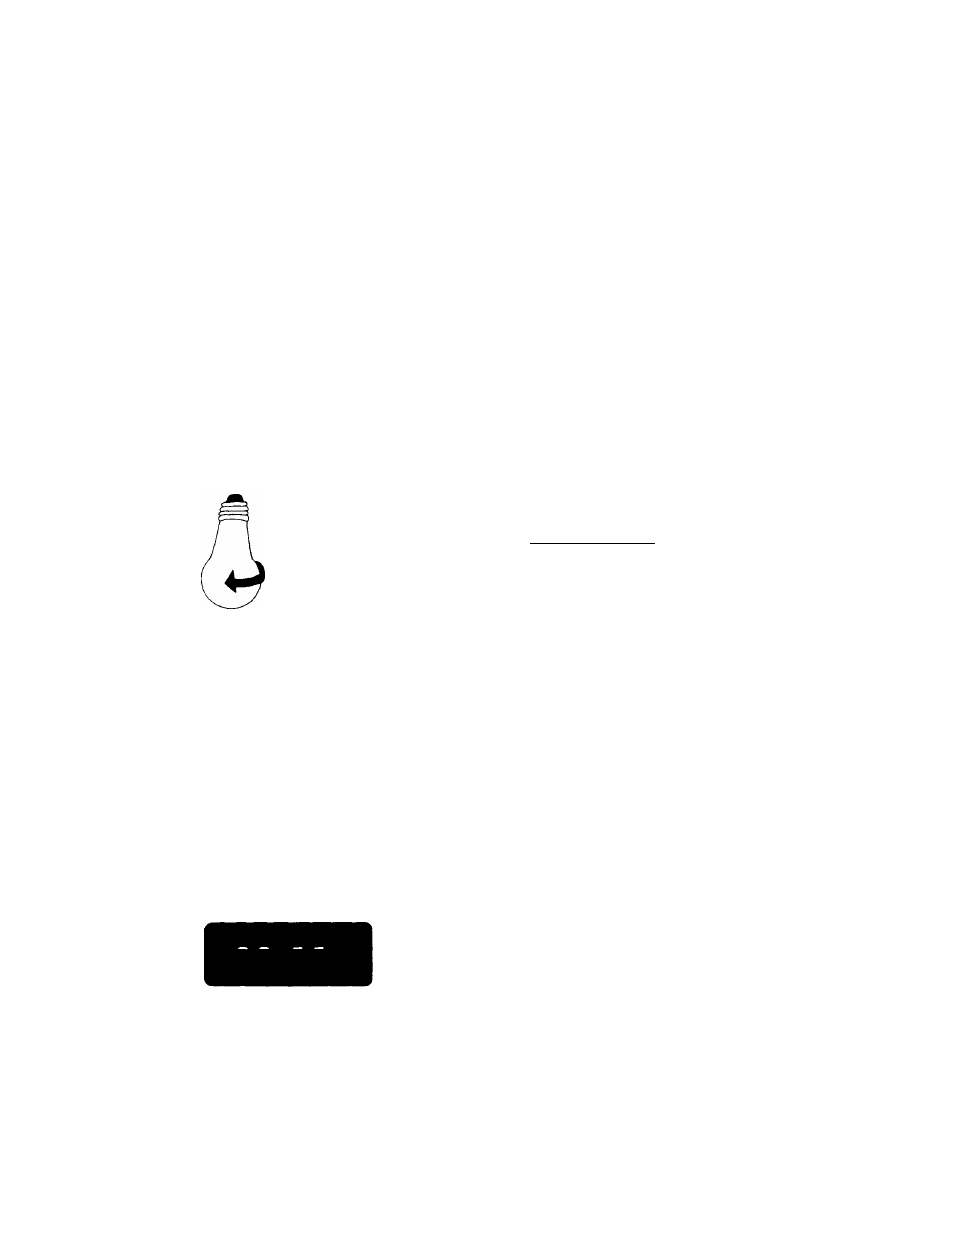
To remove bulb, turn it
in the direction shown.
The lightbulb for the inside of the oven can be changed only from
the back. On the upper left hand side of the oven back is a metal
plate with one screw. The lightbulb is iocated behind this plate.
BEFORE YOU CALL FOR SERVICE
Be sure you have read and followed the operating instructions. Avoid
unnecessary service calls. The electronic controi module used in
this microwave oven is the finest in versatility, quality and reliability. In
many cases, a customer call for module timer service is caused by
conditions other than failure of the controls. That’s why you should
read the following before calling for service.
NOTE: A Power Interruption Signal (dash lines) will appear in
the display whenever the oven is initially plugged into an
electrical outlet. The lines will also appear whenever electrical
power to the oven has been interrupted and then restored.
When you see these lines, simply set the clock.
8
A CAUTION: To Avoid The Risk of
Electrical Shock:_________________________
Follow these steps to change the bulb;
a. Unplug the oven from the electrical outlet.
b. Facing the oven back, remove the screw and remove the plate.
c. To remove the bulb, turn it counterclockwise, being careful not to
burn fingers or break the bulb.
d. Replace the bulb with a 40 watt, 115-125 volt appliance bulb,
which may be purchased at grocery or hardware stores. To
replace bulb, turn it clockwise.
e. Reposition the plate, being careful not to bend the hinge tab.
Tighten the screw. Do not operate the oven without having the
plate in place.
f. Connect the oven to power outlet.
IF THE READOUT DISPLAY DOESN’T LIGHT UR PLEASE
CHECK:
• Is the oven plugged securely into the proper power outlet?
• Is a fuse blown or circuit breaker open?
• If the condition remains unchanged, perform the steps listed
in the box on this page.
IF THE READOUT APPEARS WRONG:
• Did you remember to press
RESET
before programming
the oven?
• Have you (or someone else) pressed the controls after
cooking has started?
• If the condition remains unchanged, perform the steps listed
in the box on this page.
IF ANOTHER FEATURE DOESN’T APPEAR TO BE OPERATING
CORRECTLY:
• Have you followed the use and care instructions exactly?
Review them to be sure.
•Did you press
RESET
before programming the oven?
• Is the oven plugged into a properly grounded and polarized
outlet as described in the grounding instructions (page 4)?
Improper installation can result in erratic operation.
• If the condition remains unchanged, perform the steps listed
in box on this page.