Soil, Operating instructions, Dehumidifying operating instructions – Sears 461-5949 User Manual
Page 10
Attention! The text in this document has been recognized automatically. To view the original document, you can use the "Original mode".
u « / o u / a »
U 0 4 Y
0 X 4 /
atiAfts
s o i l
operating Instructions
DEHUMIDIFYING OPERATING INSTRUCTIONS
Before Starting This Unit
Select a suitable location, making sure you have
easy access to an electrical outlet.
Dehumidifying is a means of removing moisture from the
air. A dehumidifier will help to protect your home and
valued possessions from damage caused by moisture
(swelling)
during high humidity conditions. Essentially a
dehumidifier removes moisture from the air, as moist air
passes over a dehumidifying coil (evaporator).
Moisture is condensed onto the evaporator, drained and
collected inside an internal water tank. The exhausted air
being returned Into the room environment is elevated
several degrees causing the surrounding air temperature
to increase (slightly). This process also contributes to
lowering the relative humidity of surrounding air,
'
Location:
To obtain maximum operating efficiency from your
dehumidifier, the recommended (room ambient) operating
temperature should be between 15.5’C/60*F- 32*C/90*F.
It is important to remember the effldency of a dehumidifier
will be affected/influenced by the rate at which new
moisture is allowed to infiltrate the same space/area. To
maintain efficiency, the dehumidifier must be operated in
an enclosed area. Keep all doors and windows closed.
Dehumidifying:
The dehumidifier mode provides a feature thai will allow
you the option of reading current room ambient
temperatures in "Celsius" or"Farenheight".
Follow these steps;
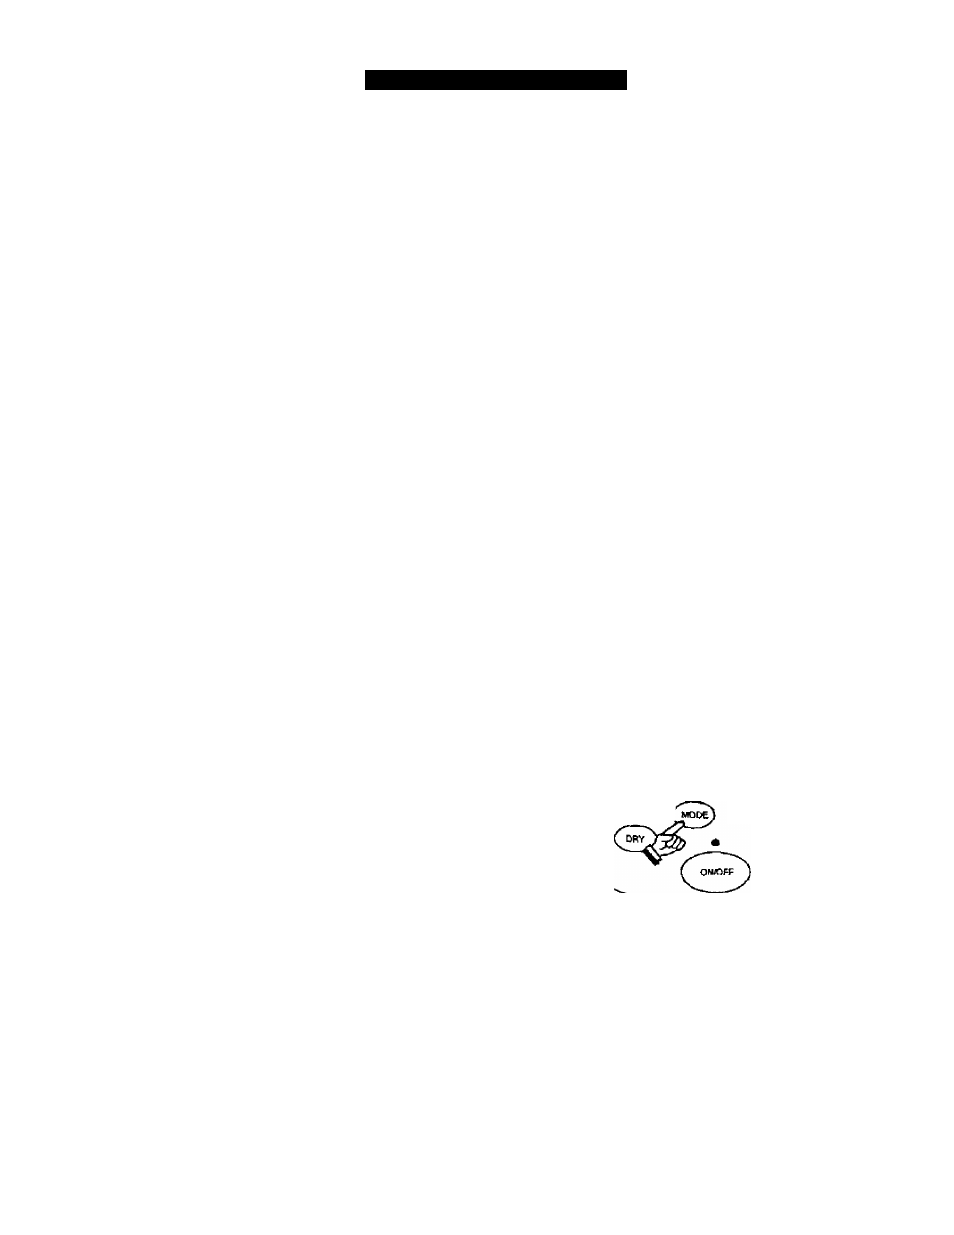
Depress the MODE keypad. Each depression of
the key pad will alternate through each of the
optional modes. (DRY. HEAT, FAN). When the
window adjacent to the "DRY" mode illuminates,
the selection is complete.
2. Depress the
keypad, allowing you to alternate
between the *C/'F RH settings adjacent to the LED
display.
3. When the window adjacent to the ‘C illuminates,
the LED will display the existing ambient room
temperatures in "Celsius".
4. When the window adjacent to the ‘F illuminates,
the LED will display the existirtg ambient room
temperatures in "Farenheight".
5. When the window adjacent to the RH illuminates,
the LED will display existing room humidity
conditions as a" percentage" (%) value.
Select a suitable location making sure there are no
obstructions restricting airflow at the front and back of the
unit.
Installation:
1. Connect the power cord into a properly grounded
polarized 110/115 volt A/C receptacle. (For yoiir
safety, please refer to grounding instructions page 3).
2. Make sure the water tank is properly installed inside
the cabinet. If the (red) "water full" light starts
flashing when the unit is plugged in, the water tank is
not properly installed.
■
cuht
»
nuqub
— MV
•
"
mca
T
É «MIW -
W*
- MICflH (
- t«4H
- igw
WAIERFUU>
“•C
&
3. When the unit is first connected to a power supply, the
(green) pilot light located directly above the "On/Off
keypad will flash continuously (this is normal). The
flashing light indicates the circuit board encountered a
power failure/interruption (from being unplugged). The
flashing light condition will cease immediately when
the unit is switched on using the On/Off key pad and
the unit will automatically default to the factory setting
previously described. The default setting cannot be re
programmed.