VACUUBRAND MZ 4 User Manual
Page 18
Documents are only to be used and distributed completely and unchanged. It is strictly the users´ responsibility to check
carefully the validity of this document with respect to his product. Manual-no.: 999021 / 07/05/2008
page 18 of 22
If the pump does not achieve the ultimate pressure:
☞ In case the diaphragms and valves have been replaced, a run-in period of several
hours is required before the pump achieves its ultimate vacuum.
If all pump heads achieve a vacuum below 90 mbar but pump does not achieve the
ultimate total pressure:
Check hose connectors between pump heads and manifolds for leaks. If necessary
recheck pump chamber.
Individual performance check of a pump head :
By measuring the pressure at the inlet port of the individual
head:
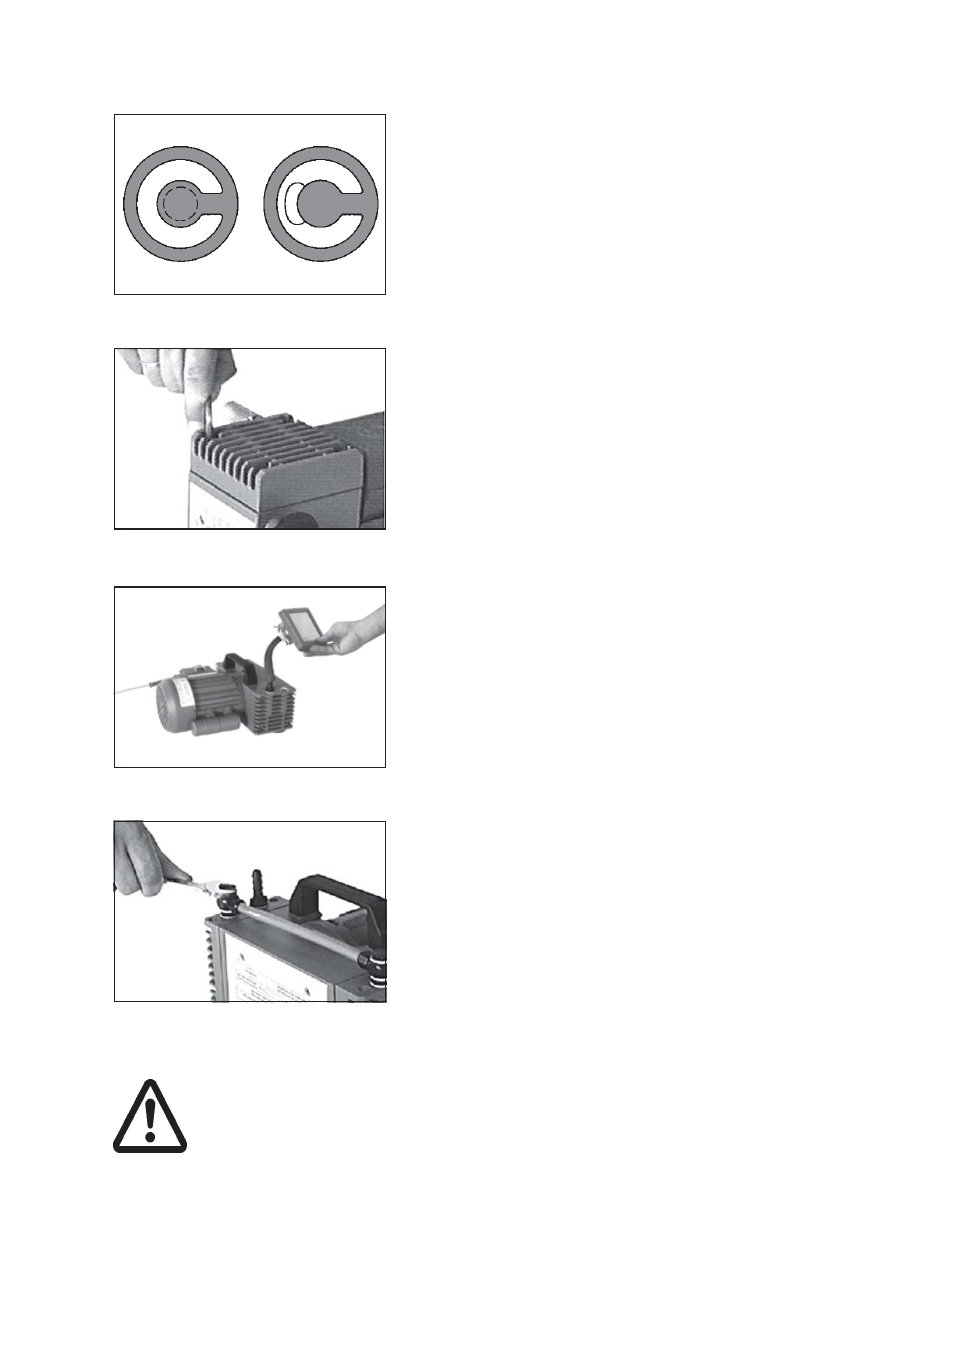
Use a suitable vacuum gauge (e. g. DVR 2, cat. no.: 682902),
make sure that it is correctly calibrated, and measure the pres-
sure at the inlet port. A vacuum of less than 110 mbar should
be indicated.
☞ If the reading is higher, recheck the pump chamber and make
sure that the valves and the diaphragms are correctly seated
(diaphragms concentric with bore).
Assembling fittings:
➃
➃
➃
➃
➃
➀
➀
➀
➀
➀
➁
➁
➁
➁
➁
➂
➂
➂
➂
➂
Reassemble in reverse order.
➨ Install head cover (with O-ring if applicable), valves and hous-
ing cover.
☞ Make sure that the valves are correctly seated: Valves at
the outlet with round centred opening under valve, valves at
the inlet with kidney-shaped opening beside valve.
➨ By turning eccentric bushing, bring connecting rod into up-
per turning point position (Max. stroke of the rod).
☞ Pay attention that the diaphragm stays positioned centrally
so that it will become clamped uniformly between housing
and head cover.
➨ Screw in four socket head screws fixing housing cover cross-
wise (e. g. in the sequence
➀, ➁, ➂, ➃) first slightly, then
tighten.
☞ Do not tighten until head cover is in contact with housing,
torque 12 Nm.
➨ Use open-ended wrench to assemble screw-in fittings with
connection hoses to all pump heads.