Traxxas 68086-1 User Manual
Page 21
SLASH 4x4 • 21
• Velineon motor: After operating your model in wet or muddy
conditions, remove the motor and clean any mud or dirt from
the bearings. To access the rear bearing, remove the plastic cap
with thumb pressure, or gently pry the cap off with a flat-blade
screwdriver. To prevent corrosion and assure maximum bearing life,
lubricate the bearings with a light oil (available at your local hobby
store). Following these steps will extend motor life and maintain
peak performance. Be sure to wear eye protection when using
spray aerosol cleaners.
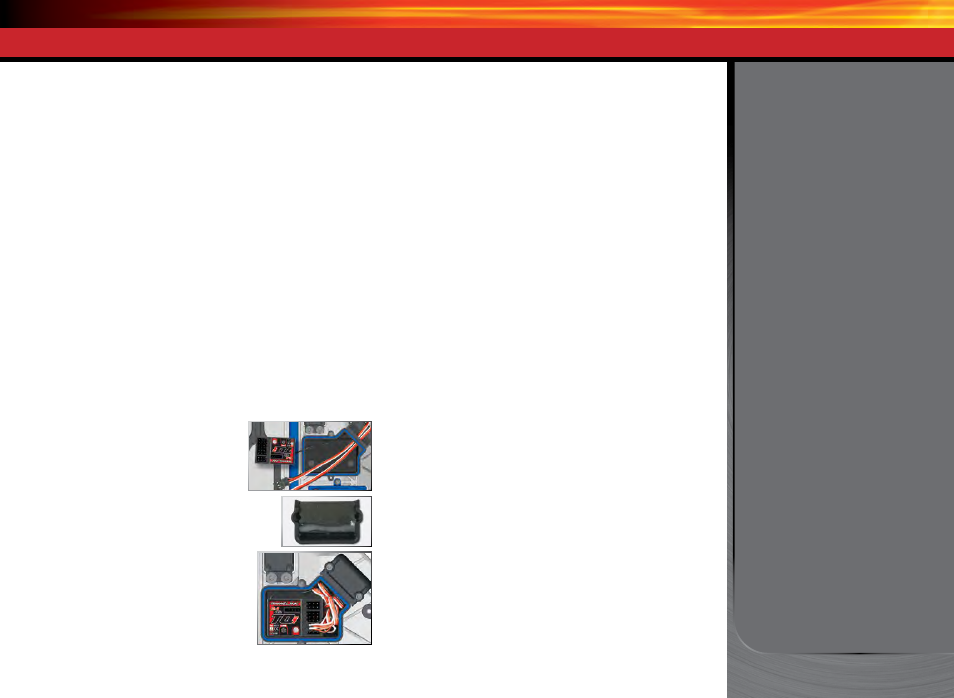
RECEIVER BOX: MAINTAINING A WATERTIGHT SEAL
Removing and Installing Radio Gear
The unique design of the receiver box allows the removal and
installation of the receiver without losing the ability to maintain a
watertight seal in the box. The patent-pending wire clamp feature gives
you the ability to also install aftermarket radio systems and maintain
the watertight features of the receiver box.
Removing the Receiver
1. To remove the cover, remove the two 3x10mm button-head cap
screws.
2. To remove the receiver from the box, simply lift it out and set to the
side. The antenna wire is still inside the clamp area and cannot be
removed yet.
3. Remove the wire clamp by removing the two 2.8x8mm cap screws.
4. Unplug the servo cables from the receiver and remove the receiver.
Receiver Installation
1. Always install the wires into the receiver
box before installing the receiver.
2. Install the antenna wire and the servo
cables into the receiver box.
3. Arrange the wires neatly using the wire
guides in the receiver box. The excess wire will
be bundled inside the receiver box. Label which
wire is for which channel.
4. Apply a small bead of silicone grease
(Traxxas part #1647) to the wire clamp.
5. Install the wire clamp and tighten the
two 2.8x8mm cap screws securely.
6. Install the receiver into the box and plug
the wires into receiver. Refer to page 11 for
the wiring diagram.
7. Make sure the box light pipe is aligned with the receiver LED. Make
sure the O-ring is properly seated into the groove in the receiver box
so that the cover will not pinch it or damage it in any way.
8. Install the cover and tighten the two 3x10mm button-head cap
screws securely.
9. Inspect the cover to make sure that the O-ring seal is not visible.
DRIVING YOUR MODEL