Hints on operation – Toa WM-2100 User Manual
Page 3
7. HINTS ON OPERATION
• Microphone sensitivity can be changed. When using the transmitter in the high noise level area, speech
clarity may be improved by reducing the sensitivity.
• The WM-2100 unit features the transmission switch (press-to-talk) function, which permits signal
transmission only while the transmission switch is pressed. When using this function, select an optional
microphone with the transmission switch.
• A maximum of 5 different channels can be simultaneously used in the same location. (Note that
communication distances may be shortened by simultaneously using 2 or more channels compared to use
of only a single channel.)
8. HOW TO DETACH AND ATTACH THE HOLDER AND NECK STRAP
6. OPERATION
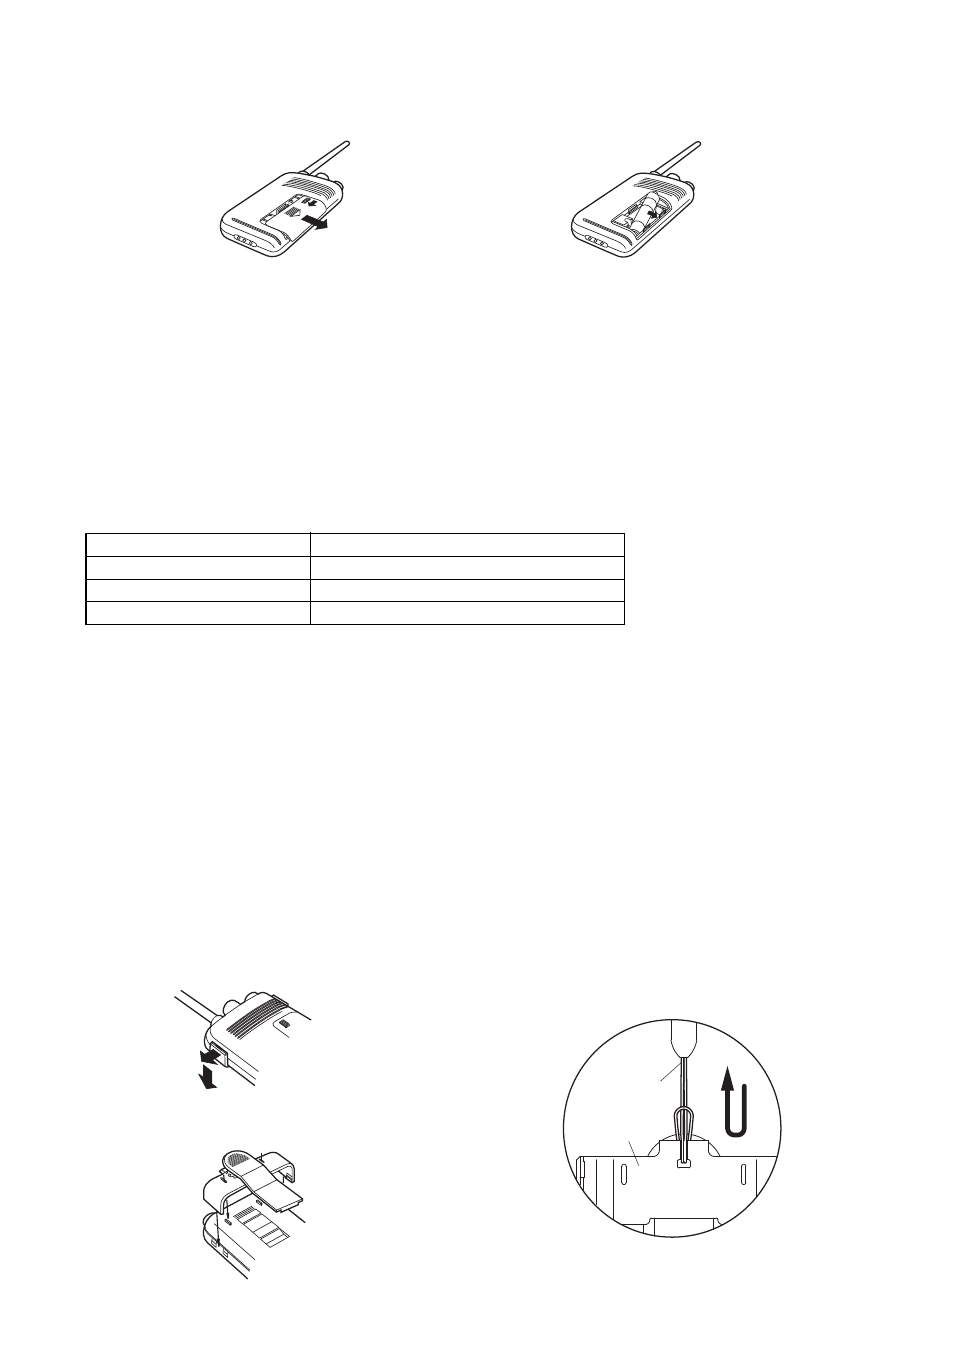
Step 1. Remove the battery cover and place the battery as shown below. (Ensure that the Power switch is set
to the OFF position.)
Step 2. Set the Microphone sensitivity switch to the "Hi" (left-hand side) position (normal setting position).
Step 3. Replace the battery cover and securely lock it .
Step 4. Set the Channel selector switch to the same channel as the receiver.
Step 5. Connect an optional microphone to the input terminal.
Step 6. Switch on the power by turning the Power switch clockwise. The Operation/battery indicator either
lights or flashes when the power is turned on.
Step 7. Speak into the microphone. If the microphone is equipped with the transmission switch, speak while
pressing the switch.
Step 8. Turn off the power after use.
[Operation/battery indicator-to-WM-2100 Relationship]
Unlock the battery cover
to remove.
Place the battery.
Indicator
WM-2100
Flashes slowly.
Standby mode (Transmitting no signal.)
Steadily on
Transmitting a signal.
Changed from green to red.
Battery has been exhausted.
8.1 Holder
Raise the holder's tab to detach.
To attach, push the holder till it fits onto the unit with
a click.
8.2 Neck Strap
When attaching the neck strap, remove the holder,
then fit the strap as shown in the figure.
Neck strap
Holder
(back side)