Sigtronics UltraSound Intercoms User Manual
Sigtronics ultrasound user operation instructions, Specialists in “sound” management
Sigtronics UltraSound User Operation Instructions
Specialists in “SOUND” Management
178 East Arrow Highway, San Dimas, CA 91773 ( 909 ) 305-9399
The following describes how to use the UltraSound System as
well as adjust the UltraSound controls. It also explains exactly
how the UltraSound unit operates. This will allow you to easily
set all unit functions to your specific needs. If you are not familiar
with the UltraSound operation, perform the next few steps while
the vehicle is not in motion.
Headsets and Intercom
Put on the headset(s) and position the boom mike close to the
mouth, as is the practice with a hand-held mike. For best voice
clarity, the headset microphone must be positioned to one side
of the mouth and 1/4 inch from the lips. Turn the volume control
on the headset ear cup to maximum. Turn down for individual
hearing needs if necessary only after intercom and radio volumes
have been set correctly (see below). Intercom operation and
adjustment can be performed by the following procedure:
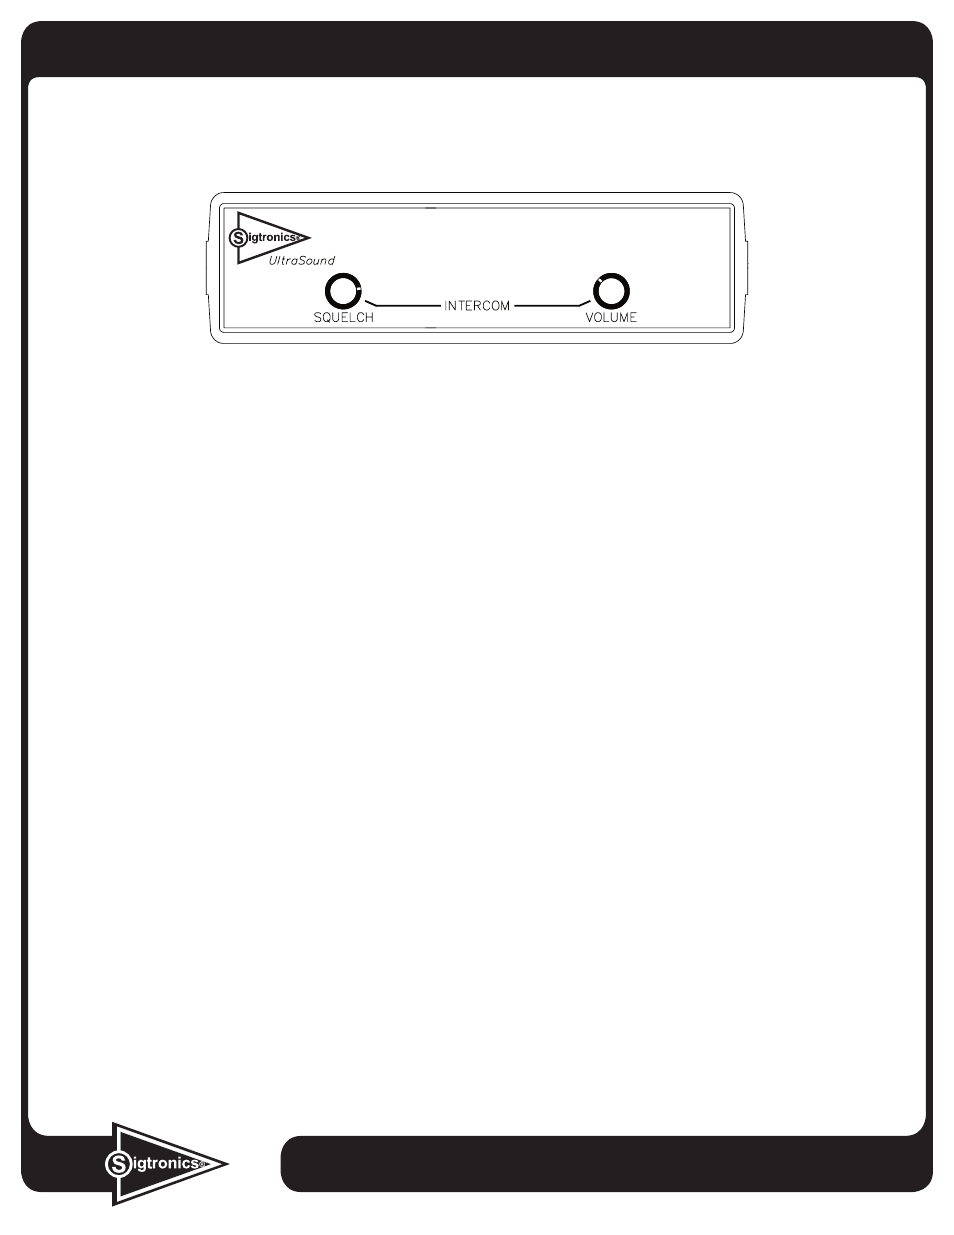
1. Turn the intercom SQUELCH control to the maximum clock-
wise position. For best system performance set the intercom
VOLUME control as low as possible. On most systems this will
be approximately the 10 o’clock position. Note: the intercom
volume control only adjusts the volume of conversation
between the headsets inside the vehicle. It does not affect the
level at which you hear the dispatch radio. (see Radio Opera-
tion below) You should now hear yourself and others on the
intercom.
2. To adjust the Intercom SQUELCH for voice activated operation
(VOX), it is helpful to have some background noise (truck en-
gine or ...). Turn intercom SQUELCH control all the way counter-
clockwise. Now, without speaking, rotate the SQUELCH control
clockwise until you hear the background noise in your headset.
Next, rotate it counter-clockwise in small amounts until the
background noise disappears. Finally, make small adjustments
until your voice triggers the unit at comfortable speaking
levels. This procedure is necessary because the squelch is a
“Fast-on, Slow-off” system. When you speak, your voice will be
heard in the headsets but the sound will cut off about a second
after you stop speaking. Minor readjustment of the squelch
may be necessary if the background noise level changes sig-
nificantly (engine idling to cruise power with siren on).
Radio Operation
With the UltraSound System, your radio is heard through the
headsets as well. Adjust the volume level of the dispatch radio
in the headsets with the volume control on the radio as normal.
Note that the radio volume does not effect the intercom volume
and visa versa.
Transmitting (talking to dispatch) from the selected headset
positions is possible on a one-at-a-time basis. For a typical
UltraSound installation the Driver, Officer, or Crew #4–(US-67S
units only) positions can transmit at any time simply by press-
ing their PTT switch. The other positions cannot transmit on the
radio. When one position transmits, several things take place
automatically:
• All headset microphones, except for the transmitting posi-
tion, are muted.
• The radio is put into transmit mode.
• The headset microphone audio (your voice) is sent to the
radio.
• Sidetone is generated and sent to your headphones.*
* Sidetone is a portion of the transmitted voice signal sent back
into your headset so that you can hear what you are saying
while transmitting. The intercom VOLUME control adjusts the
volume level of the sidetone that you hear in your headset.
The other headsets will also hear the transmission sidetone. Of
course, when the PTT switch is released, (stop transmitting) all
functions return to normal, instantly and automatically.
INSTALLER: Please give a copy of this operation instructions to the users of the UltraSound System!
Single Radio Units – Models US-45S, US-67S and US-12S