Sandia Aerospace SA 3NVG User Manual
Page 28
3.4 Calibration Procedures con’t
3.4.2
SA 3NVG
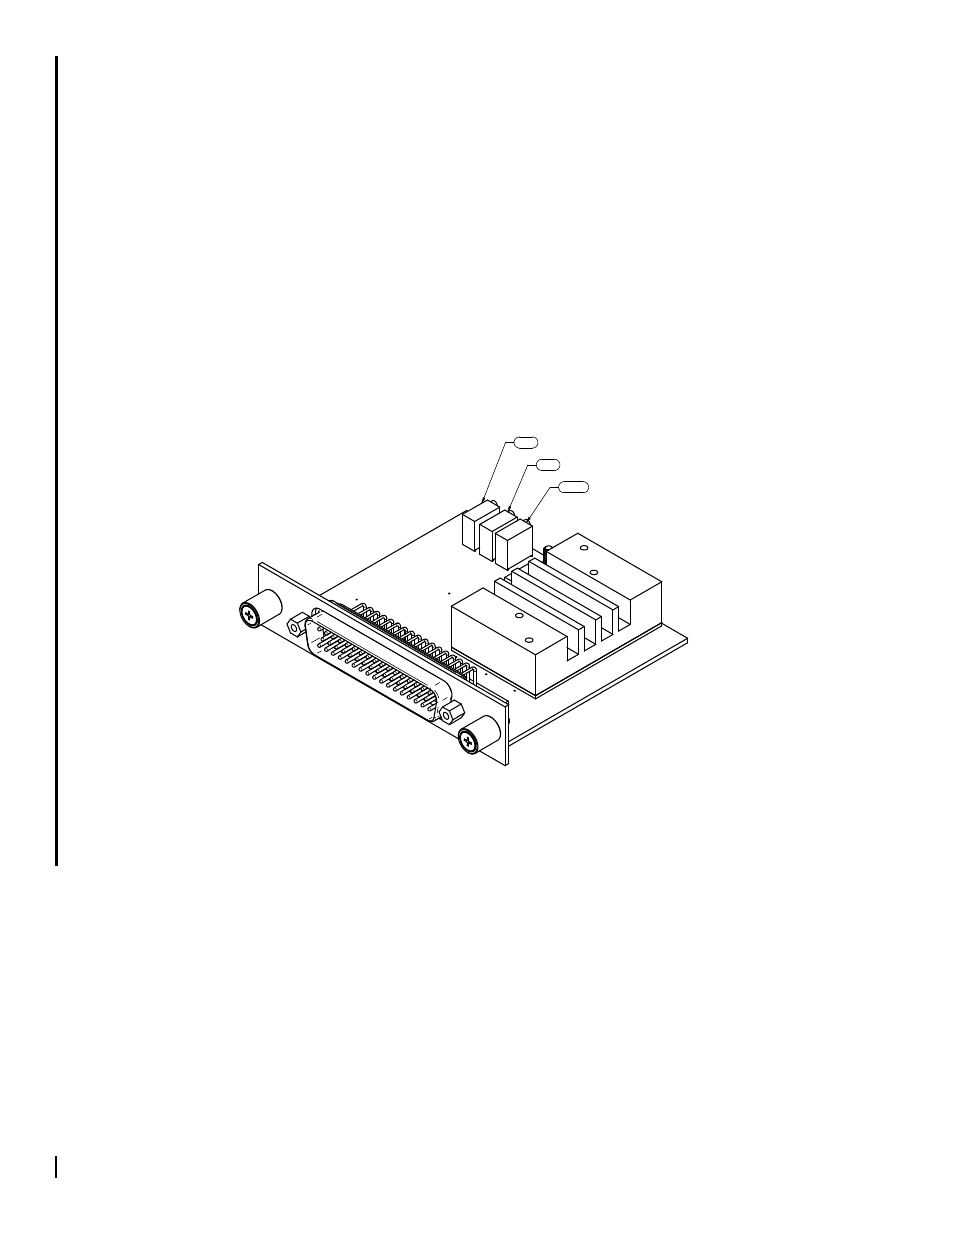
1.
With the SA 3NVG removed from the enclosure, connect the mating connector.
2.
Apply power to the SA 3NVG by activating the system which is being annunciated
by the SA 3NVG.
3..
With the annunciator dimming switch in the Day (Bright) bright position, set the
DAY adjustment to the desired brightness.
4.
Place the annunciator dimming switch in the Night (dim), and set the NIGHT to the
desired brightness.
5.
Place the annunciator dinning switch in the NVG and set the NVG adjustment to the
desired NVG setting.
6.
Press the annunciator test button and ensure that all annunciators illuminate to their
maximum adjusted brightness.
NVG
DAY
NIGHT
Figure 3-14
SA 3NVG Adjustment Locations
Page 27