Installation of the standard accessories, Installation of the carburetor – O.S. Engines 28XZ User Manual
Page 9
16
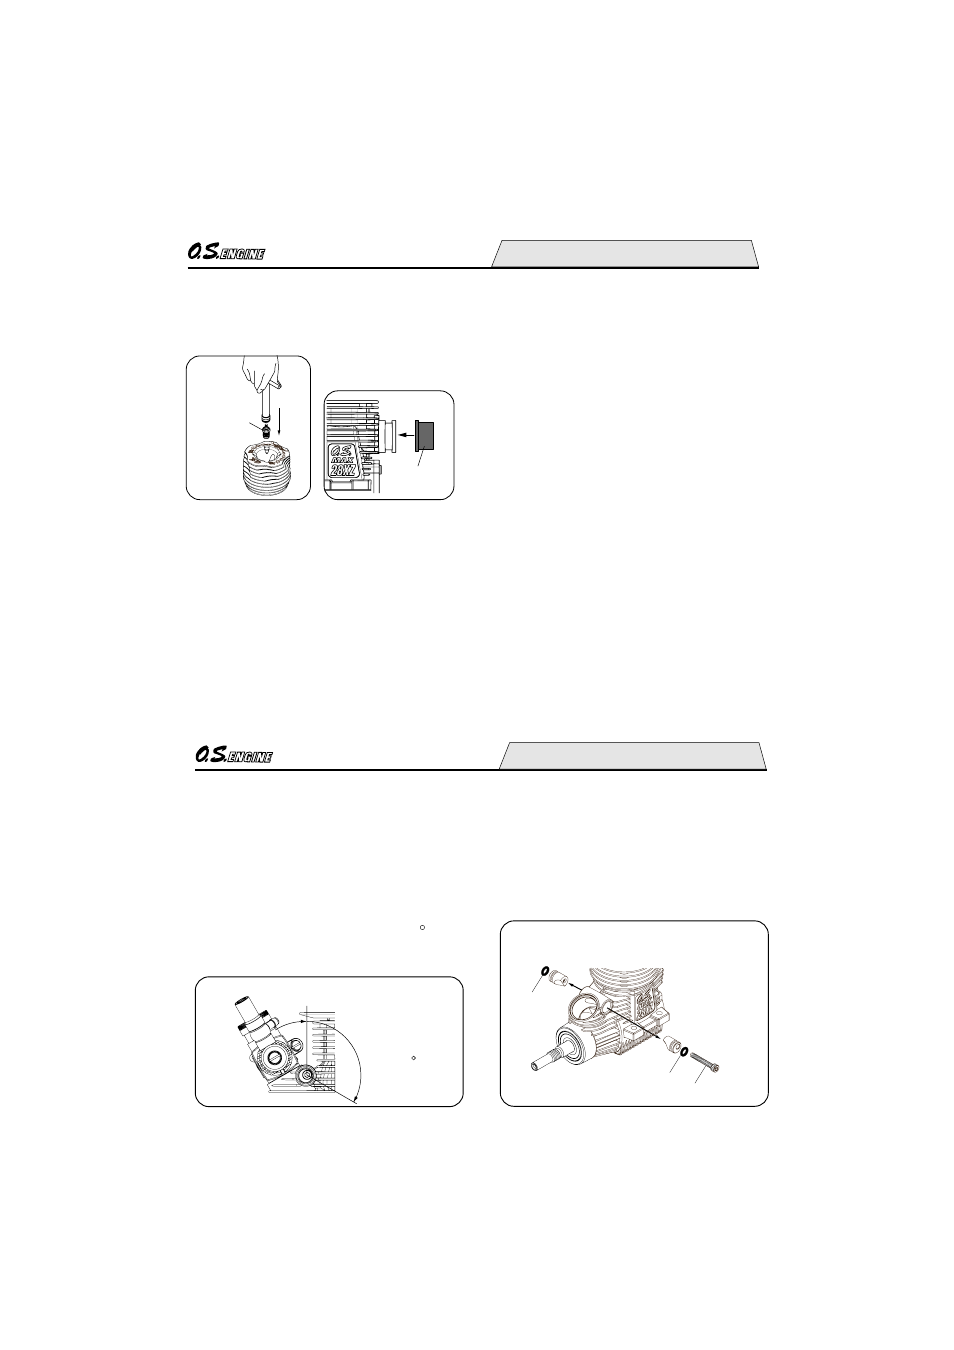
Install the exhaust seal
ring supplied.
Exhaust
Seal Ring
Glowplug
The engine is fit with one each of 0.1mm and
0.2mm cylinder-head gasket when it leaves the
factory. Another 0.1mm head gasket is supplied
with the engine. You may add it at initial running-
in, when a glow plug tends to burn out due to high
temperature and / or high humidity or when you
prefer fuel economy to power.
INSTALLATION OF THE DUST CAP SET
If the engine is to be stored or out of use for a while,
install the included exhaust and carburetor dust caps
to prevent foreign matter from entering the engine.
Installing the glow plug. Insert P3 plug supplied
into heatsink-head carefully, making sure that
it is not cross-threaded before tightening firmly.
(All the O.S. T-Type plugs including the P3 are
not supplied with a washer.)
Installing the carburetor reducer
Replace the reducer according to the course
conditions.
9mm (Blue)
Standard with the carburetor when it leaves
the factory.
8mm (Red)
Supplied with the engine. Replace when re-
quired. Suitable for technical (narrow) and
bumpy course and when less fuel consumption
is more important.
INSTALLATION OF THE STANDARD ACCESSORIES
17
INSTALLATION OF THE CARBURETOR
As delivered, the engine has its carburetor
lightly installed in the intake boss. Secure it
as follows.
Loosen the retainer screw, rotate the
carburetor to its correct position and make
sure that it is pressed well down into the
intake boss, compressing the rubber gasket,
before retightening screw.
1.
2.
Rotate the retainer nut
gently until it stops.
Tighten a further
120-180
Rotate the retainer screw gently until it
stops, then tighten a further 120-180 .
Do not overtighten the screw as this will
damage the carburetor body.
Note
Be careful not to damage the O rings when
removing the carburetor retainer from the
engine.
First, remove the retainer Retaining screw,
then pull out each part. Do not push the
part in or damage the O rings.
Retaining Screw
"O" Ring
"O" Ring
Pull off outside.
Pull off outside.