Master/slave fixture linking, Mounting, Aster – Chauvet DMX-800 User Manual
Page 10: Lave, Ixture, Inking, Ounting, Orientation rigging, Ave fixture linking, Master/sl
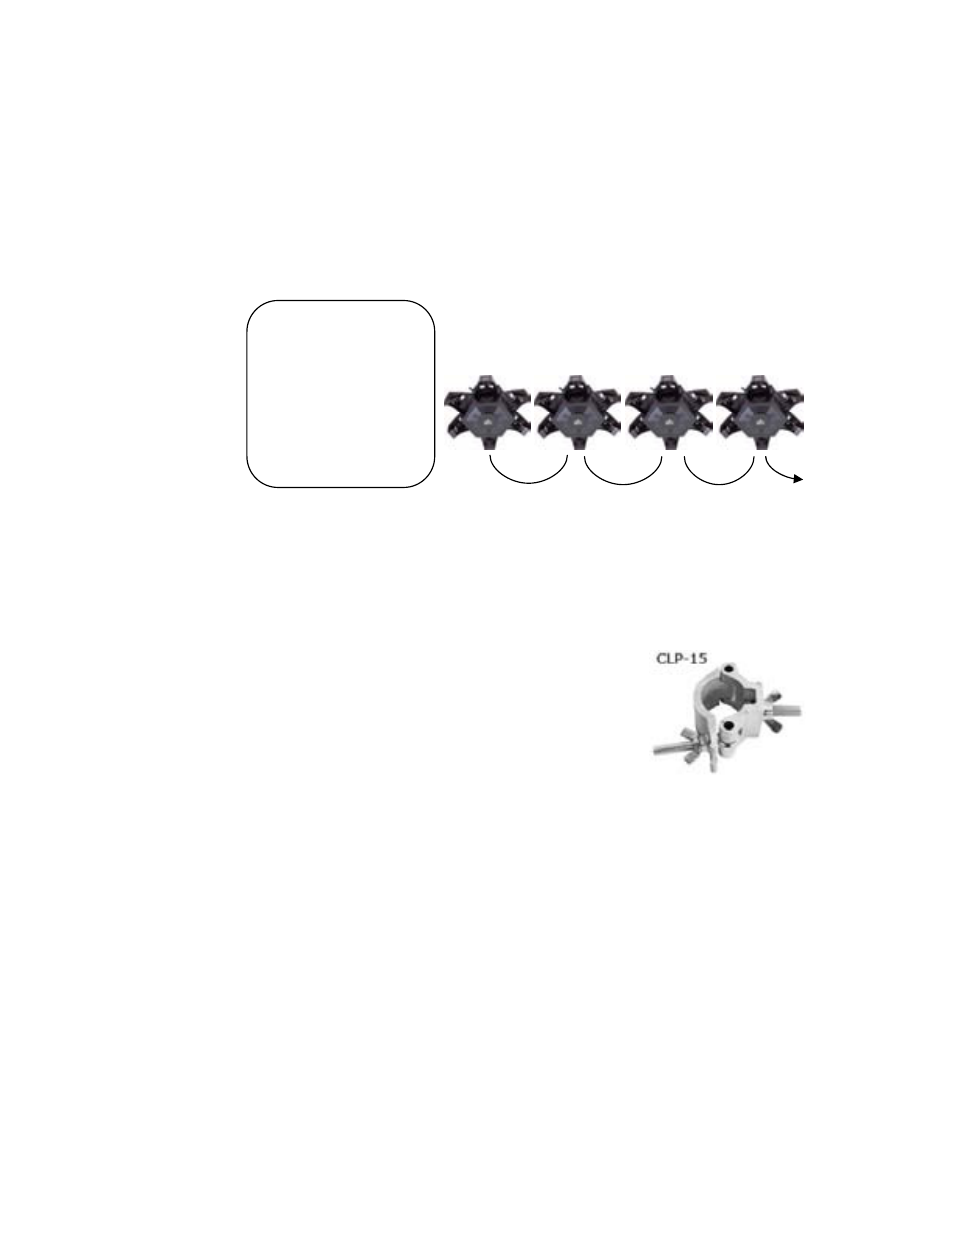
Often, the setup for Master-Slave
d Standalone operation re
an
quires
that the first fixture in the chain be
se
sw
th
setting. Please consult the
“Operating Instructions” section in
this manual for complete instructions
for this type of setup and
configuration.
initialized for this purpose via either
ttings in the control panel or DIP-
itches. Secondarily, the fixtures
at follow may also require a slave
Hanging Clamp
Note!
Clamp is sold separately.
ave Fixture Linking
1. Connect the (male) 3 pin connector side of the DMX cable to the output (female) 3 pin connector
of the first fixture.
2. Connect the end of the cable coming from the first fixture which will have a (female) 3 pin
f the next fixture consisting of a (male) 3 pin connector. Then,
output as stated above to the input of the following fixture and so on.
ounting
R I E N T A T I O N
This fixture may be mounted in any position provided there is adequate room for ventilation.
R I G G I N G
It is important never to obstruct the fan or vents pathway. Mount the
re using, a suitable “C” or “O” type clamp. Adjust the angle of
When selecting installation location, take into consideration lamp
•
•
gh
.
•
Master/Sl
connector to the input connector o
proceed to connect from the
M
O
fixtu
the fixture by loosening both knobs and tilting the fixture. After
finding the desired position, retighten both knobs.
•
replacement access and routine maintenance.
Safety cables should always be used.
Never mount in places where the fixture will be exposed to rain, hi
humidity, extreme temperature changes or restricted ventilation
Use only heavy duty clamps for this fixture.
Constellation User Manual
10
2007-01-09/10:53