Warning, Rear-facing installation – Century SMART MOVE PM-1634AB 6/01 User Manual
Page 8
When using car seat
rear-facing
, car seat MUST
be able to rotate freely from a reclined to an
upright position on impact.
• Test by moving car seat through all seating
angles.
Adjust car seat to reclined or semi-reclined
position and place
rear-facing
on vehicle seat.
Thread vehicle seat belt through openings over
recline lever on front of car seat and buckle
belt (fig. a).
Press down firmly in center of car seat to
compress vehicle seat cushion while tightening
vehicle seat belt (fig. b).
Because of car seat design, you may experience
some movement of the pointer in positions
1 & 2 during vehicle seat belt tightening.
This is normal. Make sure you start installing
car seat with pointer in the locked position
1 or 2 and adjust the vehicle belts keeping the
pointer within the colored zone (fig. c).
REAR-FACING
INSTALLATION
1
2
6
Pull front to back and left to right to check for
secure installation (fig. d). Vehicle lap belt
MUST stay tight.
If not secure, see “Vehicle Seat Belts” section.
Check level indicator on car seat.
Ball MUST be entirely in green zone (fig. e). If
necessary, place rolled towels under car seat, at
vehicle seat crease, until entire ball is in green
zone. Then re-check level indicator.
NOTE: Vehicle must be on level ground and
child in car seat when checking level indicator.
4
5
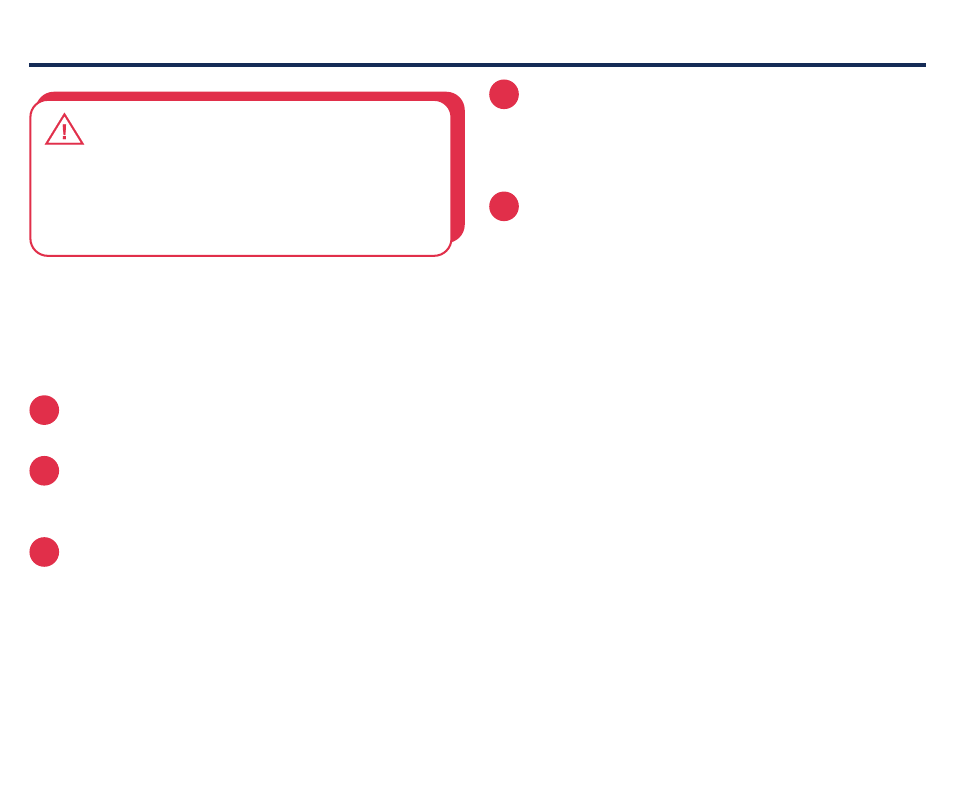
To prevent serious injury or death:
Do not allow anything in vehicle
interior or in base of car seat to obstruct
rotation in a crash.
WARNING
3