Cadillac 2010 STS User Manual
Page 439
11. Unplug the power plug (C) from the accessory
power outlet in the vehicle.
12. Turn the sealant/air hose (F) counterclockwise to
remove it from the tire valve stem.
13. Replace the tire valve stem cap.
14. Replace the sealant/air hose (F), and the power
plug (C) back in their original location.
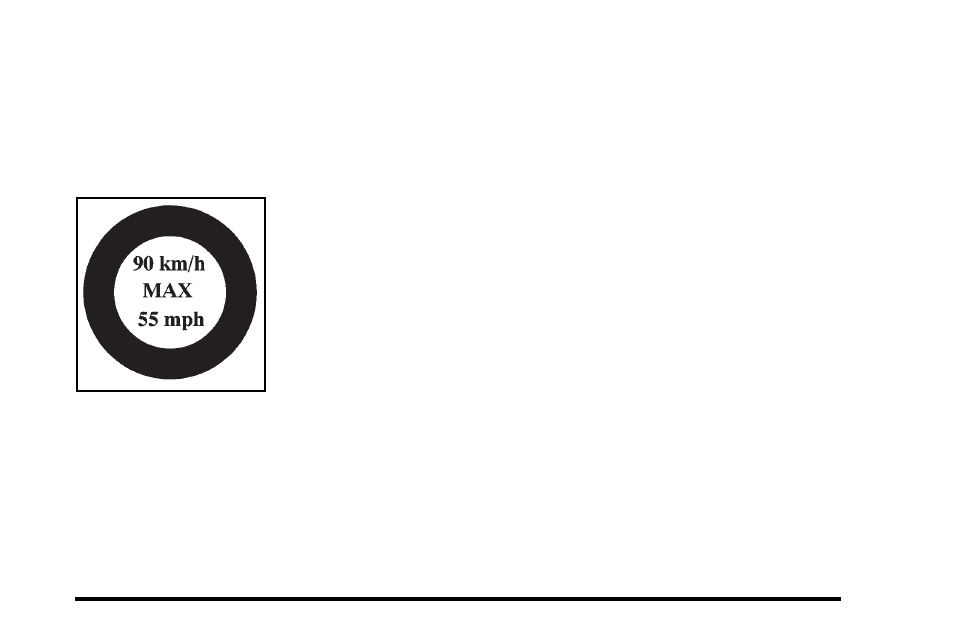
15. If the flat tire was
able to inflate to the
recommended inflation
pressure, remove the
maximum speed label
from the sealant
canister (B) and place
it in a highly visible
location.
The label is a reminder not to exceed 55 mph
(90 km/h) until the damaged tire is repaired or
replaced.
16. Return the equipment to its original storage
location in the vehicle.
17. Immediately drive the vehicle 5 miles (8 km) to
distribute the sealant in the tire.
18. Stop at a safe location and check the tire pressure.
Refer to Steps 1 through 11 under “Using the Tire
Sealant and Compressor Kit without Sealant to
Inflate a Tire (Not Punctured).”
If the tire pressure has fallen more than 10 psi
(68 kPa) below the recommended inflation
pressure, stop driving the vehicle. The tire is too
severely damaged and the tire sealant cannot seal
the tire. See Roadside Service on page 8‑8.
If the tire pressure has not dropped more than
10 psi (68 kPa) from the recommended inflation
pressure, inflate the tire to the recommended
inflation pressure.
19. Wipe off any sealant from the wheel, tire or
vehicle.
20. Dispose of the used sealant canister (B) and
sealant/air hose (F) assembly at a local dealer/
retailer or in accordance with local state codes and
practices.
21. Replace it with a new canister available from your
dealer/retailer.
22. After temporarily sealing a tire using the tire
sealant and compressor kit, take the vehicle to an
authorized dealer/retailer within a 100 miles
(161 km) of driving to have the tire repaired or
replaced.
6-83