Emerson Radio JMK2442 User Manual
Page 2
2
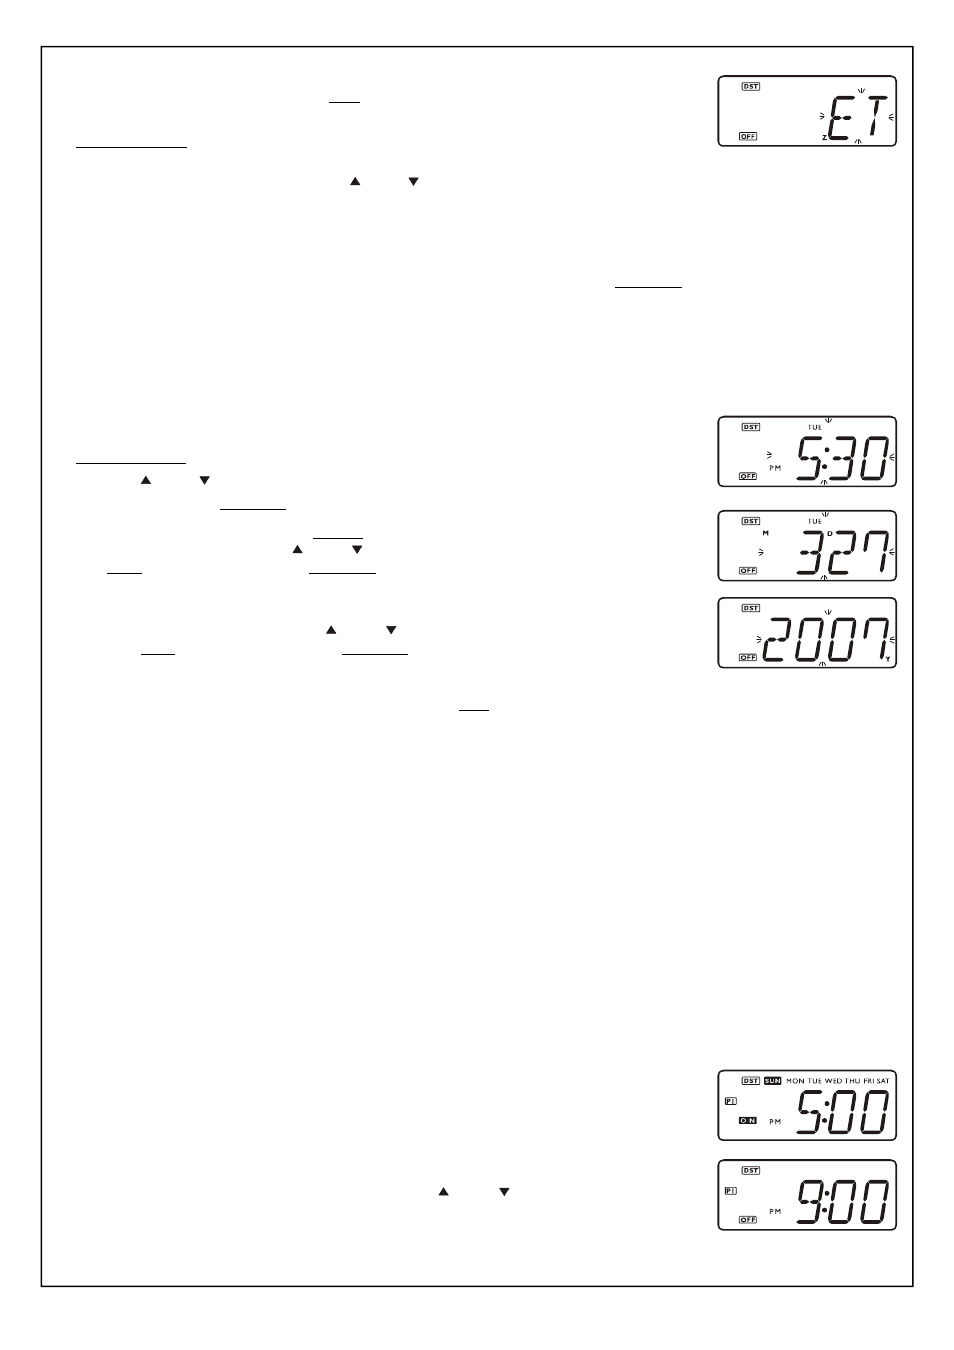
1.) Press any button to turn the display ‘On’. The display shows Eastern Time.
2.) Press the TIME ZONE/RANDOM button once.
The display will show “ET” indicating the Eastern Time zone.
Depress and hold the TIME ZONE/RANDOM button until the ET indicator flashes, then release the
button.
3.) While the ET indicator is flashing, press the
UP or
DOWN buttons to select your own time zone according to the following table:
AT – Atlantic Time Zone.
PT – Pacific Time Zone.
CT – Central Time Zone.
YT – Yukon Time Zone.
MT – Mountain Time Zone.
HT – Hawaiian Time Zone.
4.) When your time zone is flashing in the display press the TIME ZONE/RANDOM button once more. The selected zone indicator stops
flashing and the display will show the correct time in the zone that you selected.
Manual Time, Month/Date, and Year Adjustments
Although your timer was pre-programmed with the correct time at our factory it is possible that over time it may gain or lose a few minutes,
especially if it is not connected to the AC outlet for long periods of time. If it become necessary to adjust the Time, Month/Date, or Year
display, remove the timer from the AC outlet, and then:
1.) Press any button to turn the display ‘On’ if necessary.
2.) Depress and hold the TIME button until the time display begins flashing.
3.) Press the
UP or
DOWN button to set the display to the correct time.
4.) Press the TIME button once more. The display stops flashing and the new time is set.
5.) If necessary to adjust the Month/Date, depress the MONTH/DATE button until the current Month/Date
display begins flashing. Press the
UP or
DOWN buttons to set the display to the correct date,
then press the MONTH/DATE button once more to enter the new date and return to the correct time
display.
6.) If necessary to adjust the Year, depress the MONTH/DATE and TIME buttons together until the current
Year display begins flashing. Press the
UP or
DOWN buttons to set the display to the correct
ct
year, then press the MONTH/DATE button once more to enter the new year and return to the correct
time display.
• To check the date at any time, press the MONTH/DATE button once. The display changes from Time to Month/Date for 5 seconds and
then returns to the Time display.
• To check the year at any time, press the MONTH/DATE and TIME buttons together. The display changes from Time to Year for 5
seconds and then returns to the Time display.
Programming The On/Off Timer Settings
This SmartSet
®
timer has 4 separate On/Off programs that can be set to switch a lamp on and off at 4 different times within a 24 hour
period. In addition each of the 4 programs may be set to operate everyday, Monday thru Saturday, weekdays only, weekends only or for
any one day.
To make the programming process a little easier we have set the following On and Off times as the defaults for each of the 4 programs:
“P1” – ON Time 5:00 PM / OFF Time 9:00 PM.
“P2” – ON Time 6:00 PM / OFF Time 10:00 PM.
“P3” – On Time 7:00 PM / OFF Time 11:00 PM.
“P4” – ON Time 8:00 PM / OFF Time 12:00 AM.
In addition the default setting for each of the 4 programs is Everyday operation.
To change the settings for any of the individual programs proceed as follows:
Press the PROGRAM button to select the specific program that you wish to change.
Each time you press the PROGRAM button the display advances from P1 > P2 > P3 > P4 > P1, etc.
The display will show the ‘turn on’ time for each program and all 7 day indicators will appear to show that
the program is set for Everyday operation.
When the ‘turn on’ time is on the display you can press the
UP or
DOWN button to change the
display to the ‘turn off’ time.