Maintenance – EDCO HSS-14 User Manual
Page 8
Printed in USA
©2008
TVW
Page 8
100 Thomas Johnson Drive, Frederick, MD 21702-4600 USA
Phone (301) 663-1600 • 1-800-638-3326
Fax (301) 663-1607 • 1-800-447-3326
Website: www.edcoinc.com
Email: [email protected]
E-HSS14-I-0408
Step Three:
Look for “direction of rotation” markings on the new blade.
(Usually an arrow stamped on the blade.)
Place new blade on the arbor shaft verifying that the markings on the blade follow the
proper direction of rotation. Blade should be positioned in the center of the dust chan-
nel. (Figure 12)
Reinstall and tighten bolt using a SAE 3/4” wrench.
Reposition blade guard and tighten wing nuts.
Reconnect spark plug lead.
Figure 11
Changing the Blade:
•
Inspect the new blade thoroughly before installing. Check for cracks, loose segments, worn or out-of-round arbor
holes. Refer to the Rx for Diamond Blades pamphlet provided with your blade for more detailed information on
inspecting blades. Besure the blade is appropriate for the job and matches the arbor shaft speed & mounting
confi guration on this saw. (See page 11)
The HSS-14 was designed to be used with diamond saw blades only. It is a “fi xed head machine”, therefore it is
important to use blades that will not wear down. Fiber blades will wear down and the cut will not go all the way
through the work piece. In addition, for the vacuum system to operate properly when dry cutting, the blade must
reach into the dust channel.
Step One:
Move the rolling table out of the way to the back or front
of the machine.
Loosen the two wing nuts on the back side of the blade
guard and rotate blade guard back and tighten to hold in
guard in place. (Figure 10)
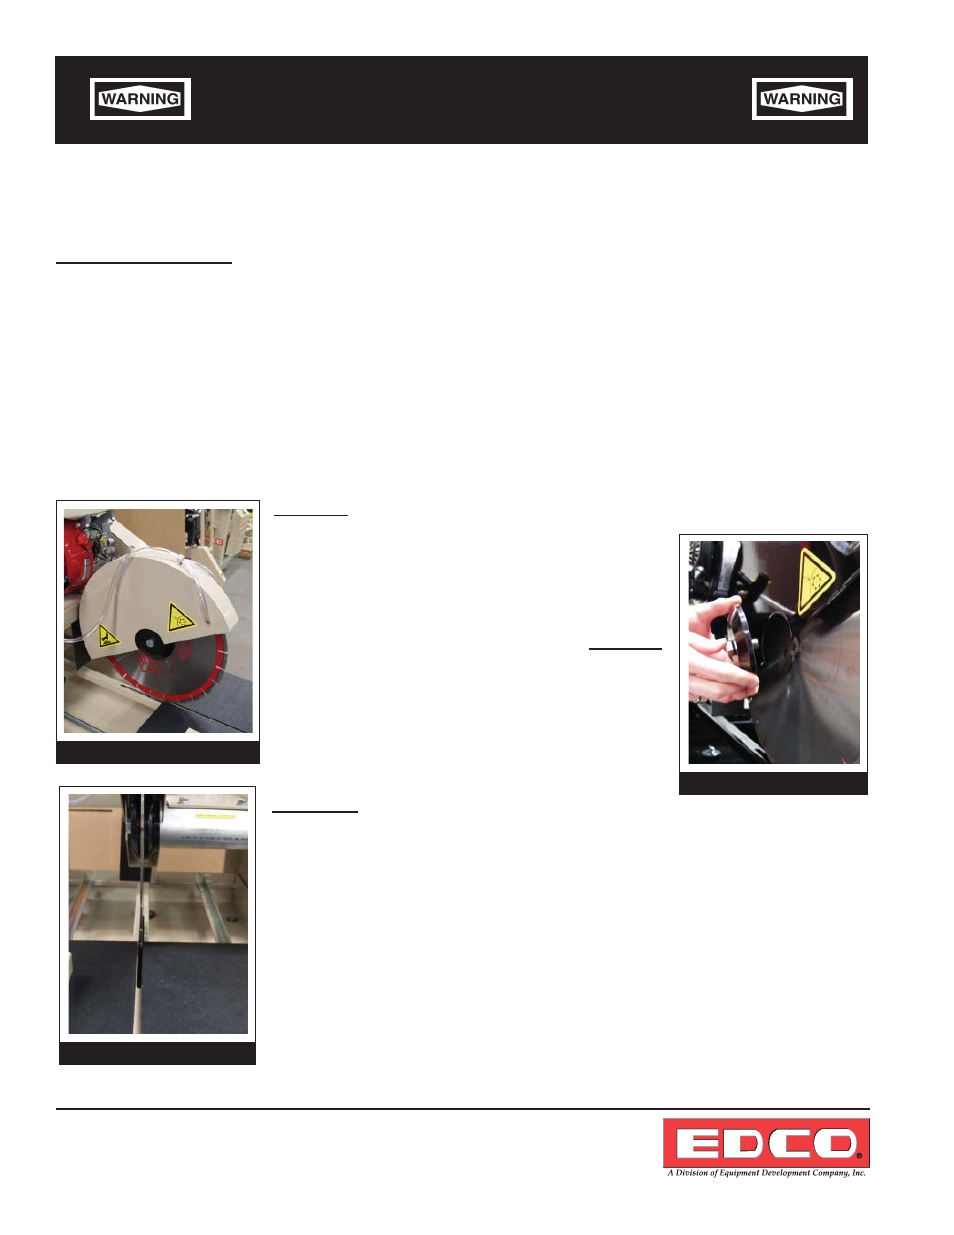
Step Two:
Loosen and remove arbor cap bolt.
(Figure 11)
Carefully remove old blade.
Inspect arbor shaft, backing plate and
blade guard while blade is off.
Clean if dirty or replace if damaged or
worn.
Maintenance
Disconnect spark plug lead before performing
any maintenance on this machine.
Consult the Engine Manufacturer’s Owner’s Manual for more detailed engine maintenance instructions.
Figure 10
Figure 12