Notes – Kenwood CAW1130-06 User Manual
Page 4
Attention! The text in this document has been recognized automatically. To view the original document, you can use the "Original mode".
NOTES:
1) Prepare kit as sho\vn Liider Preparaiioo Instructions on pege 1.
P) Attach leli and right side pocket mounlng hiackcts and securo (o tie rear o1
the pcokat using screws supplied with kit.
3) Insert pccket into lo/mr seclon of the main bracket and secure to itw lowc'
irtoun:ing holes ol the mmal scppotl chassis using the Phillips screws
removed from ttie eidrrs rt the factory rad o.
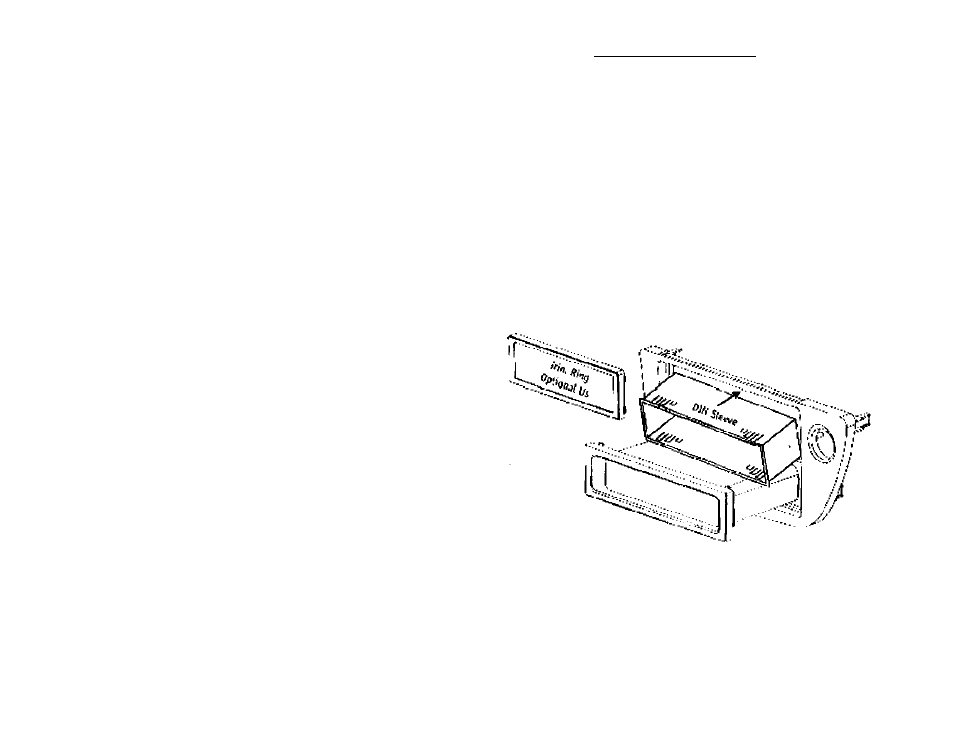
4) Insert Ot^ sleovo (sjppUod witti r&d>o) from your new radio ittto the upper
secticr> of the notaitation
5) Depress tliu tubs from inside Pie sleeves epenirg upward, oiihvsrd. ar d
dowrmaiU to ¡¡ecure sleeve >o The insfallafon kil.
6) Install radio into sleeve and took into pkcu.
7) Attach a rear support bracket (supplied with most aftermarket ruoios) to tie
rear cl The new radio and acjusf as necessary to attach to ihe reui support
Sturt bcaiod on me back cl the p.-x:kel using (i) small philips screw supplied
with kil.
KIT ASSiMBLY INSTRUCTIONS
Single DIN Mount Applications