Installation, Caution – Honeywell EA79 User Manual
Page 3
Attention! The text in this document has been recognized automatically. To view the original document, you can use the "Original mode".
_________ EA79
INSTALLATION
Installation
WHEN INSTALLING THIS PRODUCT...
1. Read these instructions carefully. Failure to follow
them could damage the product or cause a hazardous
condition.
2. Check the ratings given in the instructions and on
the product to make sure the product is suitable for your
application,
3. Installer must be a trained, experienced service
technician,
4. After installation is complete, check out product
operation as provided in tliese instructions.
f\
CAUTION
Do not use tools to adjust the EA79 or damage
to vent may result, Use hands only to adjust
vent. A wrench may be used only on hex during
installation.
INSTALLATION
1. Fit EA79 vent in piping at a location as specified in
the Location section,
2. Turn EA79 until vent fits tightly on piping. Use a
wrench to securely tighten hex.
3. If safety drain connection is desired, inslali a pipe
between vent discharge and drain using Q122A1001 Safe
Waste Connector.
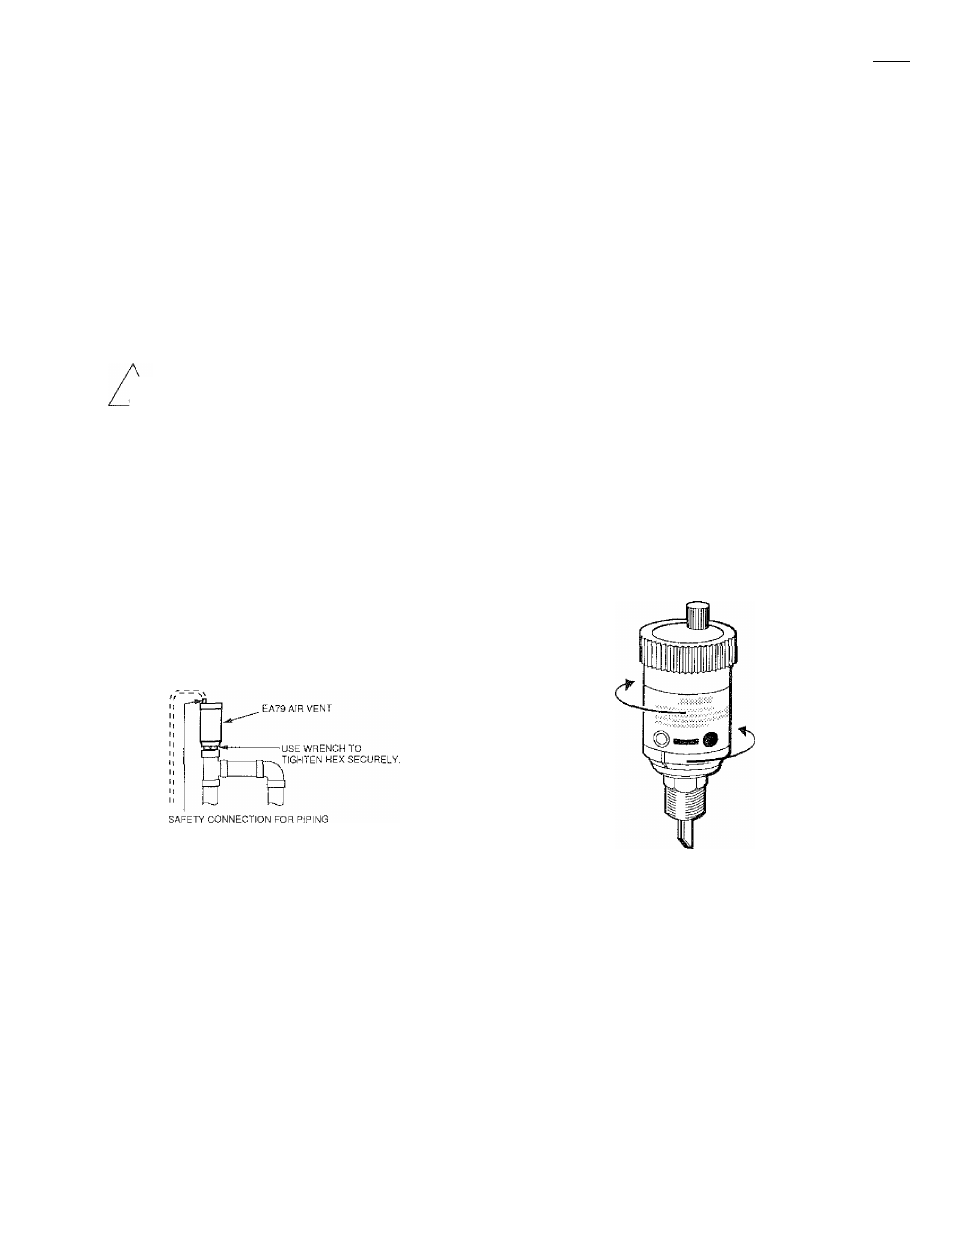
4. Make sure that the red vent cap is securely tight, and
that the valve is in the closed position by turning vent body
clockwise. See Fig.
4.
U,se hands only to avoid damaging
the vent.
5. With the valve in the closed position, flush the system
as required to remove dirt, debris and contaminants.
6. Fill the system with the appropriate solution.
7. Operate the EA79 by turning the air vent body coun
terclockwise to the open position. Use hands only, .see Fig. 4.
8. Make sure the red vent cap is tightened all Ihe way
to the slop position for proper leakage guard operation.
Use hands only to tighten.
LOCATION
Install the EA79 on the positive side of tlie circulator
pump at the point where air will accumulate. This is usually
the high point of the supply or the retum main in the system
as shown in Fig, 3.
Fig. 3—Install EA79 at high point in system.
BETWEEN VALVE DISCHARGE AND DRAIN
INSTALL EA79 AT HIGH POINT IN SYSTEM,
Fig.
4—Turn
vent
body
counterclockwise
to
open or clockwise to close.
62-3034