I'''l jr\.i ‘.uni wü lí .сд i "l "t – Kenmore 100.81006 User Manual
Page 5
Attention! The text in this document has been recognized automatically. To view the original document, you can use the "Original mode".
;
i'''l jr\.i ‘.UNI WÜ lí .Сд i "l
"t-:
Tí« easy-to-use pragrammabla dígita! CDnírols leí you know when the coffee is ready,
and even keeps track of the freshness of each brewed carafe It’s never been easier to
brew the perfect cop cl coffee
BREWING COFFEE
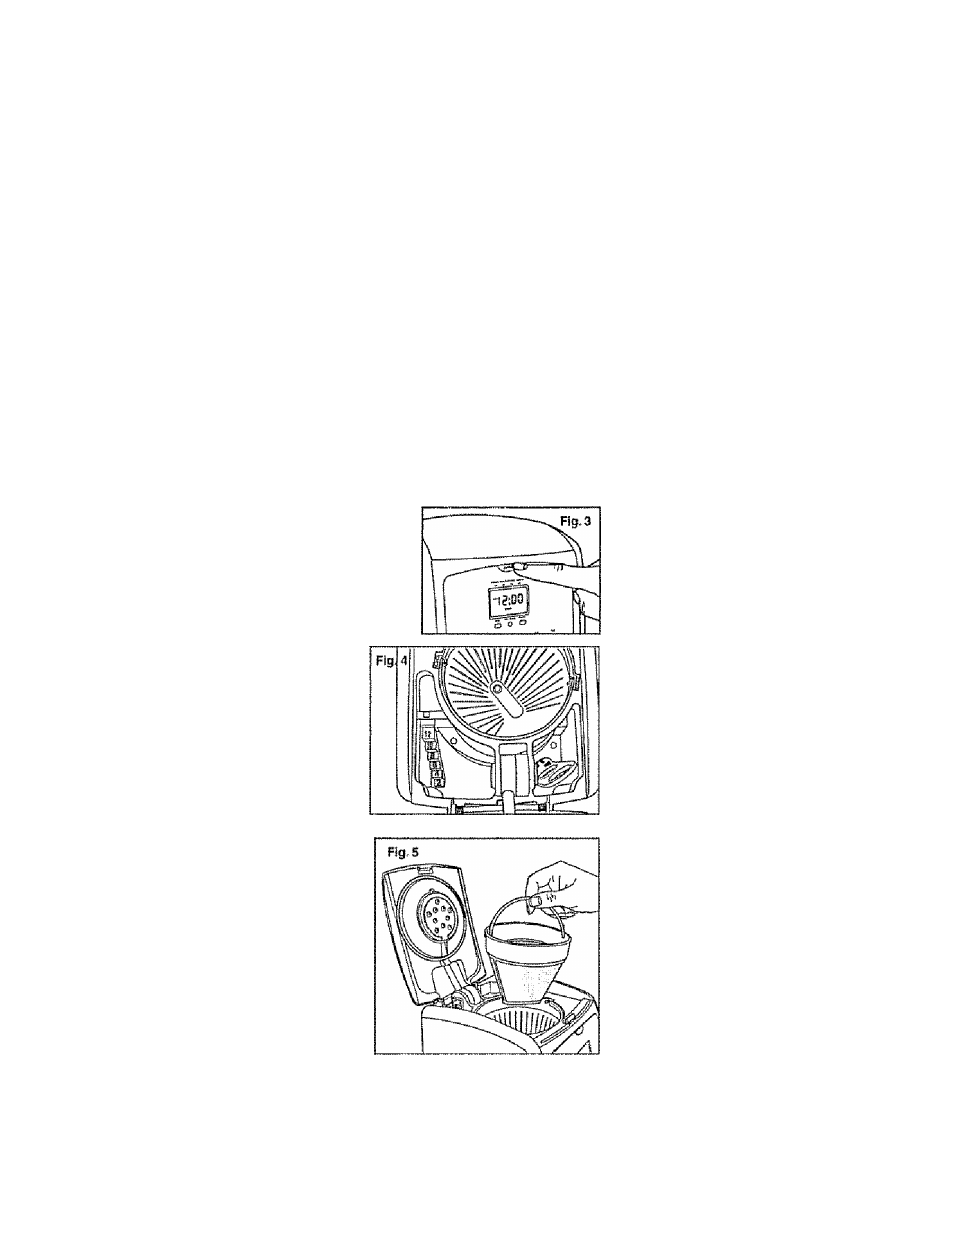
1 Press the Open button on the control panel
and lift the one-piece cover (See Fig 3)
Z Use the carafe to till the water reservoir
of !he eolfeemsker to the desired level
with eoM water There is a gauge marked
from 2 to IS cups (300mi to 1800ml) on
both the coffeemaker’s water reservoir
and on the sides of the carafe |see Fig, 4j
These marks show the amount of cold
water needed lor each cup of coffee.
The amount of brewed coffee will differ
slightly due to the coffee grinds absorbing
some water.
3 Place either the permanent gold-tone
filter or a size 1 X 4 paper frller into
the brew basket (see Fig 5).
4 Add ground coffee, The amount of coffee
you use is a malferof persona! tasie
(we recommend one heaping tablespoon
tor every two cups) Experiment,,. try
dliferent amounts of ground coffee par
cup unlit you brew your perfect cup of
coffee. You can also try using the paper
filter along with the gold-tone fitter
5 Close the cover Place carafe on the
warming plate and plug In the appliance ,
The display window iiluminates green and
the coffeemaker beeps for about
3 seconds to l
0
l you know the clock Is not
set The clock does not have to be
set to brew coffee. To set the clock time
see SETTiNQ THE CLOCK, TIMER AND
AUTO-BREWING,