AquaCraft Vela One Meter User Manual
Page 7
7
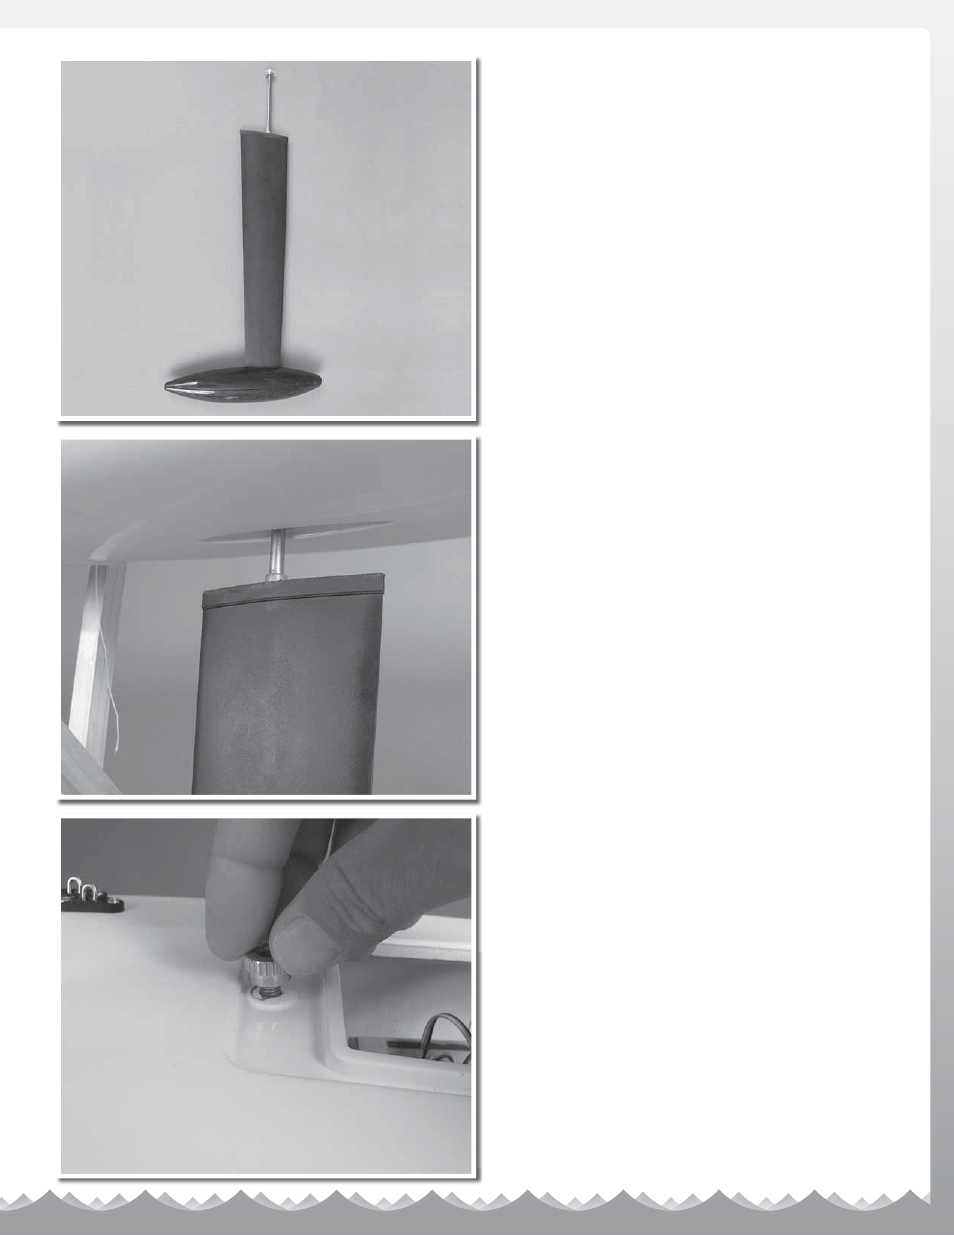
Remove the brass thumb nut from the keel post.
Slip the keel into the hole in the bottom of the hull.
Using the brass thumb nut, tighten the keel in place.
PERFORMANCE TIP:
If you are looking for the ultimate in performance and
don’t foresee the need to remove the keel, you can epoxy
the keel into the bottom of the boat as you assemble it.
You can then very carefully fi ll and sand the area the keel
around the attachment point to keep drag to a minimum.
The same fi ll-and-sand procedure can be done where
the counterweight and keel attach as well as around the
screw bosses that hold the counterweight together.
See also other documents in the category AquaCraft Water equipment:
- Air Force (15 pages)
- Alligator Tours (12 pages)
- Atlantic (8 pages)
- Atlantic II (8 pages)
- Bristol Bay (8 pages)
- Hammer (8 pages)
- King's Ransom (12 pages)
- Mini Alligator Tours (8 pages)
- Mini Rio (12 pages)
- Mini Thunder (12 pages)
- Mini Wildcat (12 pages)
- Miss Vegas (12 pages)
- Miss Seattle (8 pages)
- Miss Vegas Deuce (16 pages)
- Minimono (12 pages)
- Motley Crew (8 pages)
- Nitro Hammer (8 pages)
- P-27 Gunslinger (8 pages)
- Paradise (12 pages)
- Pro Fisherman (8 pages)
- Reef Racer (8 pages)
- Reef Racer 2 (8 pages)
- Reef Racer 2 Charger (2 pages)
- Rescue 17 (8 pages)
- Revolt 30 (12 pages)
- Rio 51 (24 pages)
- Rio 51Z (16 pages)
- Rio EP (16 pages)
- SuperVee 27 (11 pages)
- SuperVee 27R (16 pages)
- SuperVee 27 Nitro (12 pages)
- Top Speed 2 (20 pages)
- Top Speed 3 (24 pages)
- UL-1 Superior (12 pages)
- VS1 (20 pages)
- V24 One-Design (16 pages)
- Wildcat (8 pages)
- 15 Marine Engine (4 pages)
- 18 Marine Engine (4 pages)
- 27 Rear Exhaust Airboat Engine (8 pages)
- 46 BB Marine Engine (6 pages)
- EP1 Electric Outboard Motor (4 pages)
- GrimRacer Precision Prop Balancer (4 pages)
- AQUB9540 Water Jacket Installation Procedure (4 pages)