American Diagnostic Corporation (ADC) Diagnostix Desk Charging Base User Manual
Page 5
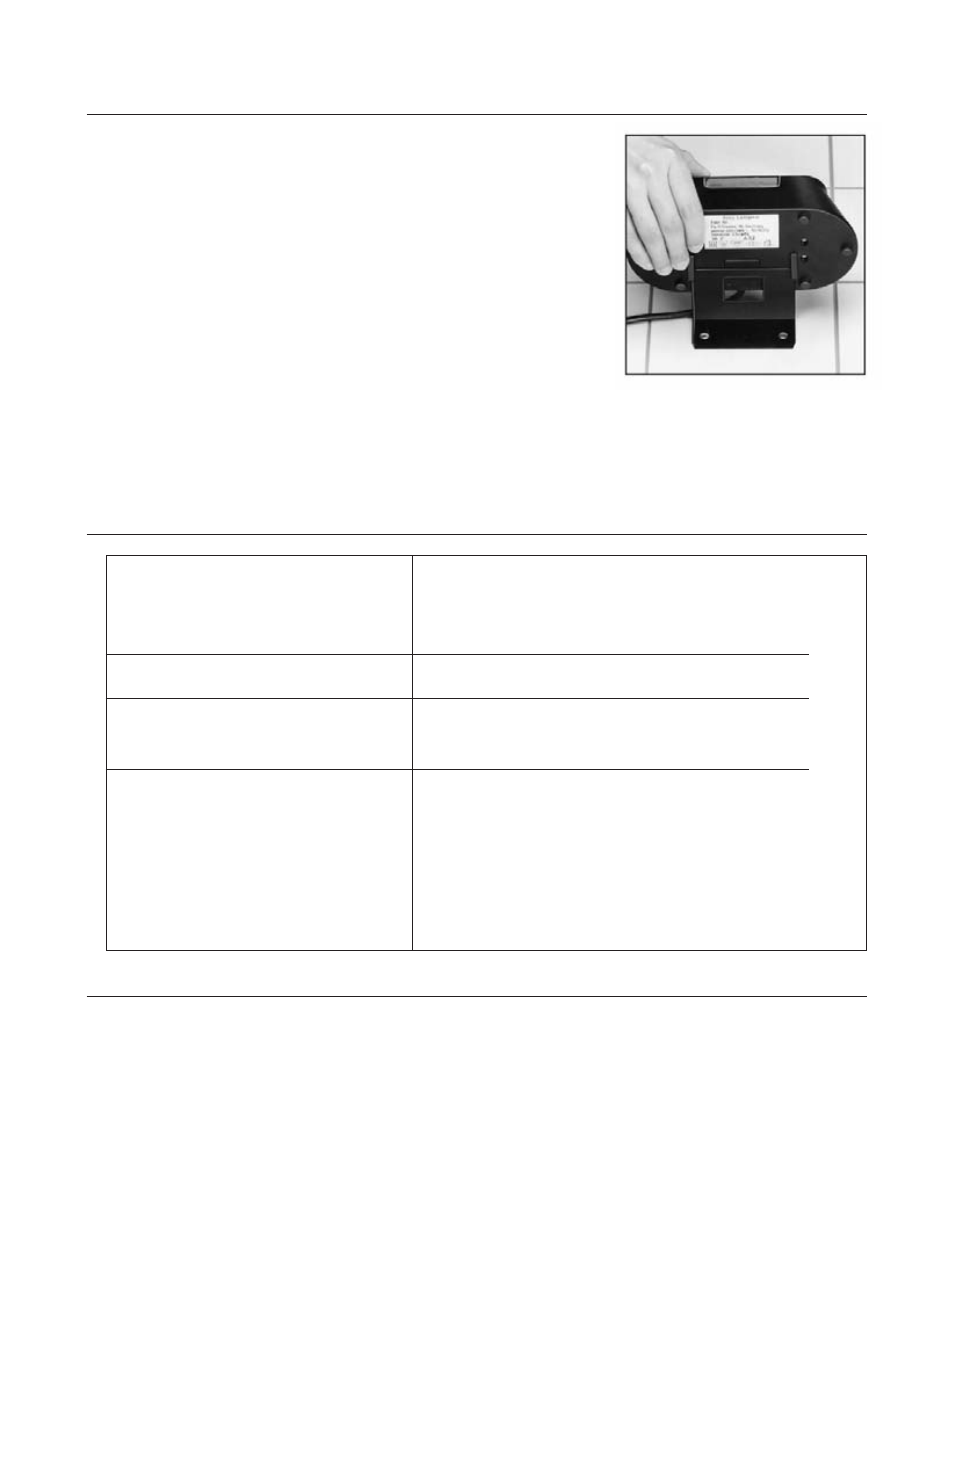
6. WALL MOUNTING
The ADC
®
Diagnostix™ Desk Charging Base may be
mounted on the wall. Hold wall rail to the place on the
wall intended for mounting. Mark holes with a pen and
drill holes of 5 mm (3/16”). Insert the dowels supplied.
Position rail holes on the dowels and fix to the wall with
the screws supplied. Then slide unit on bracket to allow
the wall rail to be introduced into the two guideslots of
the ADC
®
Diagnostix™ Desk Charging Base plate.
Ensure that the bottom cover tab engages in the recess
in the wall rails.
Remove unit by pressing in the bottom tab, allowing the unit to be simply taken from
the rail.
7. LED INDICATORS
8. CLEANING AND DISINFECTING
Prior to cleaning or disinfection of the unit disconnect mains cable from
socket.
Cleaning and/or Disinfection
The ADC
®
Diagnostix™ Desk Charging Base may be cleaned externally with a damp
cloth.
In addition, the following disinfectants may be used for external disinfection:
Aldehyde (formaldehyde, glutaraldehyde, aldehyde derivatives), surfactants or
alcohols.
Use a soft lint free cloth or cotton swabs to prevent damage to charging base.
Warning!
Ensure that fluid never penetrates into the unit!
Yellow LED on
Charging in progress
LEDs switching on repeatedly,
brief permanent switch-on,
followed by off
Mains connection, self-test
Green LED on
Yellow LED flashing
Rechargeable battery fully charged,
unit changing to maintenance charge
Rechargeable battery fully discharged or faulty.
Unit trying to regenerate rechargeable battery
by a pulsating charging current. Should no
charging cycle be indicated after approx. 16 h,
the rechargeable battery is faulty or must be
replaced