Aviom Pro64 User Manual
Aviom Audio accessories
STEP 1:
Place Pro64 devices in each location.
STEP 2:
Connect the devices in any order (Auto Mode).
Use any combination of serial and parallel connections. Add the MH10f for fiber.
For more advanced set-up instructions, refer to your Pro64 Series User
Guides or contact Aviom Customer Service at +1-610-738-9005 ext 2.
STEP 3:
Set any one input or output device as the Control Master.
To make a device the Control Master, set DIP switch #10 to ON.
–If you are using the Pro64 network clock, use any device other than a 6416Y2.
–If you are using a Yamaha® console as the clock, use a 6416Y2 in that console.
–If you are using an external clock, see reverse for more information.
STEP 4:
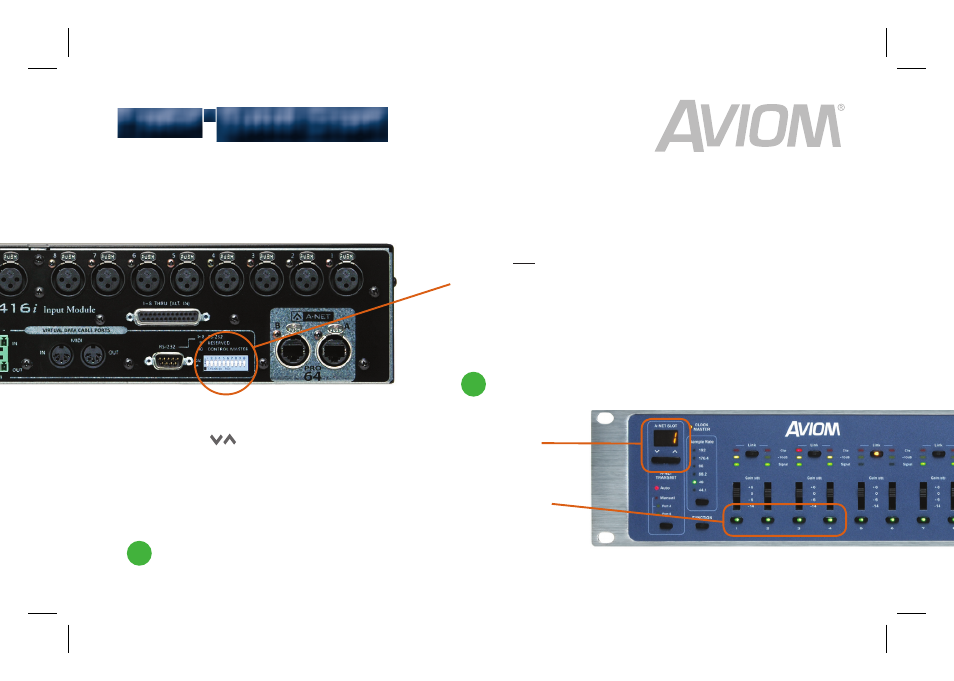
Assign A-Net® Slot ranges for each I/O device.
Use the
buttons on the front panels to set each device to its
16-channel bank (1-16, 17-32, 33-48, 49-64). Press ENTER to confirm.
Power on all devices. The Control Master will be indicated by a
red LED
. All devices that
have successfully joined the network will have a
blue LED
illuminated in the A-Net logo
on the front panel.
Active input channels are indicated by a
green LED
in the button. Active output channels are
indicated by a
yellow LED
in the button. If an input LED flickers, that A-Net Slot is already in
use. Note that changing the A-Net Slot range deactivates channels on that device.
CHECK
CHECK
STEP 5:
Activate channels on each I/O device to begin passing audio.
Turn on individual inputs and outputs with the front panel buttons.