Menu setup, 3 image quality – Channel Vision DVR-8N User Manual
Page 51
MENU SETUP
< PROGRAM DEFAULT>
These are 10 kinds of program and you can change the program setting.
6.3
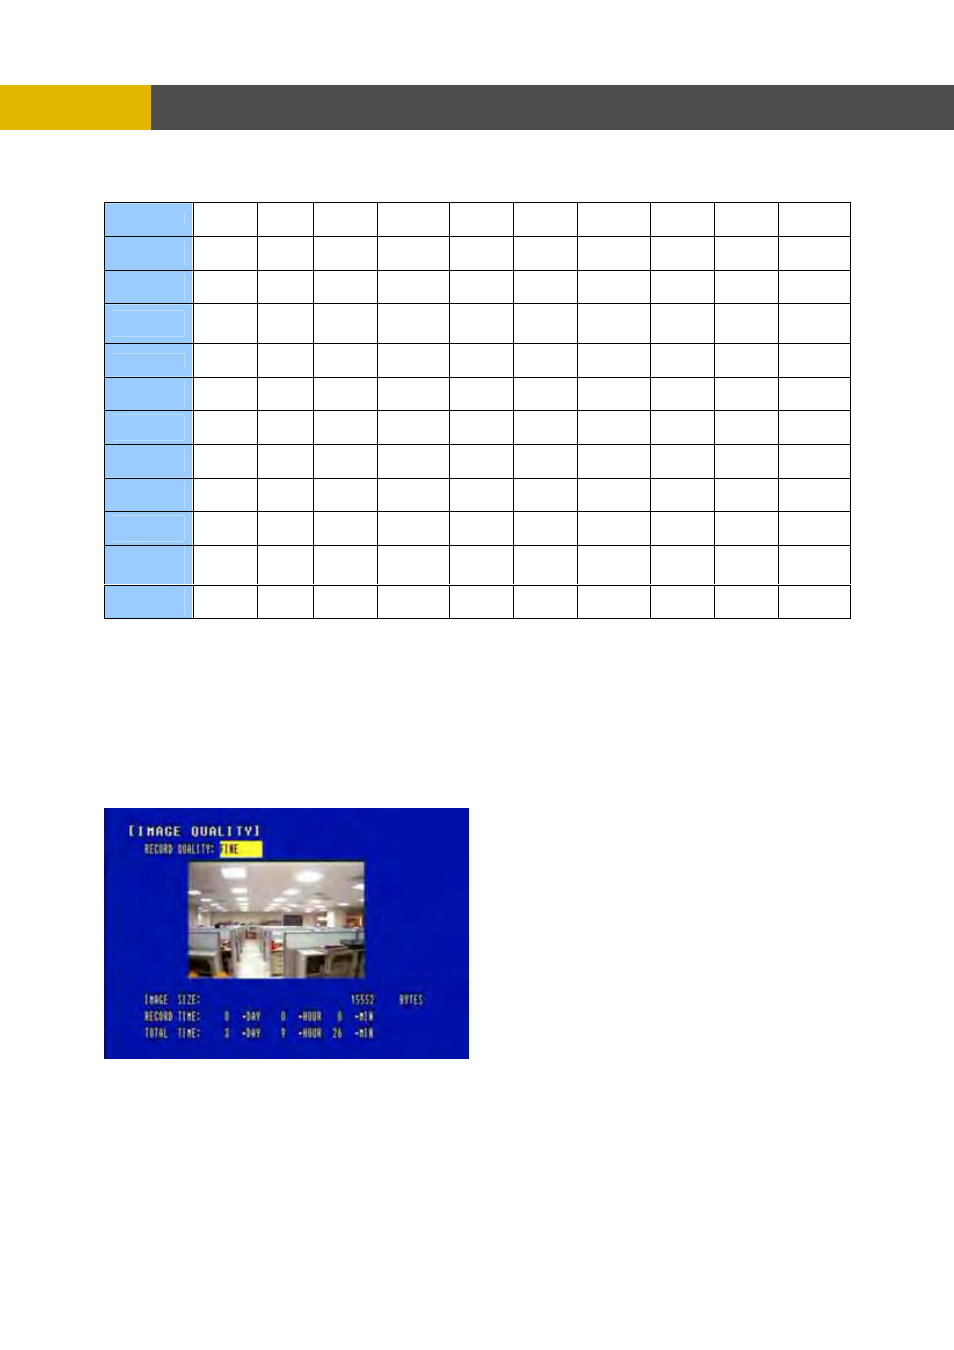
ENTER button when the cursor is on the IMAGE QUALITY and the following screen
Select the desired RECORD QUALITY using the (-), (+) buttons or wheel scroll of mouse.
And you can see the size of each image quality and how long you can record in the installed
HDDs by the image quality.
To exit this IMAGE QUALITY menu, press the ESC button.
PROGRAM
0 1 2 3 4 5 6 7 8 9
RECORD
TYPE
COM
SIN
SIN
COM
SINGLE COMPLEX
PLE
X
SINGLE
GLE COMPLEX
GLE SINGLE
PLEX SINGLE
RECORDING
INTERVAL
1 1 1 1 1 1 1
1
1 1
IMAGE
SIZE
720
720
360
360x
720
720x
720x
x480
x240
360x24
x240
0
240 360x240
x240
720x240
240 720x480
480 720x480
NORMAL
Max
4
7 7 2 3 3 1 1 1
EVENT
SINGLE
0
15
30 0 15
30 0 15
30 0
EVENT
COMPLEX
Max
0
0 7 0 0 3 0 0 1
QUALITY
.3 IMAGE QUALITY
At the RECORD menu,
© , ª buttons.
Move the cursor to the IMAGE QUALITY using
Press the
appears.
NOTE: This function is only operative, when the recording condition is OFF.
NORMAL
F L F S L F S L F S
QUALITY
EVENT
F L F S L F S L F S
PRE-ALARM
RECORDING
5 5 5 5 5 5 5 5 5 5
POST-
ALARM
RECORDING
10
10
10 10 10 10 10 10 10 10
EVENT
ON/OFF
V-Loss
ON
V-Loss
ON
V-Loss
ON
ON
V-Loss
V-Loss
V-Loss
V-Loss
V-Loss
V-Loss
V-
ON
ON
ON
ON
ON
Loss
ON
50