C. Crane Senta Ally User Manual
Page 4
Notes on Charging:
• It is not necessary to connect the 1/8th inch stereo patch cable to charge the device.
This is an audio cable.
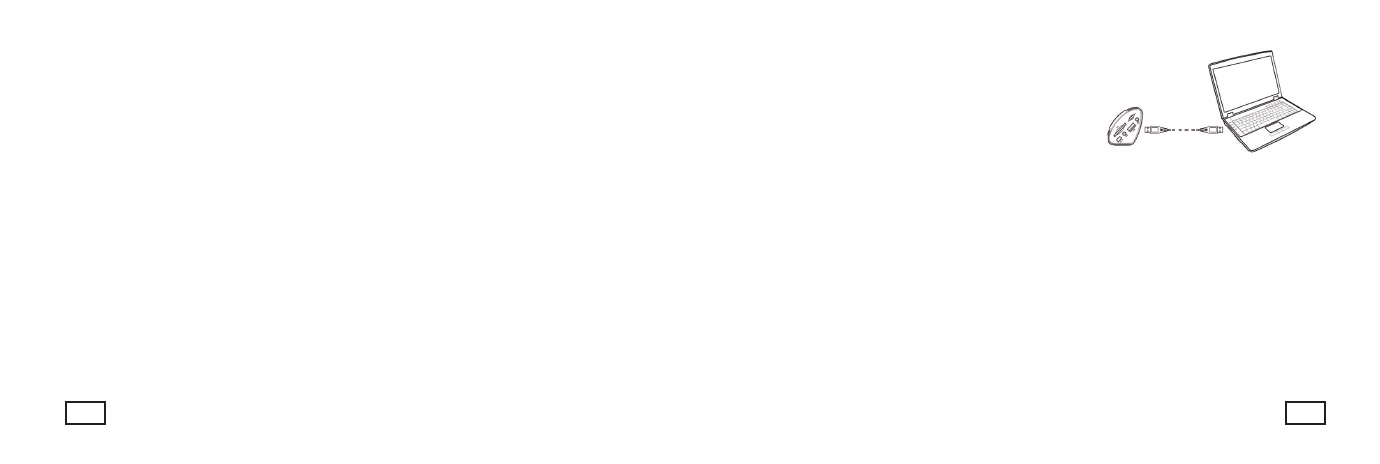
• The Senta-Ally can only be charged using the Mini-USB port on the side of the device labeled
DC IN. - Note: The Standard USB port is not for charging.
• When charging the Senta-Ally, files from a USB drive cannot be played.
• It will take approximately 5 hours to fully charge a dead battery.
• Do not leave the Senta-Ally charging for more than 24 continuous hours.
• A fully charged battery will last approximately 12 hours when speaker is played at medium volume
or 8-10 hours when playing audio via Bluetooth. Louder volume means shorter battery life.
• The Senta-Ally uses a common Nokia BL-5C battery pack. Replacement battery packs are widely
available on the internet or at ccrane.com.
• Repeated charging of the battery pack will reduce its power over time. You should replace your
battery pack when its run time is reduced to half. This should be around 500 full charges.
• To replace the battery pack, lift the cover on the back. When
inserting a new battery, make sure that the battery is positioned
so that the gold contacts are touching the contacts inside of the
compartment. Insert the battery carefully so as not to damage
the connecting pins.
Note: When the Senta-Ally is charging, turn the ON/ OFF switch to the
ON position in order to see when the device is fully charged. When
connected to a power source via the Mini-USB cable, the Senta-Ally will
always display Charging when the ON/ OFF switch is in the OFF
position; this is to remind you that the Senta-Ally is still connected to power.
4
5
Slide the power switch, located on the top of the Senta-Ally, to the ON position
.
Note: Pressing and holding the Play/ Pause button for 3 seconds while the power switch is in the ON
position will turn the power OFF. To restore power, press and hold the Play/ Pause button for 3
seconds while the power switch is in the ON position.
To adjust the Volume
Use the small wheel on the right side. Note: All connections/ inputs are on the right side of the unit.
To turn the power ‘ON’